Unleashing the Beauty of the Japanese Honey Locust: A Guide to Propagation
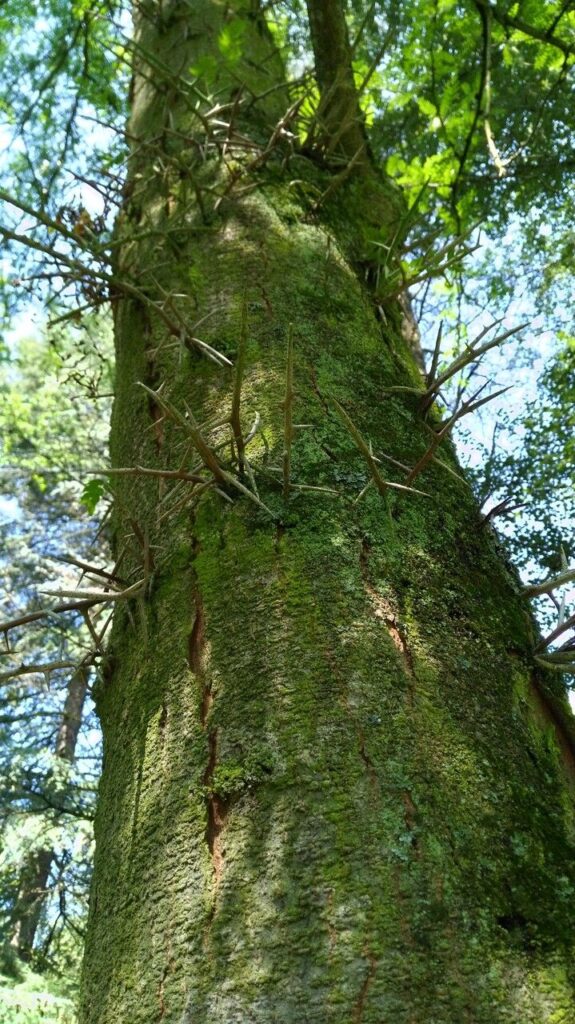
The Japanese Honey Locust (Gleditsia japonica) is a strikingly beautiful tree with its delicate, fern-like foliage, vibrant autumn colors, and unique, twisting seed pods. While admired for its ornamental value, many shy away from adding this stunning specimen to their landscapes, fearing the challenges of propagation. Fear not, fellow tree enthusiasts! This guide delves into the various methods of propagating Gleditsia japonica, empowering you to cultivate these majestic trees and unlock their captivating beauty in your own backyard.
Seeds: A Journey of Patience and Reward
Propagating Gleditsia japonica from seed offers a rewarding experience, albeit one requiring patience. Begin by collecting mature seed pods in late fall, identifiable by their dark brown color and brittle texture. Extracting seeds from these pods can be tricky due to their tough outer shell. Scarification, a process of weakening the seed coat, proves crucial for successful germination.
Here’s how to scarify and sow Gleditsia japonica seeds:
- Scarification: Soak the seeds in hot (not boiling) water for 24 hours. Alternatively, gently nick the seed coat with a file or sandpaper.
- Stratification: Cold stratification mimics natural winter conditions and triggers germination. Mix the scarified seeds with moist sand or peat moss and store them in a refrigerator (33-41°F) for 60-90 days.
- Sowing: In spring, sow the stratified seeds in a well-draining seed starting mix, about an inch deep. Keep the soil consistently moist but not waterlogged.
- Germination: Be patient! Germination can take several weeks to a few months. Once seedlings emerge, provide them with ample sunlight and water regularly.
Cuttings: A Faster Route to Success
Propagating Gleditsia japonica from cuttings offers a faster and often more reliable method, especially for preserving specific cultivars or characteristics.
Here’s a step-by-step guide to taking and rooting Gleditsia japonica cuttings:
- Timing: Take cuttings in late spring or early summer from current year’s growth.
- Preparation: Choose healthy, semi-hardwood stems that snap easily when bent. Cut a 4-6 inch section from the stem, making the cut just below a leaf node.
- Treatment: Remove the lower leaves and wound the base of the cutting by making a small cut with a sharp knife. Dip the wounded end in rooting hormone powder.
- Planting: Plant the cuttings in a well-draining rooting mix, burying at least two leaf nodes.
- Environment: Create a humid environment by covering the cuttings with a plastic bag or placing them in a humidity dome. Keep the soil consistently moist and provide bright, indirect light.
- Rooting: Rooting typically takes 4-8 weeks. Once roots develop, gradually acclimate the cuttings to outdoor conditions before transplanting them to their permanent locations.
Grafting: For Advanced Propagators
Grafting, while more advanced, provides a reliable way to propagate specific cultivars and enhance desirable traits like disease resistance. This method involves joining a cutting (scion) from the desired cultivar onto a compatible rootstock. Consult resources on grafting techniques specific to Gleditsia japonica for detailed instructions.
Final Thoughts: Embrace the Journey!
Propagating Gleditsia japonica, whether from seed or cuttings, presents a fulfilling journey for plant enthusiasts of all levels. Patience, observation, and a touch of green thumb magic are all it takes to cultivate these stunning trees. So, embrace the challenge, experiment with these propagation techniques, and soon, you’ll be rewarded with the captivating beauty of Gleditsia japonica gracing your own landscape.