Unlocking the Secrets of Globularia Alypum Propagation: A Guide to Growing More of this Mediterranean Gem
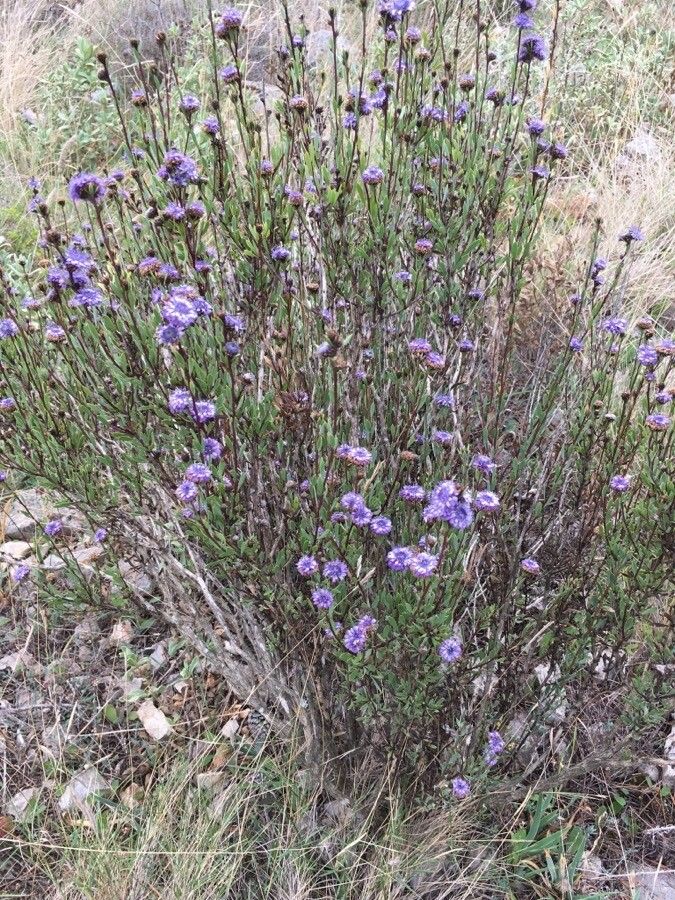
Globularia alypum, with its charming blue puffball flowers and evergreen foliage, brings a touch of the Mediterranean to any garden. This hardy shrub thrives in sunny spots and adds unique texture and color to rock gardens, borders, and even containers. If you’re smitten with Globularia alypum, why not multiply your joy by propagating new plants? This guide delves into the methods for successfully expanding your Globularia alypum collection.
Two Paths to Propagation:
While Globularia alypum isn’t the easiest plant to propagate, don’t let that deter you! This resilient species offers two main methods for creating new plants:
1. Seed Propagation:
- Timing is Key: Collect seeds from mature flower heads in late summer or fall. Look for dry, brown seed heads – the seeds should be tiny and black.
- Sowing the Seeds:
- Prepare a seed tray or small pots with well-draining seed starting mix.
- Sprinkle seeds on the surface and lightly press them in, but don’t bury them.
- Mist the soil gently and cover the tray with plastic wrap or a humidity dome to retain moisture.
- Patience, Young Padawan: Seed germination can be slow and erratic, often taking several weeks or even months. Keep the soil consistently moist but not waterlogged.
- Sunlight and Warmth: Place the tray in a bright location out of direct sunlight. A temperature around 70°F (21°C) is ideal for germination.
- Transplanting Success: Once seedlings have developed a couple of true leaves, transplant them into individual pots filled with a well-draining potting mix. Gradually acclimate them to outdoor conditions.
2. Semi-Hardwood Cuttings:
- The Cutting Edge: Take cuttings in late summer or early fall, selecting healthy, non-flowering stems. The ideal cutting should be 3-4 inches long with several leaf nodes.
- Prepare the Cuttings:
- Remove the lower leaves from the cutting, leaving only a few at the top.
- Dip the cut end in rooting hormone powder to encourage root development.
- Planting the Cuttings:
- Fill small pots or a seed tray with a well-draining propagation mix (equal parts peat moss, perlite, and vermiculite work well).
- Make a small hole in the mix and carefully insert the cutting, burying the bottom node.
- Gently firm the soil around the cutting.
- Creating the Perfect Environment: Water the cuttings thoroughly and cover the tray with a propagator lid or a plastic bag to create a humid environment.
- Patience, Once More: It may take several weeks for cuttings to root. You’ll know they’ve taken root when new growth appears.
- Potting On: Once well-rooted, transplant the cuttings into individual pots and continue to grow them on until they are large enough to plant out in the garden.
Tips for Success:
- Well-Draining Soil is a Must: Globularia alypum despises soggy roots, making proper drainage essential for both seed starting and cuttings.
- Location, Location, Location: Choose a sunny spot with well-drained soil for planting your Globularia alypum.
- Don’t Be Afraid to Experiment: While these methods offer the best chance of success, don’t be afraid to experiment and see what works best in your growing conditions.
Propagating Globularia alypum can be a rewarding experience, allowing you to expand your garden with more of these stunning, low-maintenance plants. With a little patience and the right techniques, you can enjoy a bounty of blue blooms for years to come!