
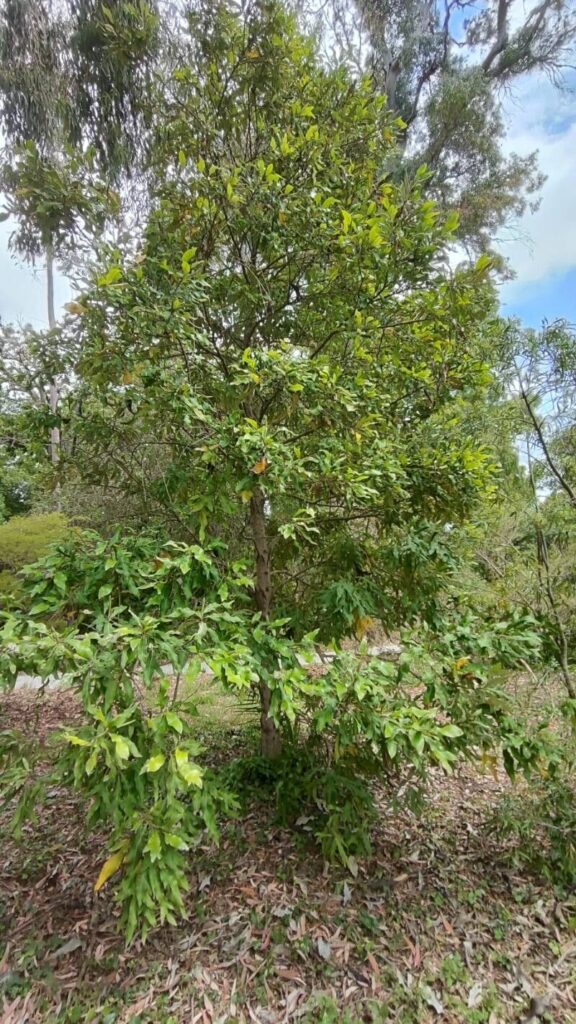
Unlocking the Grevillea Hilliana: A Guide to Propagating this Aussie Native
The Grevillea hilliana, with its fiery red blooms and unique fern-like foliage, is a showstopper in any garden. This hardy Australian native thrives in warm climates and brings a touch of the outback to your backyard. Intrigued? Then why not try propagating your own Grevillea hilliana! It’s a rewarding process, and with a little patience, you can have an abundance of these beauties gracing your outdoor space.
Two Roads to Propagation: Seed vs. Cuttings
There are two primary methods for propagating Grevillea hilliana:
1. Seed Propagation:
- Season: Autumn (Fall) offers the best chances of success.
- Preparation is Key: Grevillea hilliana seeds have a hard outer shell that requires softening for successful germination. Soak the seeds in warm water for 24 hours, changing the water a couple of times. This process, called scarification, helps break down the seed coat and speed up germination.
- Sowing the Seeds: Plant the seeds in a well-draining seed-raising mix, about 1 cm deep. Water gently and keep the soil consistently moist but not waterlogged.
- Patience is a Virtue: Germination can take anywhere from a few weeks to a few months, so don’t despair if you don’t see sprouts immediately.
- Sunlight and Warmth: Place the seed tray in a warm, sunny location, ideally with indirect sunlight.
2. Propagation from Cuttings:
- Timing is Everything: Late spring or early summer is the optimal time to take cuttings, ensuring a good success rate.
- Selecting the Right Cuttings: Choose healthy, semi-hardwood cuttings from the current season’s growth. Ideal cuttings are about 10-15 cm long with several leaf nodes.
- Preparing the Cuttings: Remove the leaves from the lower third of the cutting and dip the cut end in rooting hormone powder to encourage root development.
- Planting the Cuttings: Plant the cuttings in a pot filled with a well-draining potting mix, burying at least one leaf node. Water gently and enclose the pot in a plastic bag to create a humid environment.
- Nurturing the Roots: Place the cutting in a well-lit area, out of direct sunlight. Keep the soil moist but not waterlogged.
- Signs of Success: In 6-8 weeks, you should start seeing new growth, indicating successful rooting. Once the cuttings have developed a strong root system, they can be transplanted into individual pots or directly into the garden.
Tips for Success:
- Well-Draining Soil: Grevillea hilliana thrives in well-drained soil. Using a premium potting mix or amending your garden soil with sand or perlite can prevent root rot.
- Sun-Kissed Location: Choose a spot in your garden that receives at least 6 hours of sunlight daily.
- Water Wisely: While these plants are relatively drought-tolerant once established, they benefit from regular watering during their first year. Water deeply but infrequently, allowing the soil to dry out slightly between watering.
- Fertilize Sparingly: Grevilleas are not heavy feeders. A light application of slow-release fertilizer in spring is sufficient.
- Prune for Shape and Health: Regular pruning after flowering encourages bushier growth and prevents the plant from becoming leggy.
Propagating your own Grevillea hilliana is a rewarding experience that allows you to connect with nature and expand your gardening skills. With a bit of effort and these helpful tips, you’ll be well on your way to creating a stunning display of these vibrant Aussie natives in your very own garden.