Cracking the Code: Propagating the Enchanting Guioa microsepala
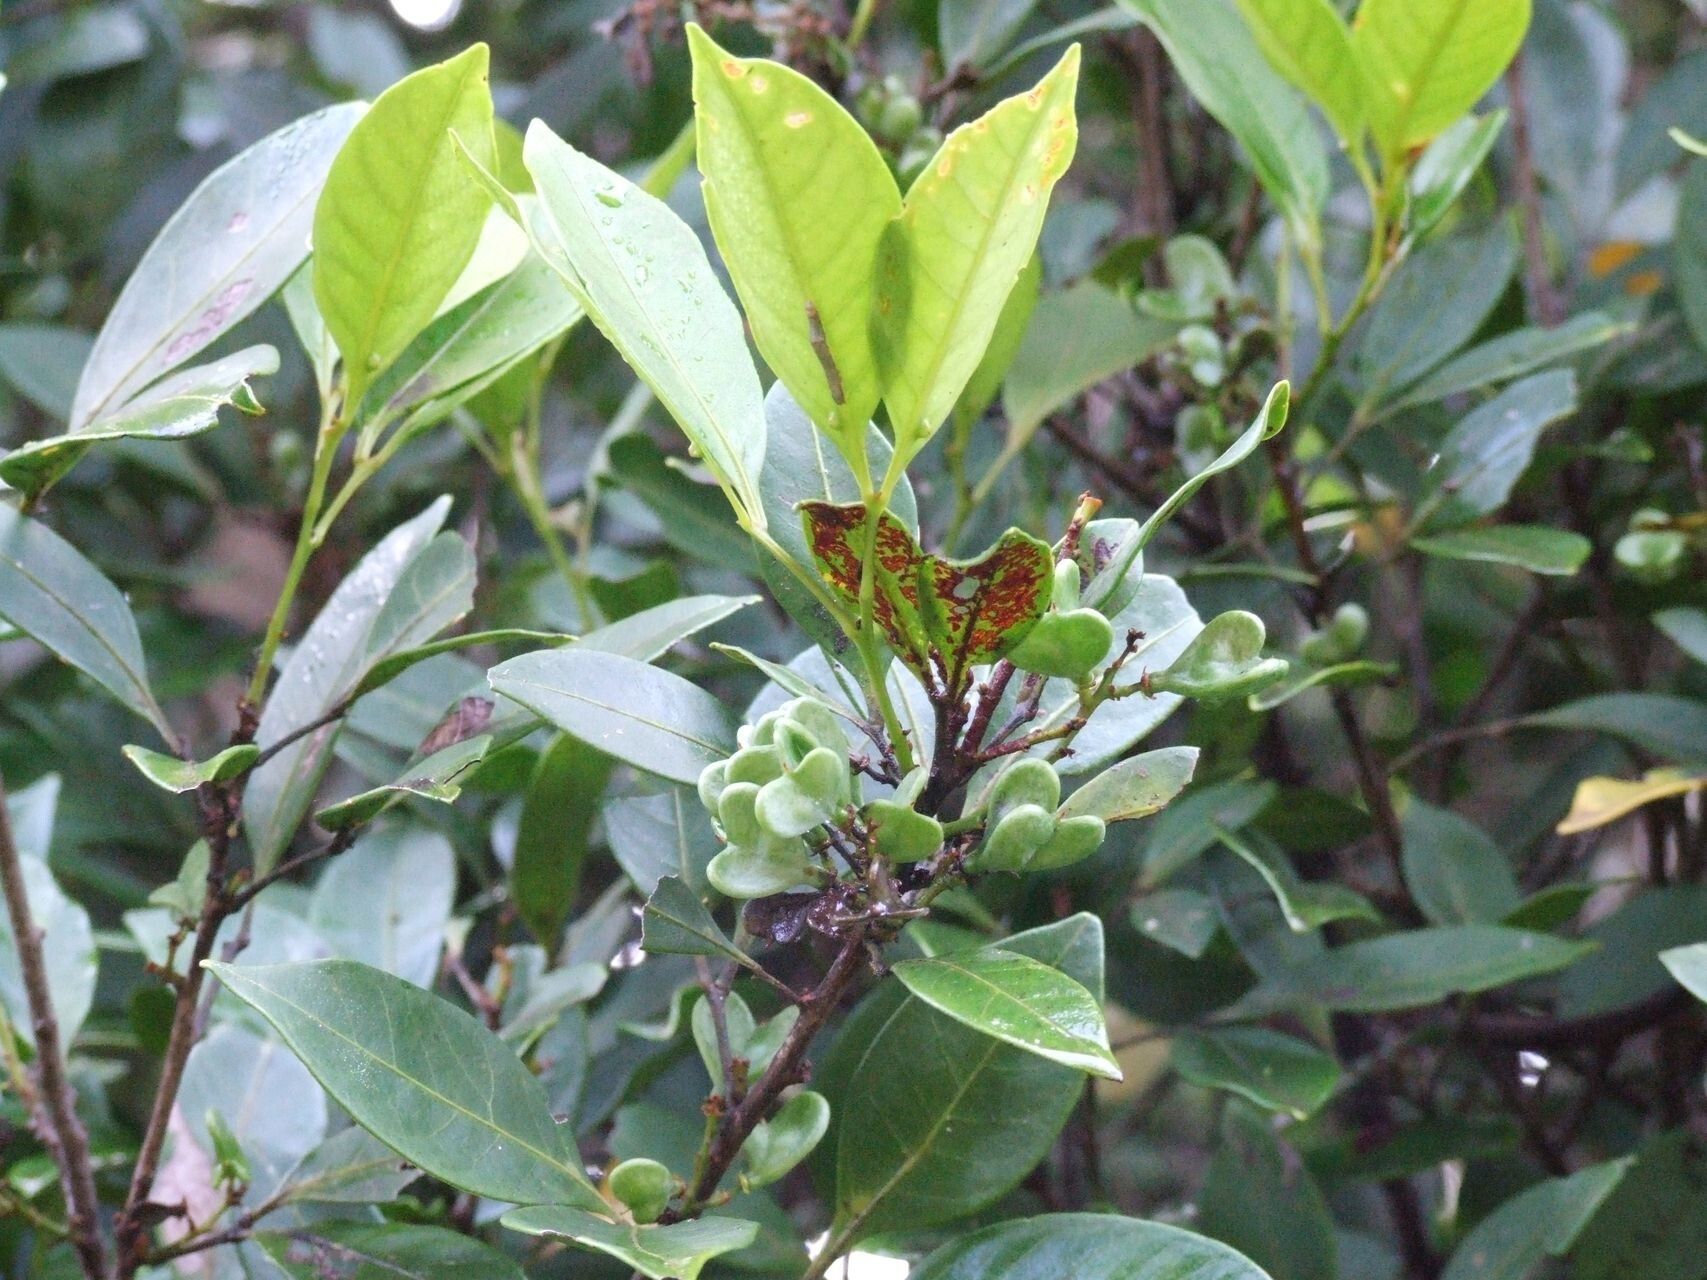
The Guioa microsepala, with its delicate foliage and cascading branches, is a sight to behold. Native to the rainforests of Eastern Australia, this enchanting plant, also known as the “Small-Sepaled Guioa,” is gaining popularity for its ornamental value. But successfully introducing it to your garden requires understanding its propagation needs. Fear not, fellow plant enthusiasts, for we’re about to unlock the secrets of multiplying this alluring species!
Understanding the Basics
Before we delve into specifics, let’s grasp the fundamentals. The Guioa microsepala can be propagated through two primary methods:
- Seed Propagation: This approach, while rewarding, requires patience as it involves growing a plant from scratch.
- Cutting Propagation: A quicker method, this entails rooting a portion of a healthy, established plant.
Seed Propagation – A Journey of Patience and Reward
- Source Your Seeds: Collecting seeds from a mature Guioa microsepala is ideal. However, ensure the seeds are ripe, generally indicated by a change in color from green to brown. Alternatively, you can source seeds from reputable nurseries.
- Prepare for Sowing: Guioa microsepala seeds benefit from a pre-treatment known as “scarification.” Gently rub the seed coat with sandpaper to break its dormancy and enhance germination rates.
- Sowing the Seeds: Choose a well-draining seed-starting mix and sow the seeds at a depth of about half an inch. Maintain a warm and humid environment, ideally by covering the tray with a plastic dome or placing it in a propagator.
- Germination and Beyond: Be patient; germination can take several weeks or even months. Once seedlings emerge, ensure they receive bright, indirect light. Gradually acclimate them to outdoor conditions before transplanting them to their permanent location.
Cutting Propagation – A Faster Route to Success
- Timing is Key: Spring or early summer is the optimal time for taking cuttings, as the plant is actively growing.
- Select Healthy Cuttings: Choose sections of stems that are about 4-6 inches long and show vigorous growth. Ensure the cutting has several nodes (small bumps on the stem where leaves emerge) for optimal root development.
- Prepare the Cuttings: Remove the leaves from the lower portion of the cutting, leaving a few at the top. You can also wound the base of the cutting slightly to encourage root formation.
- Rooting Hormone – Your Secret Weapon: Dipping the base of the cutting in a rooting hormone powder significantly increases the chances of successful rooting.
- Planting the Cuttings: Insert the treated cuttings into a well-draining potting mix, ensuring the nodes are buried. Maintain a warm, humid environment, similar to seed propagation.
- Transplanting: Within a few weeks, your cuttings should develop roots. Once they show signs of new growth, you can transplant them into individual pots or your desired location.
Essential Care Tips for Your Guioa microsepala
No matter which propagation method you choose, providing the right care is crucial for its success:
- Sunlight: Guioa microsepala thrives in dappled sunlight or partial shade.
- Watering: Maintain consistently moist soil, but be wary of overwatering, as it can lead to root rot.
- Soil: Well-draining soil, rich in organic matter is ideal.
- Fertilizing: Feed your plants with a balanced fertilizer during the growing season to support healthy growth.
Propagating the Guioa microsepala might seem challenging, but with patience, the right knowledge, and a touch of green-thumb magic, you can be rewarded with a flourishing collection of these captivating plants. Happy propagating!