From One to Many: The Art of Propagating Gynochthodes myrtifolia
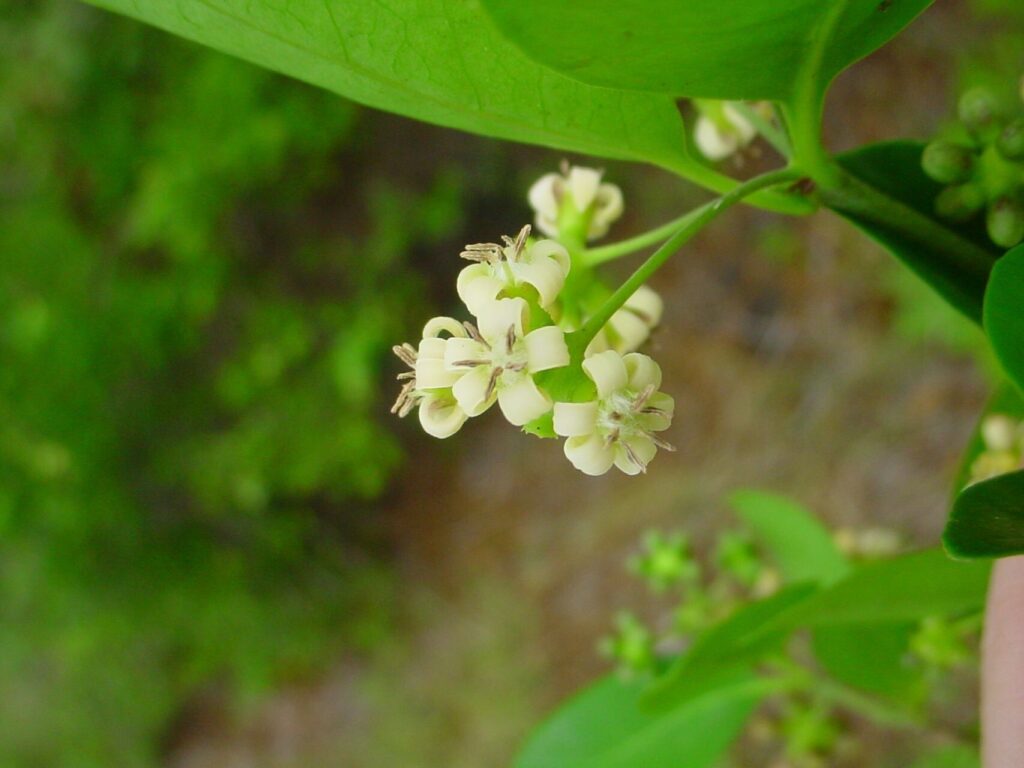
Gynochthodes myrtifolia, also known as the “Myrtle-Leaved Gynochthodes,” is a captivating climber adorned with glossy, evergreen foliage and delicate, fragrant flowers. Its beauty and ease of care make it a beloved choice for indoor gardens, but what if you could multiply your joy by growing even more of these charming plants? Introducing the world of propagation!
Propagation is the magical process of creating new plants from existing ones, allowing you to expand your collection and share the love with others. Gynochthodes myrtifolia is a relatively easy plant to propagate, making it a rewarding project for both beginners and seasoned plant parents.
The Main Methods for Propagation
There are two primary methods for propagating Gynochthodes myrtifolia:
1. Stem Cuttings: This is the most common and straightforward technique.
- Choose a Healthy Stem: Select a non-flowering stem, ideally about 4-6 inches long, with at least two nodes (the points where leaves sprout).
- Make the Cut: Use a sharp, sterile knife or scissors to make a clean cut just below a node.
- Remove Lower Leaves: Remove any leaves that fall below the soil line to prevent rotting.
- Rooting Medium: Prepare a pot with a well-draining medium like a mixture of peat moss and perlite.
- Planting: Insert the cutting into the medium, ensuring at least one node is buried.
- Care: Keep the medium consistently moist, and place the pot in a bright, indirect location. Rooting can take anywhere from a few weeks to a couple of months.
2. Air Layering: This method is a bit more advanced but offers faster results.
- Select a Stem: Choose a healthy, flexible stem, and mark a section about 4-6 inches long.
- Incision: Make a shallow, angled cut around the stem, just below a node, but don’t cut all the way through.
- Rooting Hormone: Apply a rooting hormone powder or gel to the incision.
- Wrap: Wrap the incised area with a damp moss or sphagnum moss and secure it with plastic wrap or a rooting bag.
- Moisture: Keep the moss consistently moist by misting regularly.
- Roots: After a few months, you should see roots developing inside the moss.
- Cut and Pot: Once the roots are established, cut the stem below the moss, remove the plastic and pot it in a well-draining medium.
Important Tips for Success
- Timing is Key: Spring and summer are the best times for propagation, as the plant is actively growing.
- Sterilization: Always sterilize your tools before and after use to prevent diseases.
- Patience is Virtuous: Propagation takes time, so be patient and provide the cuttings with the necessary care.
- Observe and Adjust: Pay close attention to your cuttings and adjust your care methods as needed.
Beyond Propagation: Sharing the Beauty
Once your new Gynochthodes myrtifolia plants are established, you can enjoy them in your own home or share them with friends and family. There’s something truly rewarding about starting new life and witnessing its growth through your own efforts.
So, if you’re looking for a fun and fulfilling project, try your hand at propagating your Gynochthodes myrtifolia. Not only will you add more greenery to your space, but you’ll also gain a deeper connection with the natural world and the magic of life.