
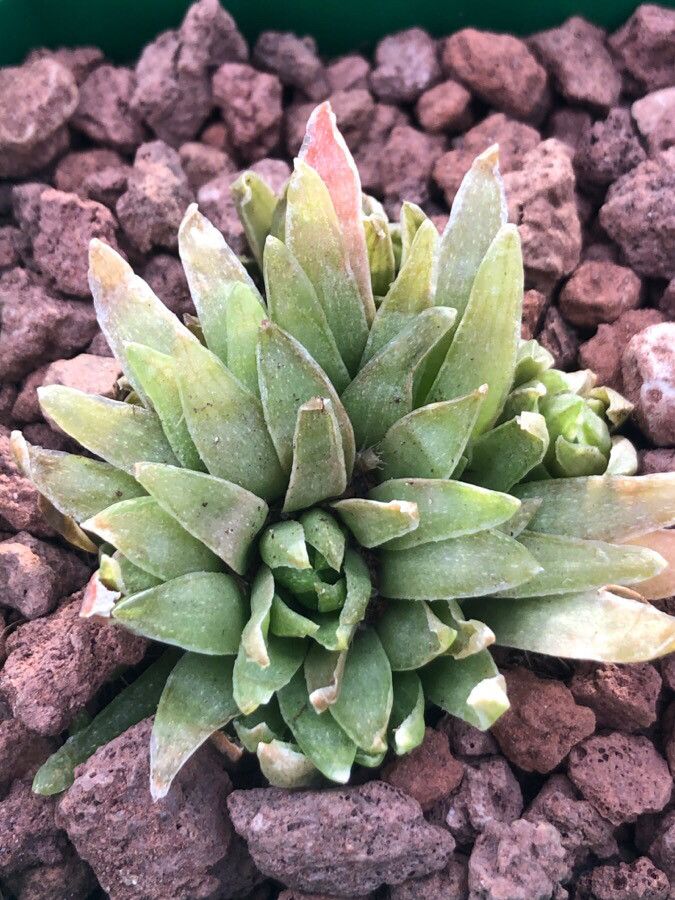
Multiply Your Mini Meadow: Propagating Haworthia angustifolia
Haworthia angustifolia, with its charming rosettes of fleshy, pointed leaves, brings a touch of the South African desert to any windowsill. But what if you want to multiply your mini meadow and share the joy? Propagating these succulents is surprisingly easy and rewarding, even for beginners. Let’s explore the methods that make expanding your Haworthia family a breeze!
Understanding the Options: Offsets, Leaves, and Seeds, Oh My!
Haworthia angustifolia offers several avenues for propagation:
- Offsets (Pups): The most straightforward and often most successful method, offset propagation involves carefully separating the baby plants (pups) that sprout around the base of the mother plant.
- Leaf Cuttings: While slightly trickier, you can coax new plants from individual leaves by stimulating root and pup formation.
- Seeds: The most time-consuming method, seed propagation requires patience but rewards you with a multitude of new plants.
Method 1: Offsets – The Family Affair
- Timing is Key: The ideal time is during the plant’s active growing season (spring or early summer) when the pups are plump and healthy.
- Gentle Separation: Gently remove the mother plant from its pot and inspect the base. Identify pups with a good root system.
- Sharp Tools, Clean Cuts: Using a clean, sharp knife or pair of scissors, carefully detach the pups, ensuring each has a good portion of roots attached.
- Let the Wounds Heal: Allow the cut surfaces of both the pups and the mother plant to dry for a day or two to prevent rot.
- Potting Up: Plant the pups in a well-draining succulent mix, burying the roots just below the soil surface. Water sparingly until established.
Method 2: Leaf Cuttings – A Test of Patience
- Leaf Selection: Choose healthy, plump leaves from the outer edges of the rosette, avoiding any damaged or stressed leaves.
- A Clean Break: Using a clean, sharp blade, remove the leaf as close to the stem as possible.
- Callus Over: Allow the cut end of the leaf to callus over in a dry, shaded area for about a week.
- Indirect Light and Well-Draining Soil: Lay the callused leaves on top of a well-draining succulent mix, ensuring the cut end slightly touches the soil.
- Mist and Wait: Mist the soil lightly every few days, keeping it just moist. Be patient, as it can take several weeks for roots and eventually pups to form.
Method 3: Seeds– Starting from Scratch
- Sourcing Quality Seeds: Purchase fresh seeds from a reputable supplier for the best germination rates.
- Sowing the Seeds: Sprinkle seeds on top of a well-draining seed starting mix and lightly press them into the surface.
- Warmth, Light, and Moisture: Cover the tray with plastic wrap to maintain humidity and place it in a warm, bright location, out of direct sunlight.
- Patience is a Virtue: Germination can take several weeks to months. Once seedlings are large enough to handle, transplant them into individual pots.
Nurturing Your New Haworthia Family:
Regardless of your chosen propagation method, providing the right care is crucial:
- Well-Draining Soil: Use a specialized succulent and cactus mix to prevent root rot.
- Bright, Indirect Light: These plants thrive in bright, filtered light. Avoid intense, direct sunlight, which can scorch their leaves.
- Water Sparingly: Allow the soil to dry out completely between waterings. Overwatering is a common mistake with succulents.
Propagating Haworthia angustifolia is a rewarding journey, allowing you to expand your plant family and appreciate the wonders of plant reproduction. So, go ahead, get propagating, and enjoy the satisfaction of nurturing new life from your existing leafy companions!