Unleashing the Mighty Mint: Propagating the Fragrant Hedeoma Hispida
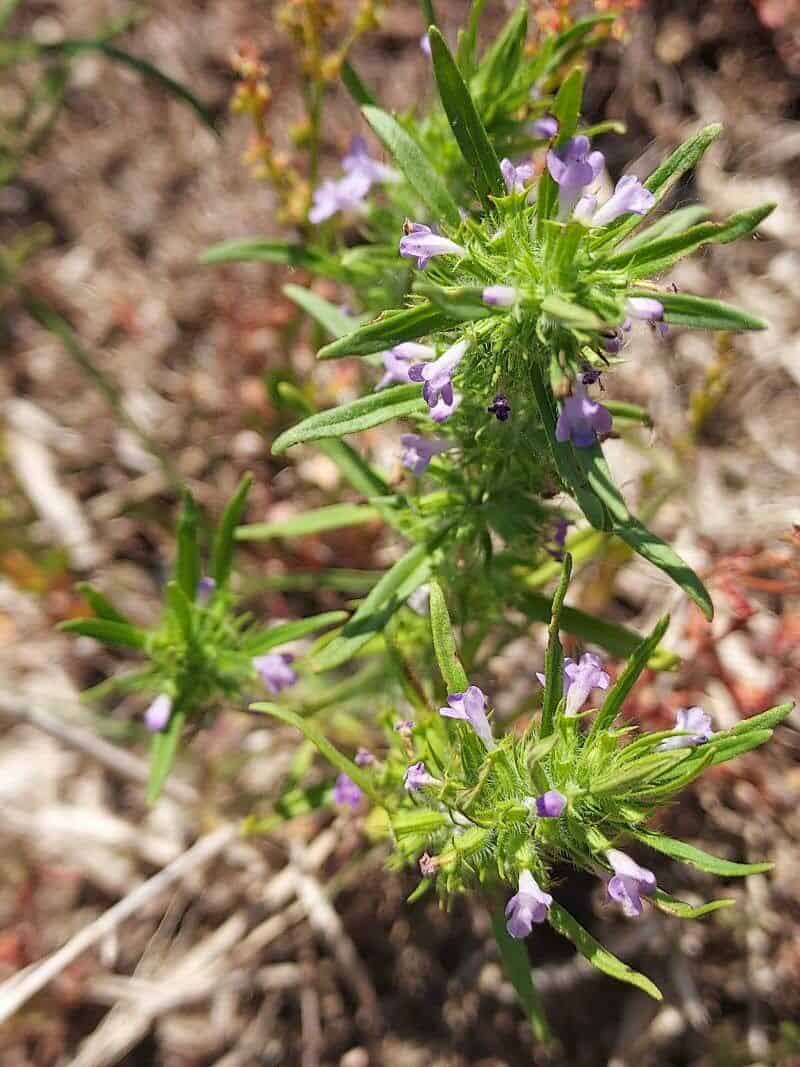
The Hedeoma hispida, fondly known as rough pennyroyal, might appear unassuming with its petite stature and delicate blooms, but don’t let that fool you. This powerhouse plant packs a punch with its intense minty aroma and surprisingly easy propagation, making it a rewarding addition to any herb garden or sunny windowsill.
Perhaps you’ve stumbled upon its delightful scent in the wild or have been gifted a cutting from a fellow plant enthusiast. Whatever your story, learning to propagate Hedeoma hispida opens a world of possibilities to expand your herb collection and share this fragrant gem with others.
Seeds: Sowing the Seeds of Success
Starting from seed might be the most common and rewarding method for propagating your Hedeoma hispida.
Here’s what you need:
- Seeds: You can collect these from existing plants in late summer or purchase them from reputable suppliers.
- Seed Starting Mix: Aim for a well-draining mix specifically formulated for starting seeds.
- Small Pots or Seed Trays: Choose containers with drainage holes to prevent waterlogging.
- Water: Room temperature water is best for both watering and misting.
Steps for Seed Starting:
- Timing is Key: Sow your Hedeoma hispida seeds indoors approximately 6-8 weeks before the last expected frost in your area.
- Surface Sow: Sprinkle the tiny seeds on top of the moistened seed-starting mix. Don’t bury them deeply, as they need light to germinate.
- Mist Gently: Using a spray bottle, mist the soil surface to keep it consistently moist but not waterlogged.
- Warmth and Light: Place your seed trays or pots in a warm location (around 70°F/21°C) with bright, indirect sunlight.
- Patience is a Virtue: Germination can take 10-21 days. Once the seedlings emerge and have a few sets of true leaves, you can thin them out, leaving the strongest ones to thrive.
- Hardening Off: Before transplanting outdoors, gradually acclimate your seedlings to outdoor conditions by exposing them to increasing sunlight and wind over a week or two.
Cuttings: Cloning Your Aromatic Favorite
Propagating Hedeoma hispida from cuttings offers a faster route to mature plants and ensures you’ll replicate the characteristics of the parent plant.
You’ll Need:
- Sharp, Clean Scissors or Pruning Shears: Ensure your tools are sterilized to prevent the spread of diseases.
- Rooting Hormone (Optional): While not strictly necessary, rooting hormone can encourage faster root development.
- Potting Mix: Use a well-draining mix similar to what you’d use for seeds.
Taking the Cut:
- Choose Healthy Stems: Select non-flowering stems around 3-4 inches long (7-10 cm) from a healthy Hedeoma hispida plant.
- Make a Clean Cut: Cut just below a leaf node (where the leaf meets the stem) at a 45-degree angle.
- Prepare the Cutting: Remove the lower leaves from the stem, leaving 2-3 leaves at the top. If using rooting hormone, dip the cut end into the powder.
Planting the Cutting:
- Moist Medium: Make a small hole in your prepared potting mix and gently insert the cut end of the stem.
- Humidity is Key: Cover the pot with a plastic bag or humidity dome to create a warm, humid environment for root development.
- Indirect Light: Place your cutting in a location with bright, indirect light.
- Root Development: Check for root development after 3-4 weeks by gently tugging on the stem. If you feel resistance, roots have likely formed.
- Transplant: Once your cutting has developed a robust root system, you can transplant it into a larger pot or your garden bed.
A Final Word: Enjoy Your Aromatic Bounty
Whether you choose seeds or cuttings, propagating Hedeoma hispida is a rewarding experience. Soon, you’ll have a flourishing collection of these fragrant beauties to enjoy in teas, potpourris, or simply for their invigorating aroma. Happy propagating!