Unleash the Tropical Vibrance: Propagating Your Own Heliconia Bihai
Imagine a burst of fiery hues erupting from lush, banana-like leaves in your backyard – that’s the magic of Heliconia Bihai, also known as the Lobster Claw or False Bird of Paradise. While their exotic beauty may seem intimidating, propagating these tropical wonders is easier than you think! Whether you’re a seasoned gardener or just starting out, this guide will equip you with the know-how to multiply your Heliconia Bihai and transform your garden into a slice of paradise.
Understanding the Basics
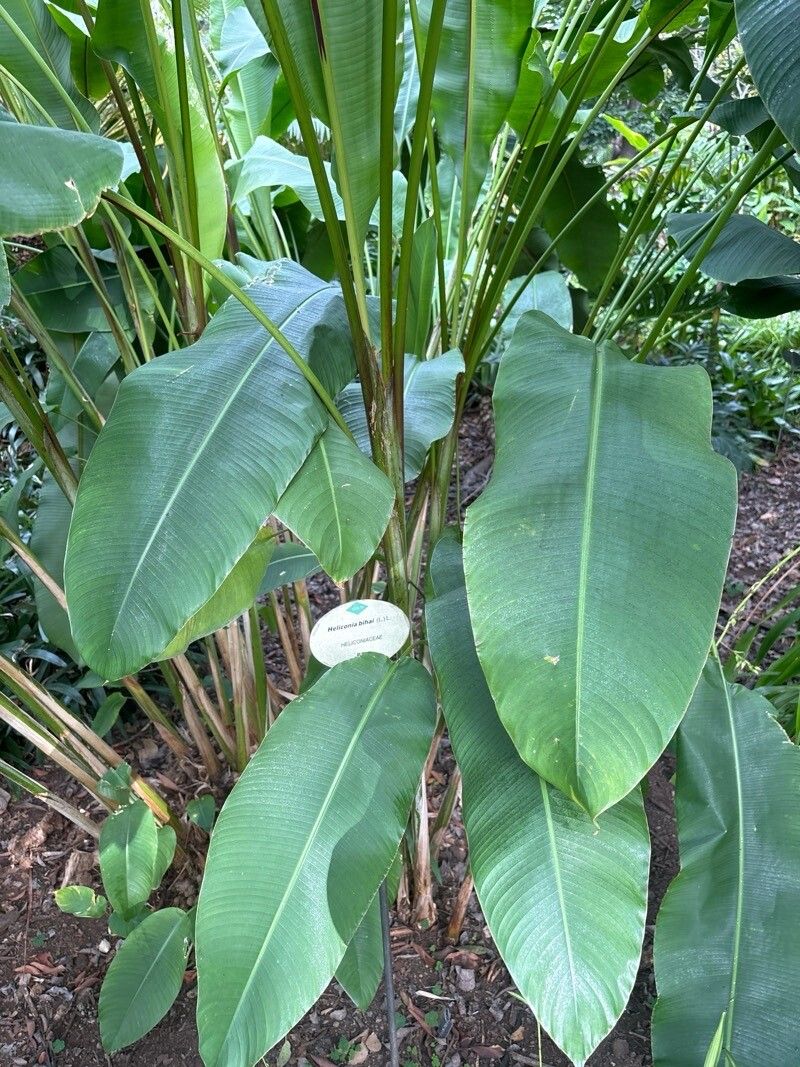
Heliconia Bihai thrives in warm climates, mimicking the humid understory of rainforests. These beauties grow from rhizomes, underground stems that store nutrients and sprout new shoots. And guess what? These rhizomes hold the key to successful propagation!
Two Paths to Paradise: Division and Seed Propagation
1. Rhizome Division: The Fast Track to Floral Delights
Dividing established clumps is the most common and efficient way to propagate Heliconia Bihai. Here’s how:
- Timing is Key: The best time for division is during the plant’s active growing season, ideally spring or early summer.
- Unearth and Divide: Carefully dig around the base of a mature plant, ensuring you don’t damage the rhizomes. Gently lift the clump and use a sharp, sterilized knife or pruning shears to divide it into sections. Each section should have at least 2-3 healthy shoots and a good portion of roots.
- Potting Your Divisions: Prepare pots with well-draining soil, rich in organic matter. Plant the divided rhizomes at the same depth they were originally growing, ensuring the eyes (small buds on the rhizome) are facing upwards.
- Patience is a Virtue: Water thoroughly after planting and place the pots in a shady spot. It may take a few weeks for new growth to emerge, but once it does, gradually introduce them to brighter light.
2. Seed Propagation: Embracing the Journey of Growth
While slightly more challenging and time-consuming, growing Heliconia Bihai from seed offers a unique sense of accomplishment. Here’s a step-by-step guide:
- Seed Selection: Heliconia seeds can be purchased from reputable suppliers or collected from mature seed pods, which appear after flowering.
- Scarification for Success: The tough outer coating of the seed requires scarification to improve germination rates. Gently rub the seed on sandpaper or soak it in warm water for 24 hours.
- Sowing the Seeds: Plant the scarified seeds in a seed-starting mix, covering them lightly with soil. Mist the soil regularly and provide warmth using a heating mat or a warm, bright location.
- Nurturing the Seedlings: Germination can take anywhere from a few weeks to several months, so patience is crucial. Once the seedlings are large enough to handle, transplant them into individual pots.
A Flourish of Tips for Success:
- Well-Draining Soil is Crucial: Heliconia Bihai are susceptible to root rot, so ensure your potting mix drains well. A blend of peat moss, perlite, and compost works wonders.
- Light and Humidity: Provide bright, indirect light and maintain high humidity levels. Misting the leaves regularly or using a humidifier will make your Heliconia feel right at home.
- Feeding Your Tropical Beauties: Regular fertilization during the growing season is essential. Use a balanced, water-soluble fertilizer every 2-4 weeks.
Propagating your own Heliconia Bihai is a rewarding endeavor that will reward you with a tropical oasis right in your backyard. With a little patience and care, you can enjoy the fiery hues and dramatic silhouettes of these magnificent plants for years to come!