Unleash the Caribbean Flare: Propagating Your Very Own Heliconia caribaea
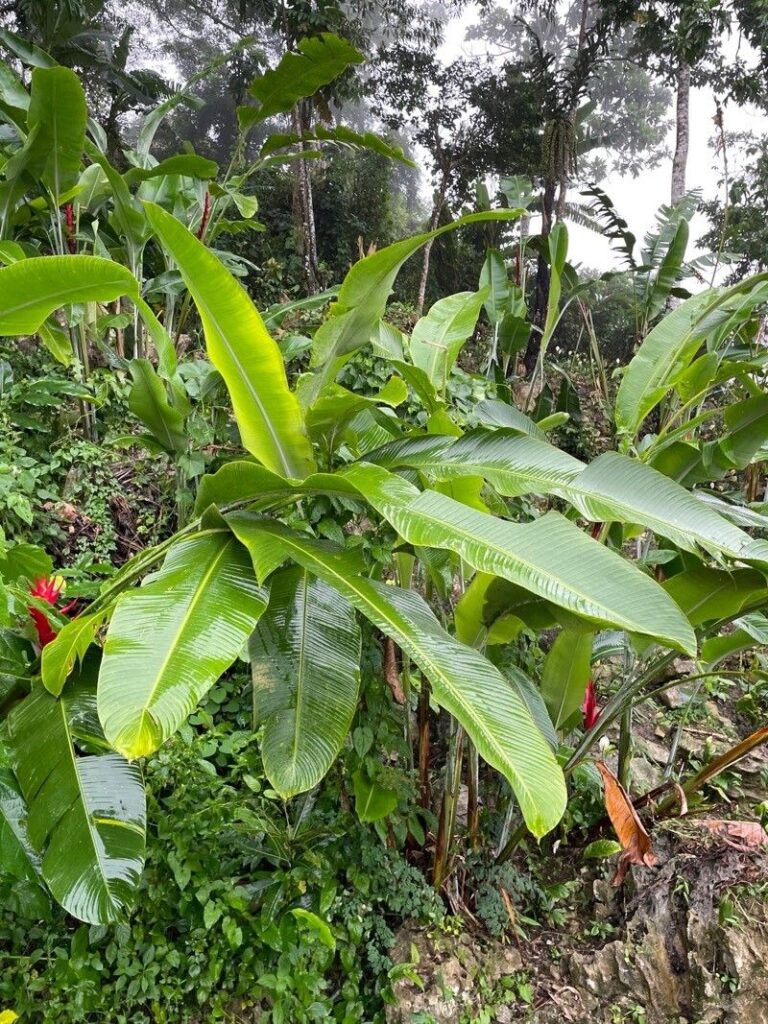
The Heliconia caribaea, also known as the Lobster Claw or Parrot’s Beak, is a showstopper in any tropical garden. Native to the Caribbean, this exotic beauty boasts vibrant, colorful bracts that resemble lobster claws, adding drama and intrigue to any landscape. While admiring these beauties in botanical gardens is a treat, wouldn’t it be spectacular to have them grace your own outdoor space (or even your home in colder climates)?
Luckily, propagating Heliconia caribaea is a relatively straightforward process that even novice gardeners can master. Here’s a deep dive into the two most effective methods:
1. Division: Multiplying Your Tropical Treasures
Division is the easiest and fastest way to propagate Heliconia caribaea. This method involves separating established clumps into smaller, individual plants, each with its own roots. Here’s how:
- Timing is Key: Spring is the ideal time for division, as the plant enters its active growing season.
- Digging Deep: Carefully dig around the base of a mature, healthy Heliconia clump, ensuring you don’t damage the rhizomes (underground stems).
- Divide and Conquer: Gently pull apart the rhizomes, ensuring each division has at least 2-3 healthy shoots and a well-developed root system. A sharp, clean knife can be helpful for separating stubborn sections.
- Repotting for Success: Prepare pots or planting holes with well-draining soil. Plant your divisions at the same depth they were originally growing, water thoroughly, and provide dappled sunlight.
2. Seeds: A More Patient Approach to Propagation
Propagating Heliconia caribaea from seeds takes more time and patience, but it can be a rewarding experience. Here’s a step-by-step guide:
- Seed Starting: Plant your seeds in a well-draining seed starting mix, lightly pressing them into the surface.
- Warm and Humid: Heliconia seeds need warmth and moisture to germinate. Use a heat mat to maintain a consistent temperature of 75-85°F(24-29°C) and mist the soil regularly to keep it damp.
- Patience is Key: Germination can take anywhere from a few weeks to several months. Don’t be discouraged if your seedlings don’t appear instantly.
- Transplanting Time: Once your seedlings have developed a few sets of true leaves and are large enough to handle, transplant them into larger pots or directly into your garden bed (in warmer climates).
Caring for Your New Propagations
No matter your chosen propagation method, providing the right care is crucial for healthy Heliconia caribaea growth:
- Sunlight: These tropical beauties thrive in bright, indirect light. In hotter climates, providing some afternoon shade is beneficial.
- Water: Heliconias enjoy consistently moist soil. Water regularly, especially during dry periods, but avoid overwatering which can lead to root rot.
- Soil and Fertilizer: A well-draining soil rich in organic matter is ideal. Fertilize regularly during the growing season with a balanced, slow-release fertilizer.
- Pests and Diseases: While relatively low maintenance, be vigilant against common pests like spider mites and mealybugs. Treat any infestations promptly.
Propagating your own Heliconia caribaea is a satisfying way to expand your tropical plant collection and add a splash of vibrant color to your surroundings. With a little patience and care, you’ll be rewarded with these stunning, exotic blooms for years to come.