Sunshine in Every Seed: Easy Propagation Tips for Heliomeris Multiflora
Want your garden bursting with sunshine-yellow blooms all summer long? Look no further than Heliomeris multiflora, a cheerful wildflower that thrives with minimal care, offering a vibrant splash of color and attracting pollinators galore. But what if you want to share this joy with friends or simply expand your own patch? That’s where propagation comes in! Here’s a simple guide to growing Heliomeris multiflora from seed and cuttings:
From Seed to Sunshine:
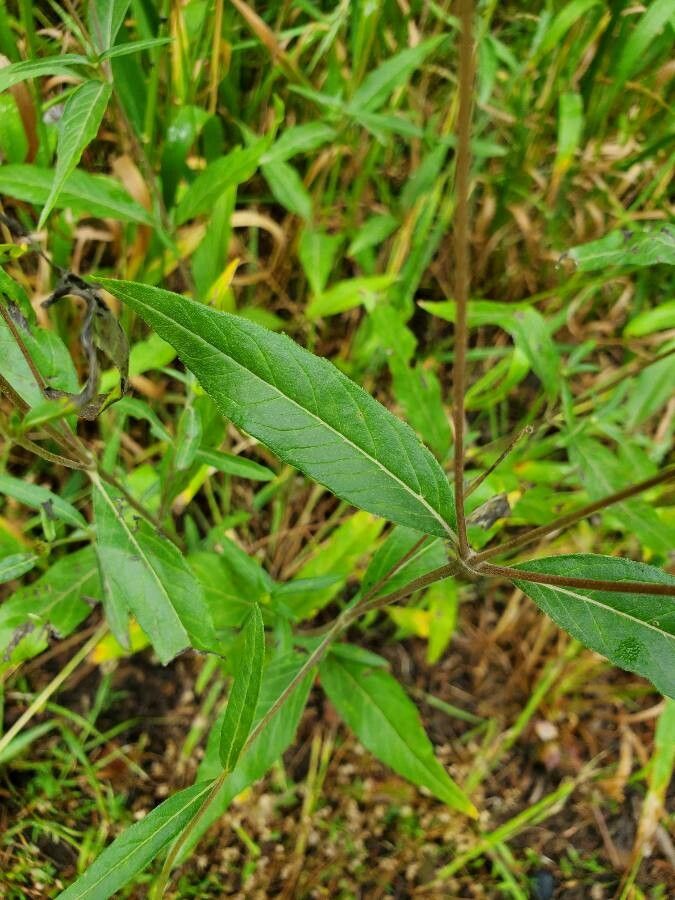
Heliomeris multiflora is a true champion of easy propagation, readily multiplying from seed.
1. Time for a Sprout:
- Ideal Time: Spring is the perfect time to start seeds indoors. With a few weeks of warm weather, you’ll see tiny sprouts emerge, ready for transplanting into the garden.
- Getting Started: Sow seeds in seed trays or pots filled with a seed-starting mix. Lightly cover the seeds with soil, mist them gently, and maintain consistent moisture.
- Waiting Game: Typically, seeds take 10-14 days to germinate under optimal conditions. However, be patient – sometimes they might need a little extra time.
2. Ready for the Big World:
- Transplanting Time: Once your seedlings have developed a few sets of true leaves, they’re ready for the great outdoors! You can directly sow seeds into the ground after the last frost, but starting indoors generally offers a faster jumpstart.
- Choose wisely: Select a sunny spot with well-drained soil. Heliomeris multiflora thrives in full sun, so ensure the location receives at least 6 hours of direct sunlight each day.
- Spacing and Success: Space the seedlings about 12 inches apart, allowing ample room for them to spread and grow without overcrowding.
Taking Cuttings for Quick Growth:
For an even quicker route to a thriving patch of Heliomeris multiflora, consider taking cuttings:
1. The Cut:
- Timing is Key: The best time to take cuttings is in spring or early summer, during active growth. Choose healthy, non-flowering stems with a few sets of leaves.
- Sharp and Clean: Use a sharp, clean knife or shears to take a 4-6 inch cutting. Make your cut just below a leaf node, where roots can readily emerge.
2. The Rooted Future:
- Dipping for Success: Dip the cut end of the stem into rooting hormone powder—this helps encourage root development.
- The Right Spot: Prepare a pot or tray filled with a well-draining potting mix. Insert the cuttings into the soil, ensuring that a couple of leaves remain above the soil line.
- Water Wisely: Water the container thoroughly to keep the soil consistently moist, and cover the cuttings with a clear plastic dome to maintain a humid environment.
- Patiently Waiting: Within several weeks, roots should start to form. Once the cuttings have established roots, they can be carefully transplanted into the garden.
Tips for Success:
- Keep it Moist: Watering is crucial for successful propagation. Keep the soil evenly moist, but avoid overwatering, which can cause root rot.
- Choose the Right Time: Depending on your climate, the ideal time for starting seeds and taking cuttings might slightly vary. Always refer to your local climate conditions before starting.
- Healthy Beginnings: Ensure that parent plants are healthy and free of pests and diseases before taking cuttings.
- Patience is Key: Propagation takes time, so don’t get discouraged if things don’t happen overnight. With a little patience and care, you’ll soon enjoy a beautiful, vibrant patch of Heliomeris multiflora.
Propagating Heliomeris multiflora is easy, rewarding, and a fantastic way to enjoy this cheerful wildflower year after year. Start your journey today and let your garden bloom with sunshine!