Unveiling the Secrets to Propagating the Dazzling Heliosperma pusillum
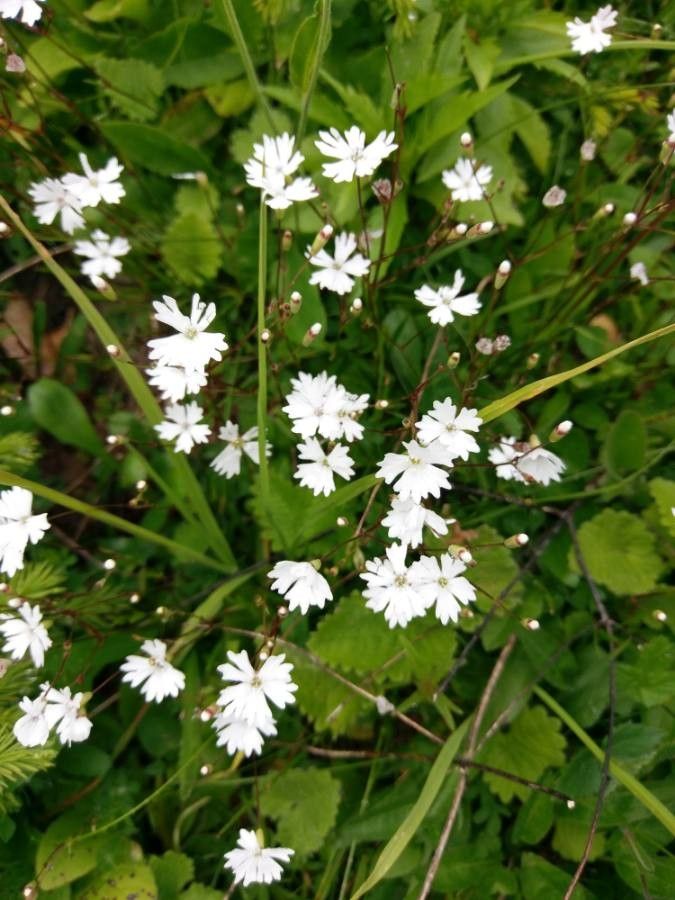
Heliosperma pusillum, also known as the “Little Sun Plant” for its radiant star-shaped blooms, is a charming addition to rock gardens, alpine troughs, or even sunny window sills. This low-growing, cushion-forming perennial hails from the mountainous regions of Europe, showcasing dainty pink or white flowers that emerge in late spring and linger into early summer. If you’re captivated by its delicate beauty and wish to multiply your floral bounty, then mastering the art of propagating Heliosperma pusillum is your ticket to a thriving miniature landscape.
There are two primary methods for propagating Heliosperma pusillum:
1. Seed Propagation: Embracing the Cycle of Life
Propagating from seed offers the satisfaction of witnessing the entire life cycle of your Heliosperma pusillum. While it requires a bit more patience, it’s a rewarding endeavor, especially if you’re starting your collection or looking to cultivate a large number of plants.
- Timing is Key: Sow your seeds in late winter or early spring, about 6-8 weeks before the last expected frost in your region.
- Prepare the Seedbed: Use a well-draining seed starting mix and sprinkle the seeds evenly over the surface. Lightly press them into the soil without burying them completely, as they require light for germination.
- Patience and Moisture: Keep the soil consistently moist but not waterlogged. Place the seed tray in a bright, indirectly lit location with a temperature around 65-70°F (18-21°C).
- Germination: Within 2-3 weeks, you should start seeing tiny seedlings emerge. Once they have developed a few true leaves, you can thin out weaker ones, providing ample space for the remaining seedlings to thrive.
- Transplanting: When the seedlings are large enough to handle and the risk of frost has passed, transplant them into individual pots or directly into your garden bed. Choose a sunny location with well-drained soil.
2. Division: Multiplying Your Floral Treasures
Division is a faster propagation method suitable for established Heliosperma pusillum plants. It’s best undertaken in early spring or fall, granting the divisions ample time to establish themselves before facing harsh weather conditions.
- Careful Extraction: Gently dig up the entire plant, ensuring you loosen the soil around the roots to minimize damage.
- Divide and Conquer: Use a sharp, clean knife or garden shears to carefully divide the plant into smaller sections, each with a healthy root system and several shoots.
- Repotting: Plant the divisions immediately into individual pots or directly into your garden, ensuring the crown of each division is level with the soil surface. Water them thoroughly.
Essential Care After Propagation:
Irrespective of your chosen propagation method, nurturing your newly propagated Heliosperma pusillum is crucial for their successful establishment.
- Well-Drained Soil: This species abhors waterlogged conditions, so choose a well-drained soil mix or amend your garden bed with grit or sand to improve drainage.
- Sun-Kissed Location: Provide your Heliosperma pusillum with at least 6 hours of direct sunlight daily for optimal flowering.
- Moderate Watering: Water regularly during the growing season, allowing the soil to dry out slightly between waterings. Reduce watering during the winter months.
With a sprinkle of patience, a dash of care, and this handy guide, you’ll be well on your way to cultivating a breathtaking display of Heliosperma pusillum, transforming your garden into a breathtaking tapestry of vibrant, star-like blooms.