Unleashing the Fern Frenzy: How to Propagate Hemionitis Intertexta (The “Mouse Ear Fern”)
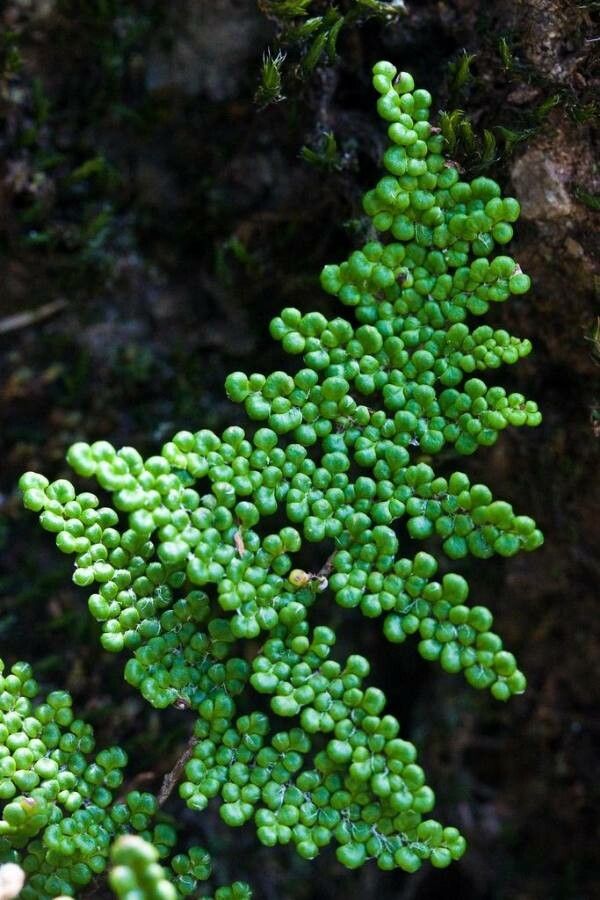
The Hemionitis intertexta, better known as the “Mouse Ear Fern” due to its adorably shaped leaves, is a captivating addition to any indoor plant collection. But what if you want to share this leafy delight with friends or expand your own fern family? Enter the fascinating world of propagation!
This blog post will guide you through the simple, yet rewarding process of multiplying your Mouse Ear Fern through a method called spore propagation.
Unveiling the Spores: A Tiny Miracle
Unlike many plants that rely on seeds or cuttings, Hemionitis intertexta reproduces through spores. These tiny, dust-like particles are tucked away on the underside of the mature fern leaves, resembling brown patches. Each spore is a potential new plant, carrying the genetic blueprint for a whole new Mouse Ear Fern!
The Spore Propagation Process
-
Gathering the Spores:
- Carefully select a healthy, mature fern leaf with abundant brown spore patches.
- Gently scrape the spores from the leaf using a dull knife or a spoon, collecting them in a clean container.
-
Preparing the Spore Medium:
- Use a sterile, seed-starting mix or a mixture of peat moss and perlite in a shallow container (like a seed tray).
- Lightly mist the medium with water to dampen it, but avoid over-saturating it.
-
Sowing the Spores:
- Sprinkle the collected spores evenly across the surface of the moist medium.
- Don’t bury the spores; they need access to light for germination.
-
Creating the Perfect Environment:
- Cover the container with a clear plastic dome or wrap to create a humid environment for the spores.
- Place the container in a bright, indirect light location, avoiding direct sunlight.
- Maintain a temperature consistently around 70-75°F (21-24°C).
-
Patience is Key:
- Germination can take anywhere from a few weeks to several months, so be patient!
- Keep the medium lightly moist, but don’t overwater, and mist regularly to maintain humidity.
-
First Signs of Life:
- You’ll notice small, green, heart-shaped prothalli (tiny gametophytes) emerging from the spores. These are the first stages of the fern life cycle.
- Transplanting:
- Once the prothalli are about half an inch in size, you can gently transplant them into individual pots with a well-draining potting mix.
- Water sparingly, allowing the soil to dry slightly between waterings.
Tips for Success:
- Sterility is vital: Use sterilized tools and containers to avoid contamination and fungal growth.
- Consistent moisture: Maintain a consistently moist environment, but avoid overwatering.
-
Patience and observation: Spore propagation requires patience, so keep an eye on your spores and adjust your care routine as needed.
Embracing the Journey:
Spore propagation isn’t a quick process, but it’s a rewarding journey. As you observe the delicate prothalli transform into miniature ferns, you’ll appreciate the extraordinary lifecycle of these resilient plants. With a little patience and gentle care, you can cultivate a thriving army of Mouse Ear Ferns, adding a touch of whimsy and green to your space, and sharing the joy of fern parenthood.