Reaching New Heights: Propagating the Majestic Cuban Hibiscus (Hibiscus elatus)
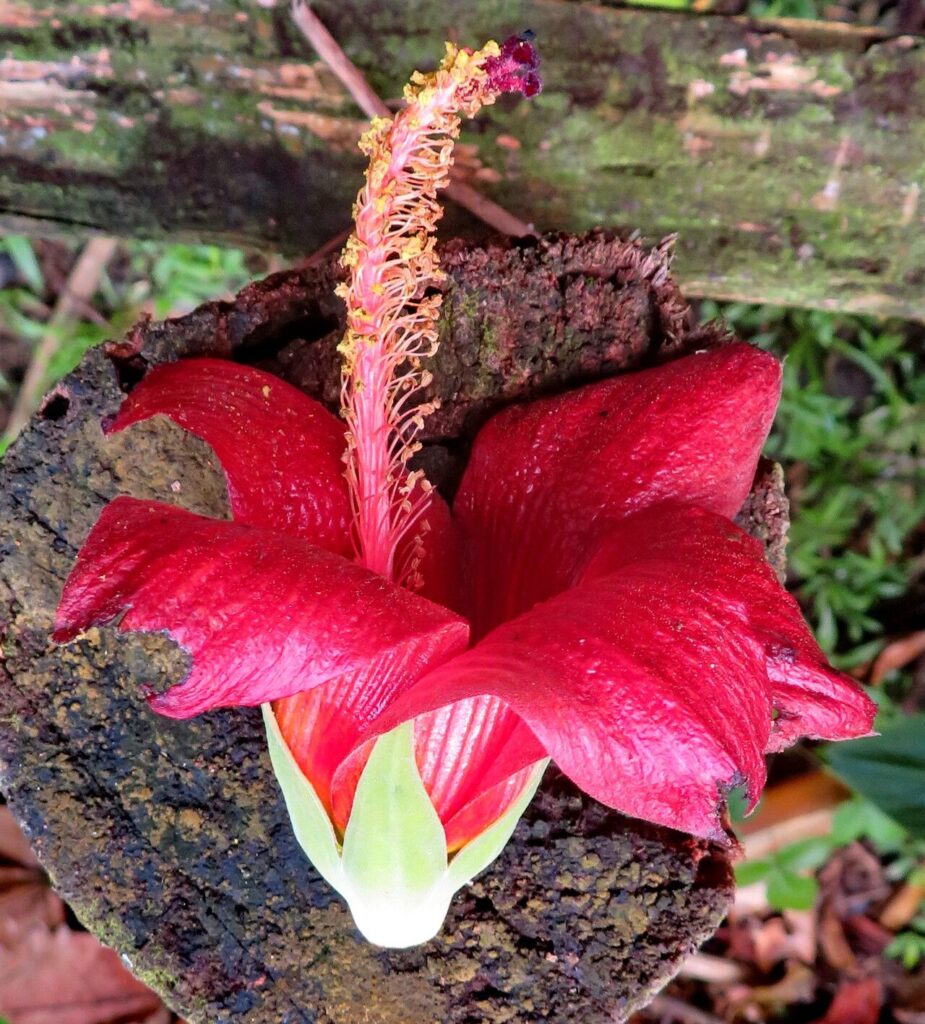
The Cuban Hibiscus, also known as the Blue Mahoe (Hibiscus elatus), is a sight to behold. This majestic tree, with its vibrant orange-red blooms that deepen to crimson throughout the day, can add a touch of tropical elegance to any landscape. While admiring mature trees is a treat, wouldn’t it be rewarding to cultivate your own towering beauty? Propagating Hibiscus elatus might seem like a feat for green thumbs only, but with the right knowledge and a sprinkle of patience, even beginners can master the art.
Unveiling the Propagation Secrets
While Hibiscus elatus can be grown from seed, propagation through cuttings reigns supreme for ensuring faster growth and preserving the parent plant’s characteristics. Here’s a breakdown to guide you:
1. Timing is Everything:
- Ideal Time: Spring, when the weather is warm and humid, presents the perfect conditions for optimal rooting.
- Acceptable Time: Early summer is also suitable, giving the cuttings enough time to establish before winter.
2. Gathering Your Supplies:
- Sharp, Clean Pruning Shears: This ensures clean cuts for healthier cuttings.
- Rooting Hormone (Optional but Recommended): It significantly increases the success rate of rooting.
- Well-Draining Potting Mix: Choose a mix specifically formulated for cuttings or seedlings.
- Small Pots (4-6 inches): These provide ample space for initial root development.
3. Taking the Perfect Cutting:
- Select a healthy, non-flowering stem from the current year’s growth.
- Using your sharp shears, make a clean cut about 6-8 inches long just below a leaf node (where the leaf emerges from the stem).
- Remove the leaves from the bottom third of the cutting to prevent rotting.
4. Encouraging Root Formation:
- (Optional) Rooting Hormone: Dip the bottom inch of the cutting into the hormone powder or gel, following the product instructions.
- Planting the Cutting: Make a small hole in the potting mix with your finger or a pencil, deep enough to hold the cutting securely. Gently insert the cutting into the hole and firm the soil around it.
5. Creating a Humid Environment:
- Water Thoroughly: Water the cutting gently but thoroughly until water drains from the bottom of the pot.
- Humidity Tent: To create a warm, humid environment, cover the pot with a clear plastic bag or use a humidity dome. This helps retain moisture and promotes faster rooting.
6. Nurturing Your Cuttings:
- Placement: Place the pot in a bright location, but out of direct sunlight.
- Watering: Check the soil regularly and keep it consistently moist but not waterlogged. Mist the cutting occasionally to maintain humidity.
- Patience: Rooting can take anywhere from 4 to 8 weeks. Be patient and avoid disturbing the cutting during this time.
7. Transplanting Success:
- Signs of Growth: Once you see new growth, it’s a good sign that roots have developed. Gently tug on the cutting – resistance indicates successful rooting.
- Transplanting: Choose a larger pot (10-12 inches) with drainage holes and fill it with well-draining potting mix. Carefully transplant the rooted cutting and water it thoroughly.
A Legacy of Beauty
Propagating your own Hibiscus elatus is a rewarding experience that connects you to the cycle of nature. With each successful cutting, you’re not just growing a plant, you’re cultivating a living legacy that will continue to bloom for years to come, gracing your surroundings with its vibrant beauty and tropical charm.