Unveiling the Secrets of Ocean Spray Propagation: A Guide to Growing Holodiscus Discolor
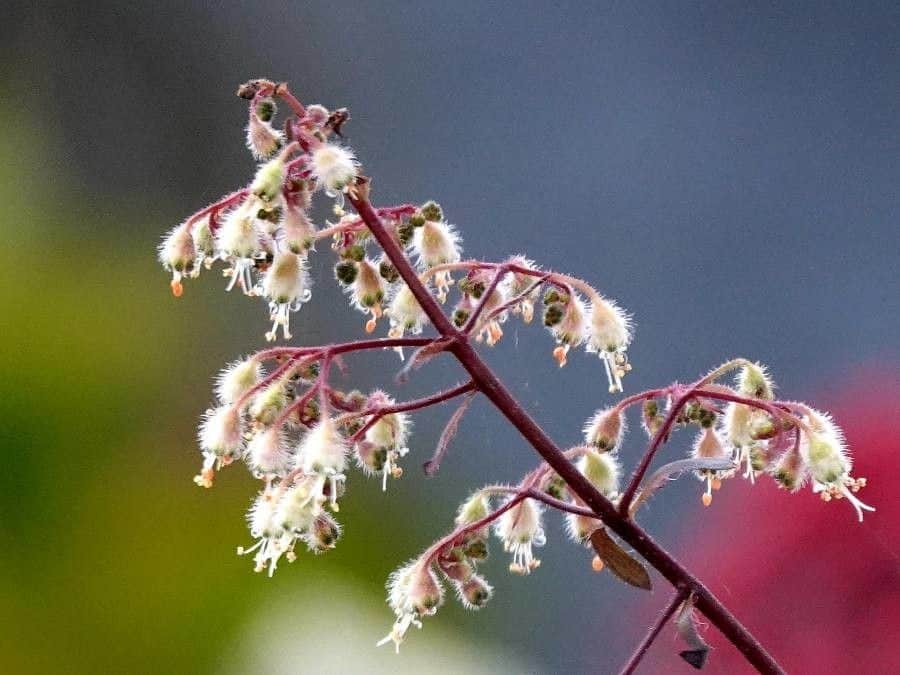
Holodiscus discolor, more commonly known as Ocean Spray or Creambush, is a beloved native shrub renowned for its stunning plumes of creamy white flowers that cascade like waterfalls in early summer. This elegant plant, with its graceful arching branches and vibrant green foliage, adds a touch of wild beauty to any garden. If you’re looking to invite this enchanting shrub into your own outdoor space, propagation is a rewarding way to do so.
While Ocean Spray can be purchased from nurseries, propagating it yourself is surprisingly easy and allows you to create new plants for free. Let’s dive into two effective methods: propagating from cuttings and growing from seed.
Method 1: Cutting to the Chase (Propagating from Cuttings)
This method harnesses the power of cloning to create identical copies of your desired Ocean Spray plant. Here’s how it’s done:
1. Timing is Key: The optimal time for taking cuttings is in late spring or early summer when the plant is actively growing.
2. Selecting the Perfect Snip: Choose healthy, non-flowering stems that are about 4-6 inches long and show vigorous growth.
3. Preparing the Cuttings: Use a sharp, clean pruning shear to make a cut just below a leaf node (where the leaf meets the stem). Remove the leaves from the bottom inch or two of the cutting.
4. Encouraging Root Development: Dip the cut end in rooting hormone powder to stimulate root formation.
5. Planting the Cuttings: Plant your prepared cuttings in a well-draining potting mix, burying the bottom node(s) completely.
6. Creating a Humid Haven: Cover the pot with a plastic bag or use a propagation dome to create a warm, humid environment.
7. Patience is a Virtue: Keep the potting mix consistently moist and place the pot in a spot with bright, indirect light. Rooting can take 4-8 weeks.
8. Transplanting Success: Once your cuttings have developed a healthy root system, they can be transplanted into individual pots or directly into the ground.
Method 2: From Tiny Seed to Mighty Shrub (Propagating from Seed)
This method involves a bit more patience, but is a fascinating journey that allows you to witness the plant’s lifecycle firsthand.
1. Sourcing Your Seeds: Collect seed heads from an established Ocean Spray plant in late summer or fall. Alternatively, purchase seeds from a reputable supplier.
2. Breaking Dormancy (Stratification): Ocean Spray seeds require a period of cold stratification to mimic natural winter conditions. Place the seeds in a moist paper towel inside a sealed plastic bag and store them in the refrigerator for 6-8 weeks.
3. Sowing the Seeds: Sow the stratified seeds in a seed-starting mix, pressing them lightly into the surface.
4. Providing the Right Conditions: Keep the soil moist and place the seed tray in a warm, brightly lit location.
5. Germination: Embrace the Wait: Be patient! Germination can take anywhere from a few weeks to a couple of months.
6. Thinning the Seedlings: Once the seedlings have developed a few sets of true leaves, thin them out to give the strongest ones adequate space to grow.
7. Transplanting: When the seedlings are large enough to handle, they can be transplanted into individual pots or directly into the garden.
A Few Final Tips for Success:
- Choose the Right Location: Plant Ocean Spray in a location that receives full sun to partial shade and has well-drained soil.
- Water Wisely: Keep the soil consistently moist, especially during the first year after planting.
- Prune for Shape and Size: Pruning is best done after flowering to maintain the desired shape and size of your Ocean Spray.
By following these steps, you can propagate your very own Ocean Spray plants and enjoy their cascading beauty for years to come. Whether you choose to propagate from cuttings or embark on the rewarding journey of growing from seed, you’ll be contributing to the thriving ecosystem of your garden while enjoying the satisfaction of growing your own plants.