Spreading the Tiny Treasure: Propagating Hornungia procumbens
Hornungia procumbens, also known as spreading yellowcress, might not be a household name, but this often-overlooked plant offers a charming addition to any garden that embraces a wilder, more naturalistic aesthetic. Characterized by its delicate, star-shaped yellow flowers and low-growing habit, this little plant is surprisingly versatile and surprisingly easy to propagate. If you’re looking to introduce Hornungia procumbens into your garden, here’s a comprehensive guide on how to successfully multiply your stock.
Method 1: Seed Propagation
The most common method, seed propagation, allows you to witness the plant’s full life cycle. Here’s how it’s done:
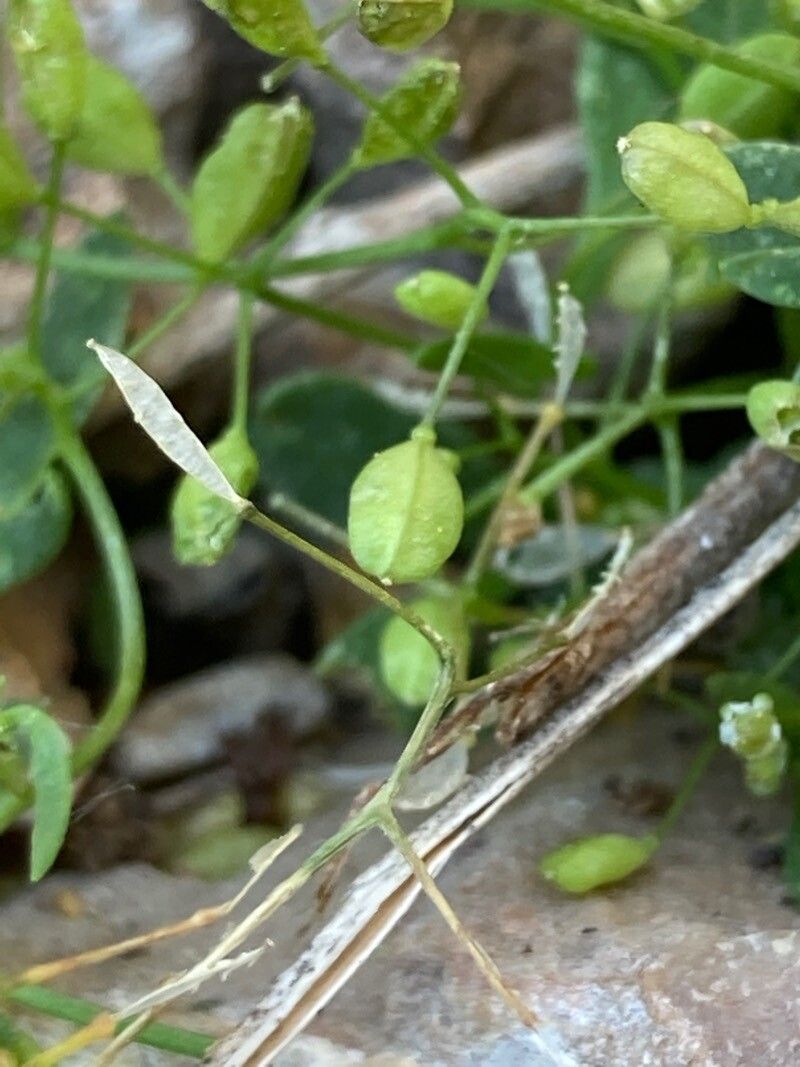
Seed Collection: Hornungia procumbens produces small, round seed pods after flowering. Collect these pods when they turn brown and dry. Gently crack them open to reveal the tiny, black seeds within.
Sowing Time: For optimal germination, sow seeds in early spring, directly into your garden bed, or start them indoors 6-8 weeks before the last frost.
Soil Preparation: Hornungia procumbens thrives in well-draining soil. Loosen the soil and amend it with compost to improve drainage and fertility.
Sowing Depth: Due to their small size, simply sprinkle the seeds on the soil surface and lightly press them down. Avoid burying the seeds deeply.
Moisture and Light: Keep the soil consistently moist but not waterlogged. Hornungia procumbens prefers partial shade to full sun, especially in warmer climates.
- Thinning: Once seedlings emerge, thin them out to provide adequate spacing for growth, leaving about 6-8 inches between plants.
Method 2: Division
For established plants, division offers a simple and effective propagation method:
Timing is Key: Divide Hornungia procumbens in early spring or fall when the weather is cool and moist.
Digging Up the Clump: Carefully dig around the base of the plant, ensuring you lift the entire root system.
Division Process: Gently tease apart the roots to separate the plant into smaller sections. Each section should have a healthy root system and several stems.
- Replanting: Replant the divided sections immediately at the same depth they were originally growing. Water thoroughly to help them establish.
Advantages of Propagating Hornungia procumbens
- Cost-Effective: Propagation allows you to expand your plant collection without purchasing new plants.
- Increased Plant Stock: Quickly multiply your Hornungia procumbens to create beautiful ground covers, borders, or fill in gaps in your garden.
- Rewarding Experience: Propagating plants can be deeply satisfying, connecting you more closely with the natural world.
Tips for Success
- Hornungia procumbens is relatively disease and pest-free, making it a low-maintenance plant to propagate.
- Regular deadheading of spent flowers can encourage more blooms and prevent unwanted self-seeding.
- Consider experimenting with both seed and division methods to determine which works best for you.
Propagating Hornungia procumbens is a straightforward process even for beginner gardeners. With a little patience and care, you can easily enjoy the delicate beauty of this charming plant in abundance, adding a touch of understated elegance to your outdoor spaces.