
Sparkling Streams of Sunshine: Propagating Your Own Hymenostephium Rivularis
The Hymenostephium rivularis, also known by its charming alias, the False Daisy, is a gardener’s delight. With its vibrant yellow blooms reminiscent of tiny sunflowers and feathery foliage that cascades gracefully, this South American native can brighten up any garden or balcony. But did you know that multiplying your sunshine-filled joy is surprisingly easy? Let’s delve into the world of propagating Hymenostephium rivularis and get you cloning your very own happy blooms!
Method 1: Seed Starting – A Dance with Patience:
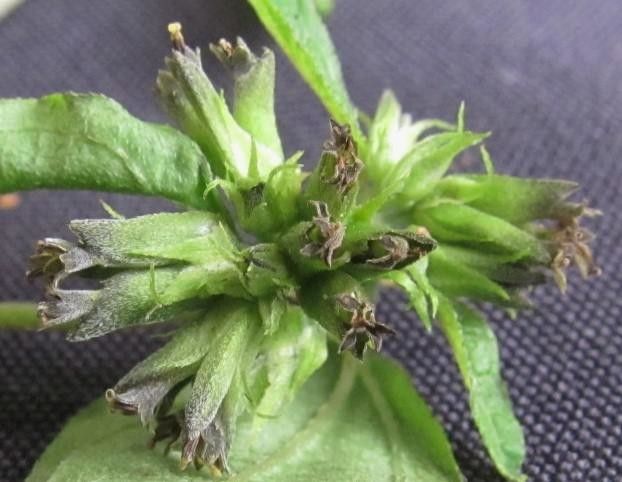
- Harvesting Hope: When your False Daisy’s blooms fade, tiny seeds form at their centers. Allow the seed heads to dry completely on the plant – you’ll know they’re ready when they turn brown and brittle.
- Sowing the Seeds: Choose a well-draining seed starting mix and sprinkle your seeds on the surface. Lightly press them down, ensuring they have good contact with the soil but aren’t buried too deep.
- Warmth and Light: Hymenostephium rivularis seeds love warmth. Place your seed tray in a bright location, but avoid direct sunlight. Aim for a consistent temperature of around 70-75°F (21-24°C). A seedling heat mat can be your best friend in this endeavor.
- Patience, Young Padawan: Germination can take anywhere from 10 days to several weeks. Keep the soil consistently moist but not waterlogged.
- Transplanting Success: Once your seedlings have a couple sets of true leaves and are a few inches tall, they’re ready for transplanting! Choose a sunny spot in your garden or a spacious pot with well-draining soil.
Method 2: Cuttings – The Fast Track to Blooms:
- Snip Smart: Choose healthy, non-flowering stems for your cuttings. Using clean, sharp shears or a knife, take a 3-4 inch cutting just below a leaf node (the point where a leaf emerges from the stem).
- Hormone Boost (Optional): While not strictly necessary, dipping the cut end in rooting hormone powder can significantly increase your success rate.
- Planting the Cutting: Fill a small pot with a well-draining potting mix. Make a small hole in the center and gently insert your cutting.
- Creating a Humid Haven: To encourage rooting, create a humid environment for your cuttings. You can do this by placing a clear plastic bag over the pot or using a humidity dome.
- Rooty Tooty Fresh and New: Within a few weeks, you should start to see new growth, a telltale sign that your cuttings have rooted successfully! Once the roots are established, you can transplant them into larger pots or your garden.
Caring for Your Progeny:
Hymenostephium rivularis thrives in full sun to partial shade and enjoys well-draining soil. Water regularly, especially during hot weather, but be careful not to overwater. Deadheading spent blooms will encourage more flower production and keep your plant looking its best.
With a little effort, you can fill your world with the cheerful glow of Hymenostephium rivularis. So go forth, propagate, and let your garden radiate with sunshine!