Unlocking the Secrets of Hypericum Beanii: A Guide to Successful Propagation
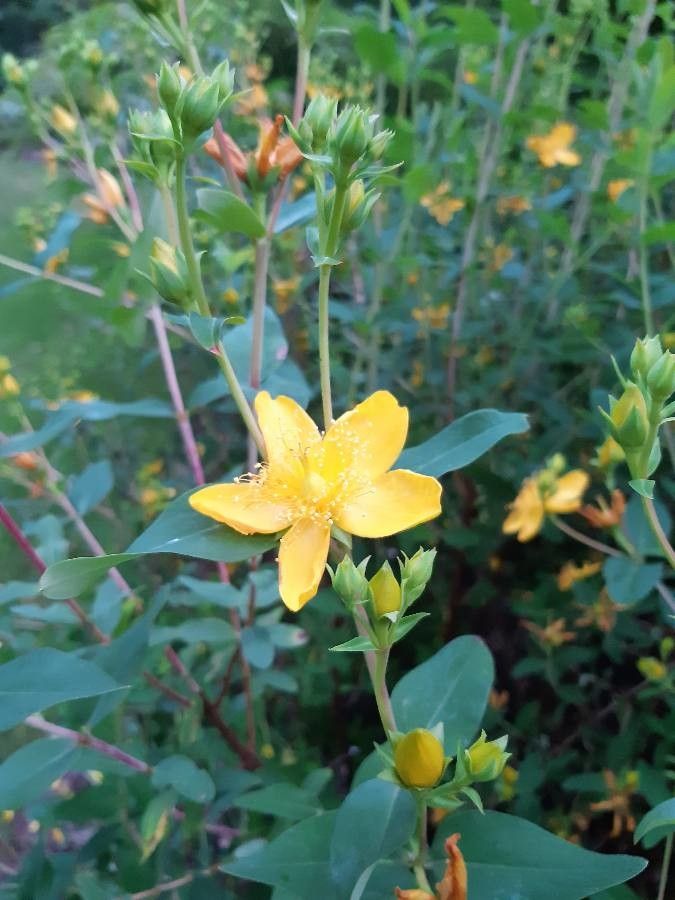
Have you fallen in love with the vibrant, golden blooms of Hypericum beanii? This charming shrub, known for its cheerful yellow flowers that turn into striking red berries, adds a touch of brilliance to any garden. But what if you want to share this beauty with others, or simply expand your own collection? The good news is, propagating Hypericum beanii is surprisingly easy, even for beginner gardeners. Let’s delve into the various methods for creating new plants from this stunning shrub.
1. Taking Cuttings: An Easy and Reliable Choice
The most commonly used and successful method for propagating Hypericum beanii is taking semi-hardwood cuttings. This method involves taking cuttings from the current season’s growth that has begun to harden off but isn’t quite woody yet.
Here’s how to do it:
- Timing is key: The best time to take cuttings is in late summer or early fall.
- Choose your shoots: Select healthy, non-flowering stems with new growth.
- Sharp tools: Use clean, sharp pruning shears or a knife to make a clean cut about 4-6 inches long.
- Remove lower leaves: Remove leaves from the bottom inch or two of the cutting to prevent rot.
- Hormone boost (optional): Dip the cut end of the stem in rooting hormone powder for a little extra help.
- Planting medium: Place the cuttings in a well-draining mix of potting soil and perlite or vermiculite.
- Cover and care: Mist the cuttings regularly, and create a humid environment by covering them with a plastic dome or bag.
- Patience is key: Place the cuttings in a bright spot with indirect light. Root development usually takes about 4-6 weeks.
2. Layering: A Gentle Approach
Layering is a slower but reliable technique for Hypericum beanii. This method encourages roots to develop on the stem without detaching it from the parent plant.
Here’s how to layer:
- Select a branch: Choose a low-lying, flexible branch that is about 1 year old.
- Make an incision: Use a sharp knife to make a shallow cut on the underside of the branch.
- Pin it down: Gently bend the branch and pin it into the soil, ensuring the cut is in contact with the soil.
- Maintain moisture: Keep the soil moist around the pinned section.
- Patience: New roots will develop in a few months, at which point you can carefully separate the new plant from the parent.
3. Seed Propagation: For the Adventurous
While less commonly used than cuttings or layering, propagating Hypericum beanii from seed is an option.
Here’s a brief overview:
- Harvest seeds: Collect the seeds from ripe berries in the fall.
- Winter stratification: Seeds need a cold period to germinate. Store them in a moist medium in the refrigerator for 8-12 weeks.
- Sowing: Sow the seeds in a seed tray filled with a well-draining seed starting mix.
- Warmth and light: Keep the tray in a warm (around 70°F) location with bright, indirect light.
- Wait for germination: Germination can take several weeks.
Tips for Success
No matter which propagation method you choose, here are some general tips for success:
- Sterile tools: Always use clean, sharp tools to prevent diseases.
- Well-draining soil: Ensure the soil is well-draining to prevent root rot.
- Consistent moisture: Keep the soil moist but not soggy.
- Indirect light: Provide bright, indirect light for optimal growth.
- Patience: Propagation takes time. Don’t give up!
Now that you know the secrets to successfully propagating Hypericum beanii, you can share its cheerful beauty with others or create your own sprawling, golden haven. So get those tools ready, and enjoy the journey of watching these vibrant plants flourish!