Sun-Kissed Success: Propagating Canary Island St. John’s Wort (Hypericum canariense)
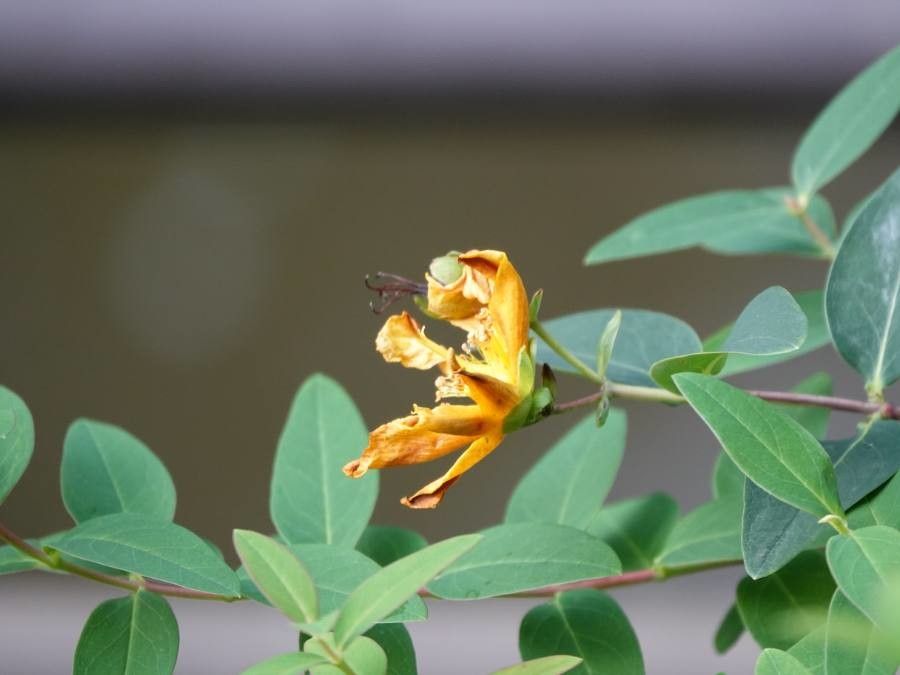
Canary Island St. John’s Wort (Hypericum canariense) is a showstopper, boasting cheerful yellow flowers and vibrant green foliage. Native to the Canary Islands, this shrub brings a touch of sunshine to gardens worldwide. If you’re looking to multiply your sunny disposition (and your Hypericum collection!), you’re in luck. Propagating Hypericum canariense is surprisingly simple, even for beginner gardeners. Let’s explore the two most effective methods:
1. Taking Cuttings:
Propagating from cuttings is the most popular and reliable method for Hypericum canariense. Here’s how to do it:
Timing:
- Best time: Late spring or early summer, when the plant is actively growing.
- Possible, but with lower success: Early fall.
Materials:
- Sharp, clean pruning shears or scissors
- Small pots (about 3-4 inches in diameter)
- Well-draining potting mix (a mix of peat moss, perlite, and vermiculite works well)
- Rooting hormone (optional, but recommended)
Instructions:
- Select healthy stems: Choose non-flowering stems that are about 4-6 inches long and show vigorous new growth.
- Make the cut: Cut just below a leaf node (the point where a leaf attaches to the stem) at a 45-degree angle.
- Prepare the cutting: Remove the leaves from the bottom inch or two of the stem. If using rooting hormone, dip the cut end into the powder.
- Pot the cutting: Fill the pots with the potting mix and make a small hole in the center. Gently insert the cutting into the hole, burying the bottom nodes.
- Water and humidity: Water the cuttings thoroughly and place them in a warm, brightly lit location, out of direct sunlight. To maintain high humidity, you can cover the pots with a clear plastic bag or use a humidity dome.
- Patience is key: Keep the soil consistently moist but not waterlogged. Roots should begin forming in 4-6 weeks. You can gently tug on the cutting; resistance means roots are developing.
- Transplantation: Once roots are well-established, your new plants are ready for larger pots or a sunny spot in your garden.
2. Growing from Seed:
While propagation from cuttings is quicker and more straightforward, growing Hypericum canariense from seed can be a rewarding experience.
Timing:
- Best time: Start seeds indoors in late winter or early spring.
Materials:
- Hypericum canariense seeds (available online or from specialty nurseries)
- Seed starting mix
- Seed trays or small pots
- Water mister
- Grow light or sunny windowsill
Instructions:
- Prepare the seeds: Some seeds benefit from stratification. For Hypericum canariense, cold stratification isn’t mandatory but can help with germination. To cold stratify, mix the seeds with damp vermiculite, place them in a sealed bag, and store them in the refrigerator for 4-6 weeks before sowing.
- Sow the seeds: Fill the seed trays with seed starting mix and lightly sprinkle the seeds on top. Cover them lightly with soil, about 1/4 inch deep.
- Mist and light: Mist the soil with water and place the trays under a grow light or on a sunny windowsill. Keep the soil consistently moist.
- Germination: Germination can be erratic and may take several weeks or even months. Don’t lose hope!
- Thinning and transplanting: Once the seedlings have developed a few sets of true leaves, thin out the weakest ones, leaving the strongest to flourish. When they are a few inches tall, transplant them into individual pots.
- Harden off before planting: Gradually introduce the seedlings to outdoor conditions for about a week before planting them in their permanent location.
Enjoy Your Canary Island Sunshine:
With a little patience and care, you can successfully propagate Hypericum canariense and enjoy its vibrant beauty for years to come. Whether you choose to take cuttings or start from seed, the reward of nurturing new life is incredibly fulfilling. Soon, you’ll have a garden brimming with these sunny delights, spreading joy and vibrant color!