Unveiling the Secrets of Hyptis atrorubens Propagation: Tips for Growing This Vibrant Bush
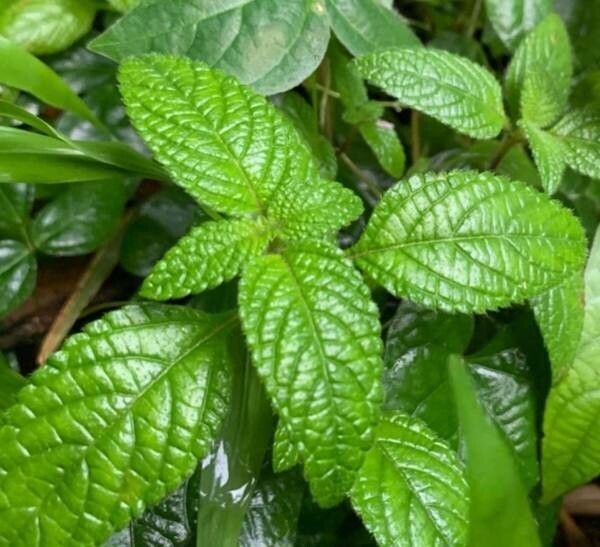
Hyptis atrorubens, also known as the “Purple Bushmint” or “Dark-flowered Bushmint”, captivates with its profuse displays of vibrant purple flowers and aromatic foliage. This easy-to-grow shrub brings a touch of the tropics to gardens and landscapes, but many wonder about the best methods for propagating this beauty. Fear not, fellow plant enthusiasts, for this article unveils the secrets to successfully propagating Hyptis atrorubens and expanding your collection of these stunning purple blooms.
Method 1: Seeds of Success
Propagating Hyptis atrorubens from seed offers a rewarding experience, allowing you to witness the entire life cycle of this captivating plant.
Step 1: Seed Collection and Preparation
Collect mature seed pods from existing plants. These pods turn brown and brittle when ready. Gently crush the pods to release the tiny, black seeds within.
Step 2: Sowing the Seeds
Fill seed trays or pots with a well-draining seed-starting mix. Sprinkle the seeds over the surface, lightly pressing them into the soil. Don’t bury them too deep, as they require light to germinate.
Step 3: Nurturing the Seedlings
Place the seed trays in a warm, bright location, out of direct sunlight. Keep the soil consistently moist but not waterlogged. Germination typically occurs within 2-3 weeks.
Step 4: Transplanting
Once the seedlings develop several sets of true leaves, transplant them into individual pots or your garden bed, ensuring adequate spacing for their mature size.
Method 2: The Power of Cuttings
Propagation through stem cuttings proves incredibly effective for Hyptis atrorubens, guaranteeing faster results compared to growing from seed.
Step 1: Selecting the Cuttings
Choose healthy, non-flowering stems from an established plant. Ideally, select stems around 4-6 inches long with several nodes (the bumps where leaves emerge).
Step 2: Preparing the Cuttings
Use clean, sharp pruning shears to make a cut just below a node. Remove the bottom leaves, leaving just a few leaves at the top.
Step 3: Encouraging Root Development
Dip the cut end of the stem in rooting hormone powder (optional, but beneficial). Plant the cutting in a pot filled with a well-draining potting mix, burying at least one node below the surface.
Step 4: Creating the Perfect Environment
Place the potted cuttings in a warm, humid location, away from direct sunlight. A humidity dome or a plastic bag placed over the pot can help retain moisture.
Step 5: Transplanting
After a few weeks, gently tug on the cuttings. Resistance indicates successful root development. Once roots establish, transplant the cuttings into individual pots or your garden.
Caring for Your Newly Propagated Hyptis atrorubens
Regardless of your chosen propagation method, providing proper care ensures thriving, healthy plants.
Sunlight: Opt for a location with full sun to partial shade.
Watering: Water regularly, allowing the soil to dry slightly between waterings.
Soil: Choose well-drained soil.
Pruning: Prune regularly to maintain shape and encourage bushier growth.
Fertilizer: Fertilize sparingly during the growing season with a balanced fertilizer.
By following these simple propagation techniques, you can easily multiply your Hyptis atrorubens plants, filling your garden with their mesmerizing beauty and alluring fragrance. Don’t hesitate to experiment and see which method works best for you. Happy propagating!