Unleash the Power of Propagation: Multiply Your Busy Lizzie Beauties
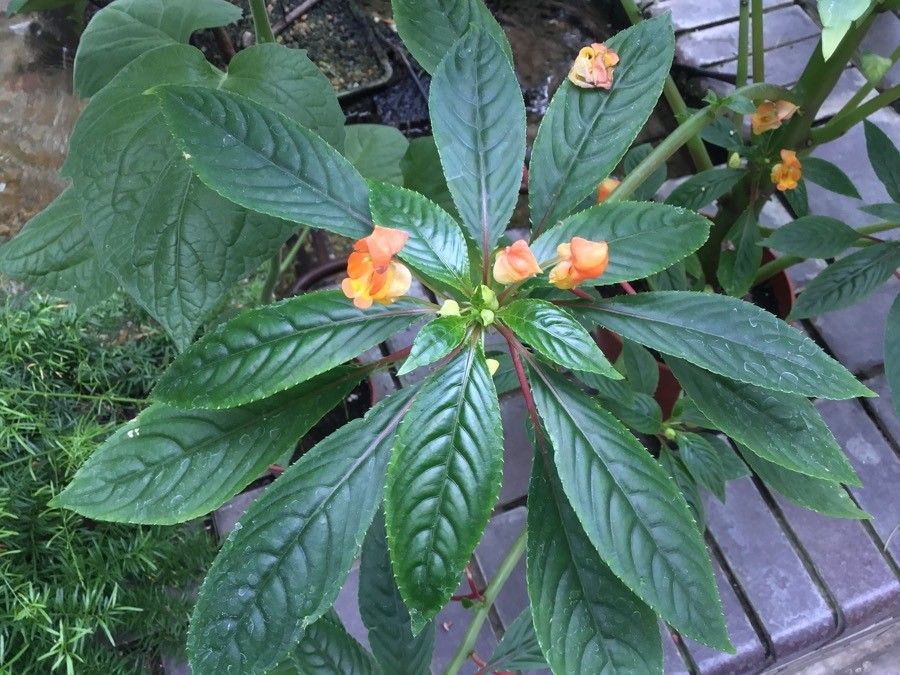
Impatiens auricoma, more affectionately known as Busy Lizzie, is a gardener’s dream. With their vibrant blooms and effortless charm, they bring cheer to any shady spot. But what if you could have even more of these beauties without breaking the bank? Enter the wonderful world of propagation!
Propagating your own Busy Lizzies is easier than you think, and it’s a rewarding way to expand your garden for free. Let’s explore two foolproof methods:
1. Stem Cuttings: A Classic Approach
Stem cuttings are the most popular way to propagate Busy Lizzies, and for good reason – they’re incredibly effective! Here’s how:
What you’ll need:
- Sharp, clean pruning shears or scissors
- Small pots or seed trays
- Seed starting mix or a well-draining potting mix
- Rooting hormone (optional, but recommended)
Instructions:
- Choose healthy stems: Select stems that are actively growing, about 3-4 inches long, with at least two leaf nodes (bumps where leaves or branches grow).
- Make the cut: Using your sharp shears, make a clean cut just below a leaf node. Remove any leaves from the bottom inch of the stem.
- Apply rooting hormone (optional): Dip the cut end of the stem in rooting hormone to encourage faster root development.
- Plant the cuttings: Fill your pots or trays with your chosen medium and make small holes for each cutting. Gently insert the cuttings, burying at least one leaf node.
- Keep them comfortable: Mist the cuttings and their surroundings with water. Place them in a bright location, but out of direct sunlight.
- Be patient: In a few weeks, you should start to see new growth, a sign that roots have developed. Once the cuttings are well-rooted, you can transplant them into larger pots or directly into your garden.
2. Seed Starting: From Tiny Seeds to Vibrant Blooms
While slightly more time-consuming, starting Busy Lizzies from seed is an economical way to get a jumpstart on the growing season.
What you’ll need:
- Busy Lizzie seeds (available online or at garden centers)
- Seed starting mix
- Seed trays or small pots
- Water mister
- Grow lights or a bright windowsill
Instructions:
- Prepare your seed trays: Fill your trays with seed starting mix and moisten it evenly.
- Sow the seeds: Busy Lizzie seeds are tiny, so sprinkle them sparingly over the surface of the mix. Gently press them down but don’t bury them.
- Keep them cozy: Mist the seeds and cover the trays with plastic wrap or a humidity dome to create a warm, moist environment.
- Provide light and warmth: Place the trays under grow lights or on a bright windowsill, maintaining a temperature of around 70-75°F (21-24°C).
- Watch them sprout: Germination usually takes 1-2 weeks. Once the seedlings emerge, remove the cover and continue to keep the soil lightly moist.
- Transplant with care: When the seedlings have developed a few sets of true leaves, you can transplant them into larger pots or directly into your garden after hardening them off.
Tips for Success:
- Busy Lizzies thrive in moist, well-drained soil. Avoid overwatering as it can lead to root rot.
- Choose a shady spot in your garden, as too much direct sunlight can scorch their delicate leaves.
- Pinch back young plants to encourage bushier growth and more abundant blooms.
Propagating your own Busy Lizzies is a rewarding experience that not only saves you money but also brings the joy of gardening indoors. So why wait? Get your hands dirty, experiment with these techniques, and watch your garden flourish with a vibrant tapestry of Busy Lizzie blooms.