Unlock the Indigo: Propagating Indigofera Articulata At Home
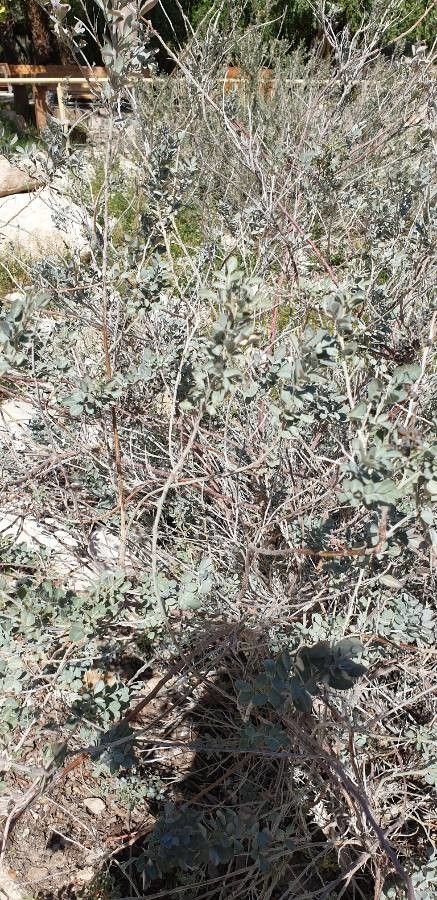
Indigofera articulata, also known as the Jointed Indigo or Dwarf Indigo, is a fascinating and beautiful plant with a rich history. Used for centuries as a natural dye, this hardy shrub adds a touch of vibrant green to any garden with its delicate foliage and striking red-tinged stems. But did you know that propagating Indigofera articulata is surprisingly simple, allowing you to share its beauty and learn more about its fascinating lifecycle?
In this post, we’ll delve into the world of Indigofera articulata propagation, exploring two main methods: growing from seed and taking stem cuttings. We’ll guide you through each step, ensuring you have the knowledge and confidence to cultivate new indigo plants from your existing beauties.
Method 1: Sowing the Seeds of Success
Collecting Seeds: The first step in this journey is acquiring viable seeds. If you already have an Indigofera articulata, wait until the plant forms seed pods. These pods turn brown and dry as they mature, typically in late summer or fall. Once fully dry, collect the pods and gently crack them open to reveal the small, brown seeds within.
Preparing for Germination: To increase your chances of successful germination, consider scarifying the seeds. This process involves gently nicking or sanding the seed coat, allowing moisture to penetrate more easily. You can soak the seeds in warm water for 24 hours before sowing to further encourage germination.
Sowing the Seeds: Fill a seed tray or small pots with a well-draining seed starting mix. Sow the seeds about ¼ inch deep and mist them lightly with water. Cover the tray with a humidity dome or plastic wrap to create a warm, moist environment. Place the tray in a bright location, but out of direct sunlight.
Germination and Care: Germination can take anywhere from a few weeks to a couple of months, so be patient. Once the seedlings emerge and have a couple sets of true leaves, you can thin them out, leaving the strongest ones to grow. When the seedlings are large enough to handle, transplant them into individual pots filled with well-draining potting mix.
Method 2: Branching Out with Stem Cuttings
Taking Cuttings: Choose healthy, non-flowering stems from your Indigofera articulata in spring or early summer. Cut sections about 4-6 inches long, making the cut just below a leaf node. Remove the leaves from the bottom third of the cutting.
Encouraging Root Development: Dip the cut end of each stem in rooting hormone powder (optional but beneficial), then plant the cuttings in a well-draining potting mix. Maintain a warm, humid environment by covering the pot with a plastic bag or placing it in a propagator.
Transplanting: In about 4-6 weeks, gently tug on the cuttings to feel for resistance, which indicates root development. Once rooted, carefully transplant each cutting into its own pot filled with a well-draining potting mix.
Nurturing Your New Indigo Plants
Whether you choose seeds or cuttings, consistent care is crucial for the successful establishment of your new Indigofera articulata plants. Provide them with:
- Sunlight: Plenty of sunlight, ideally 6-8 hours per day.
- Watering: Water regularly, allowing the soil to dry slightly between waterings.
- Soil: Well-draining soil is crucial to prevent root rot.
- Fertilizer: Feed with a balanced fertilizer during the growing season.
Propagating Indigofera articulata is a rewarding endeavor that allows you to multiply your collection of these captivating plants. By following these simple steps and providing proper care, you can enjoy the beauty of Indigofera articulata for years to come while unlocking its secrets and gaining a deeper appreciation for this remarkable plant. So why not give it a try? You might be surprised by how easy it is to cultivate your very own patch of indigo!