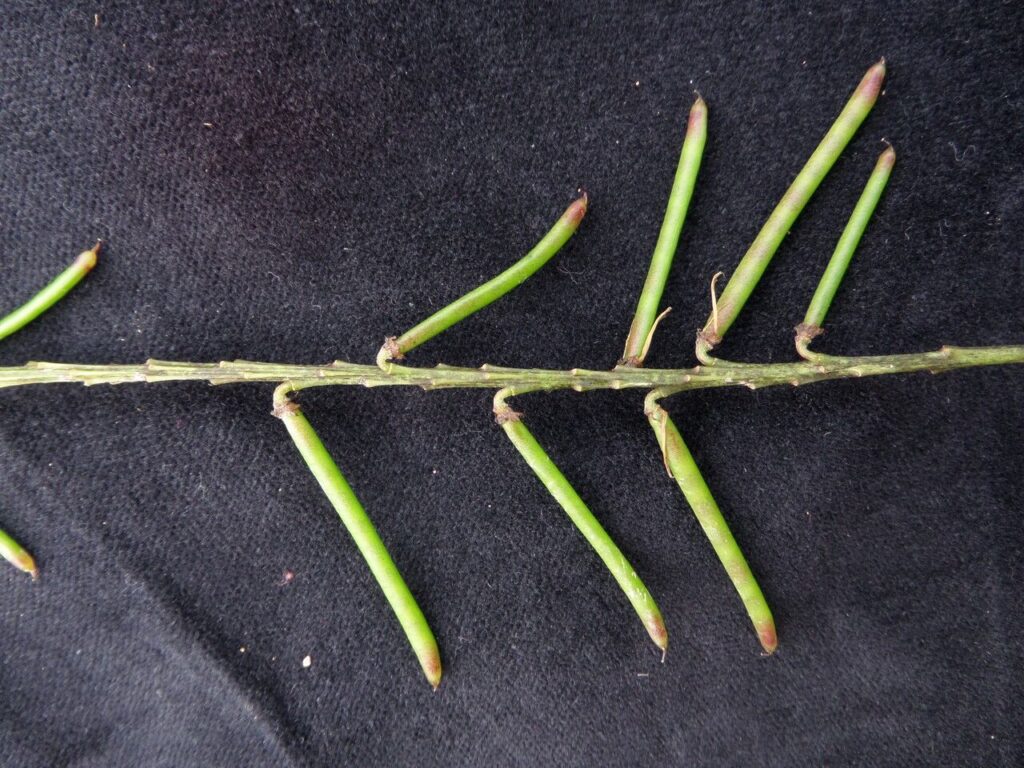
Unlocking the Secrets of the Indigo Bush: A Guide to Propagating Indigofera atropurpurea
The Indigofera atropurpurea, more affectionately known as the Indigo Bush, captivates with its stunning display of deep purple flowers and feathery foliage. This hardy shrub, native to the Himalayas, is a true showstopper in any garden. If you’re looking to welcome more of its beauty into your life, propagating your own Indigofera atropurpurea is a rewarding endeavor. Let’s explore the two most effective methods:
1. Seed Propagation: A Journey of Patience and Reward
For those who appreciate the miracle of growth from a tiny seed, propagating Indigofera atropurpurea this way is a satisfying experience.
- Timing is Key: Start your seeds indoors 6-8 weeks before the last frost. This gives them a head start and ensures healthier plants come spring.
- Scarification Secrets: Indigofera seeds have a hard outer shell. To improve germination rates, gently rub the seed coat with sandpaper or nick it with a nail clipper. This process, called scarification, helps water penetrate and kickstart germination.
- Sowing the Seeds: Use a well-draining seed starting mix and sow the seeds about ¼ inch deep. Mist the soil gently and cover the tray with a plastic dome to retain moisture.
- Light and Warmth: Place the tray in a warm, bright location, but out of direct sunlight. A consistent temperature of 70-75°F is ideal for germination.
- Germination Dance: Be patient, as it can take anywhere from 2 to 8 weeks for the seeds to germinate. Once the seedlings have a couple of sets of true leaves, you can transplant them into individual pots.
2. Cutting Propagation: A Faster Route to Success
If you’re looking for quicker results and want to ensure the new plant retains its parent’s characteristics, propagating through cuttings is the preferred method.
- Choosing the Right Cuttings: In late spring or early summer, select healthy, non-flowering stems that are about 4-6 inches long. Make a clean cut just below a leaf node using sterilized pruning shears.
- Preparing the Cuttings: Remove the lower leaves from the cutting, leaving only a couple of pairs at the top. Dip the cut end in rooting hormone powder to encourage root development.
- Planting the Cuttings: Fill small pots with a well-draining potting mix. Make a hole in the center and carefully insert the cutting, ensuring the bottom nodes are buried. Gently firm the soil around the cutting.
- Creating a Humid Environment: To prevent the cutting from drying out, create a mini-greenhouse effect. You can do this by covering the pot with a clear plastic bag or using a humidity dome.
- Patience and Observation: Place the pot in a warm, bright location, out of direct sunlight. It takes about 4-6 weeks for the cuttings to develop roots. You can test for root development by gently tugging on the cutting – resistance indicates root formation.
Caring for your Indigo Bush Progeny:
Regardless of your chosen propagation method, once the seedlings or cuttings are established, follow these care tips:
- Well-Drained Soil: Indigofera atropurpurea thrive in well-drained soil.
- Sunlight Requirements: Choose a location with full sun to partial shade for optimal growth and flower production.
- Watering Wisdom: Water deeply but infrequently, allowing the soil to dry out slightly between waterings.
- Pruning Prowess: Prune your Indigo Bush in late winter or early spring to maintain its shape and encourage bushier growth.
Propagating your own Indigofera atropurpurea is a deeply satisfying experience. With a bit of patience and care, you’ll soon have a bounty of these stunning shrubs gracing your garden, bursting with vibrant color and life!
