Unveiling the Secrets of Iris Fernaldii Propagation: Grow More of This Californian Beauty!
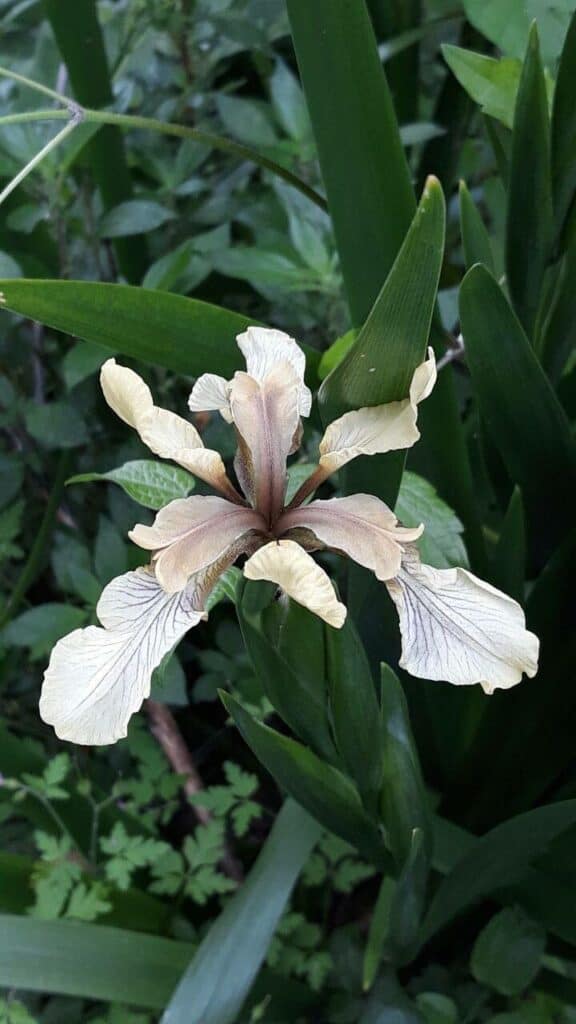
The Iris fernaldii, also known as the Fernald’s iris, is a captivating California native with its delicate white blooms delicately traced with gold. This stunning iris, with its preference for shady woodlands and moist slopes, might seem difficult to cultivate, but don’t worry! With a little knowledge and some patience, propagating Iris fernaldii can be a rewarding experience for gardeners of all levels.
There are two main methods of propagation for Iris fernaldii: division and seed.
1. Division: The Tried and True Method
Division is the most common and reliable way to propagate Iris fernaldii. This method involves digging up a mature plant and separating its rhizomes, the underground stems from which the leaves and flower stalks grow.
Here’s how to do it:
- Timing is key: The best time for division is late summer or early fall, after the flowering period has ended.
- Digging deep: Carefully dig around the plant, ensuring you don’t damage the rhizomes. Lift the entire clump from the ground.
- Separation anxiety: Gently pull apart the rhizomes, ensuring each division has a healthy fan of leaves and a good root system.
- Replanting: Choose a new location with similar growing conditions – part shade and well-drained soil. Plant the rhizomes shallowly, just beneath the soil surface, and water them thoroughly.
2. Seeds: A Longer but Rewarding Journey
Propagating Iris fernaldii from seed takes more time and effort, but it’s a great option for experienced gardeners looking to cultivate a large number of plants.
Here’s a breakdown of the process:
- Harvesting treasures: Collect ripe seed capsules from the plant in late summer or early fall. Allow them to dry thoroughly.
- Cold stratification: Iris fernaldii seeds require a period of cold, moist stratification to germinate. Store the seeds in damp vermiculite in the refrigerator for at least 8 weeks.
- Sowing the seeds: In spring, sow the stratified seeds in a well-draining seed starting mix. Keep the soil consistently moist and place the tray in a warm, bright location.
- Patience is a virtue: Germination can take several weeks to months. Once the seedlings have developed a couple of true leaves, transplant them into individual pots.
- Time to thrive: Continue growing the seedlings in pots for a year or two before planting them outdoors in their permanent location.
Tips for Success:
- Well-draining soil: Iris fernaldii thrives in soil that drains well and doesn’t become waterlogged. Amend heavy clay soils with compost or other organic matter to improve drainage.
- Protection from pests: Slugs and snails can be a nuisance, especially for young plants. Use diatomaceous earth or other organic pest control methods to protect your Iris fernaldii.
Propagating Iris fernaldii, whether by division or from seed, allows you to multiply these gorgeous plants and share their delicate beauty with your garden and beyond. While each method requires patience and care, the reward of seeing new Iris fernaldii flourish makes the effort worthwhile.