From Seed to Spectacular: Propagating the Striking Isopogon anemonifolius
The Isopogon anemonifolius, with its captivating, spiky flower heads resembling anemone blooms, is a true showstopper in any garden. But did you know you can easily multiply the beauty of this native Australian shrub by propagating it yourself? Whether you’re a seasoned gardener or just starting out, this guide will help you master the art of bringing this unique plant to life.
The Power of Seeds:
Isopogon anemonifolius readily produces seeds, offering the simplest and most rewarding method of propagation. Here’s how:
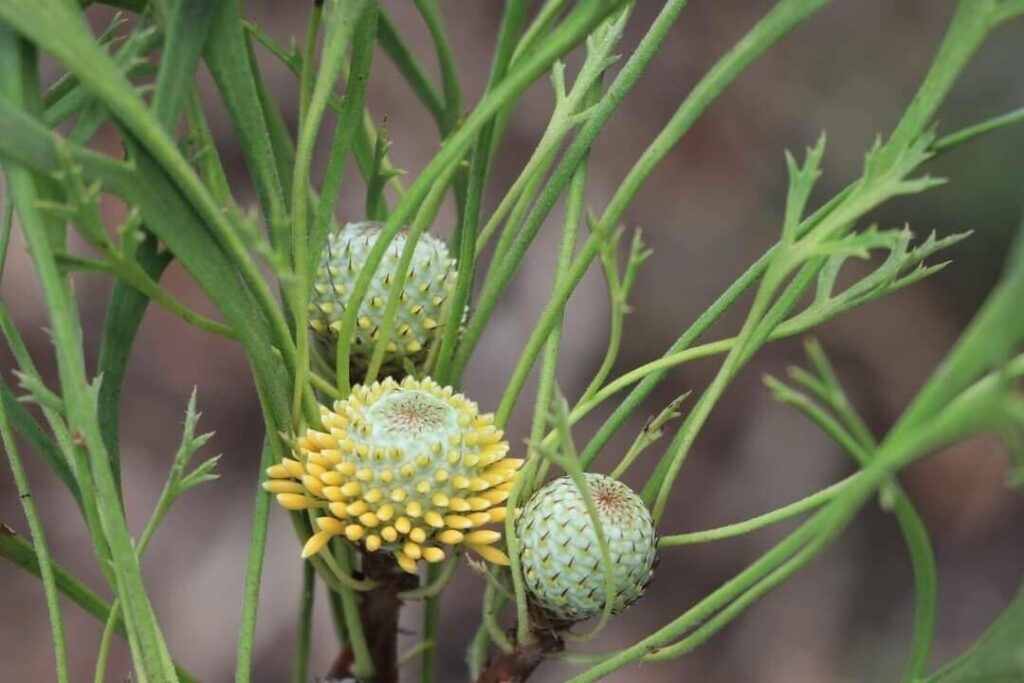
- Harvesting the Seeds: Once the striking pink, red, or yellow flowers fade, they’ll transform into woody, cone-like fruits. Let these fruits mature fully on the plant, then carefully collect them. You can gently shake the fruits to release the seeds, or carefully pry them open.
- Preparation is Key: Clean the seeds thoroughly, removing any debris or attached fruit remnants. While some recommend a period of cold stratification (mimicking winter conditions) for optimal germination, it’s not strictly necessary for this species.
- Sowing Success: Choose a well-draining seed-raising mix and fill small pots or trays. Gently press the seeds into the mix, about 1 cm deep. Keep the soil consistently moist but not waterlogged.
- Nurturing New Life: Place the pots in a warm, sunny location, and cover them with a clear plastic dome or cling film to create a mini-greenhouse. This will help maintain humidity and encourage germination.
- Patience is a Virtue: Seedlings usually emerge within a few weeks, but it can take up to a few months. Once the seedlings have developed a few true leaves, they can be transplanted into larger pots or directly into the garden.
Alternative Propagation Methods:
While seeds are the most common method, you can also propagate Isopogon anemonifolius through cuttings:
- Taking Cuttings: During spring or summer, select healthy, non-flowering stems. Cut a 10-15 cm section, ensuring it includes at least one leaf node.
- Dip and Plant: Dip the cut end of the stem into a rooting hormone powder or gel to encourage root development. Then, plant the cutting into a pot filled with a well-draining potting mix.
- Success Factors: Maintain a consistently moist environment around the cutting, and provide bright, indirect sunlight. Root development may take several weeks. Once roots form, you can gradually acclimatize the new plant to full sunlight.
Factors for Success:
- Sunlight is Key: Isopogon anemonifolius thrives in full sun to partial shade.
- Soil Matters: Choose a well-draining sandy or gravelly soil. Avoid heavy clay soils that retain moisture, as this can lead to root rot.
- Water Wisely: These plants are drought tolerant. Water regularly during establishment, but allow the soil to dry out between waterings.
- Pruning for Abundance: Prune after flowering to encourage bushier growth and more flowers the following year.
Enjoying Your New Isopogon:
With a bit of patience and care, you’ll be rewarded with a stunning Isopogon anemonifolius showcasing its unique and striking blooms. The pleasure of nurturing this native beauty from scratch adds another layer of satisfaction to the rewarding experience of gardening. So, get your hands dirty, start sowing seeds or taking cuttings, and watch your Isopogon flourish!