From One to Many: Unlocking the Secrets of Jodina rhombifolia Propagation
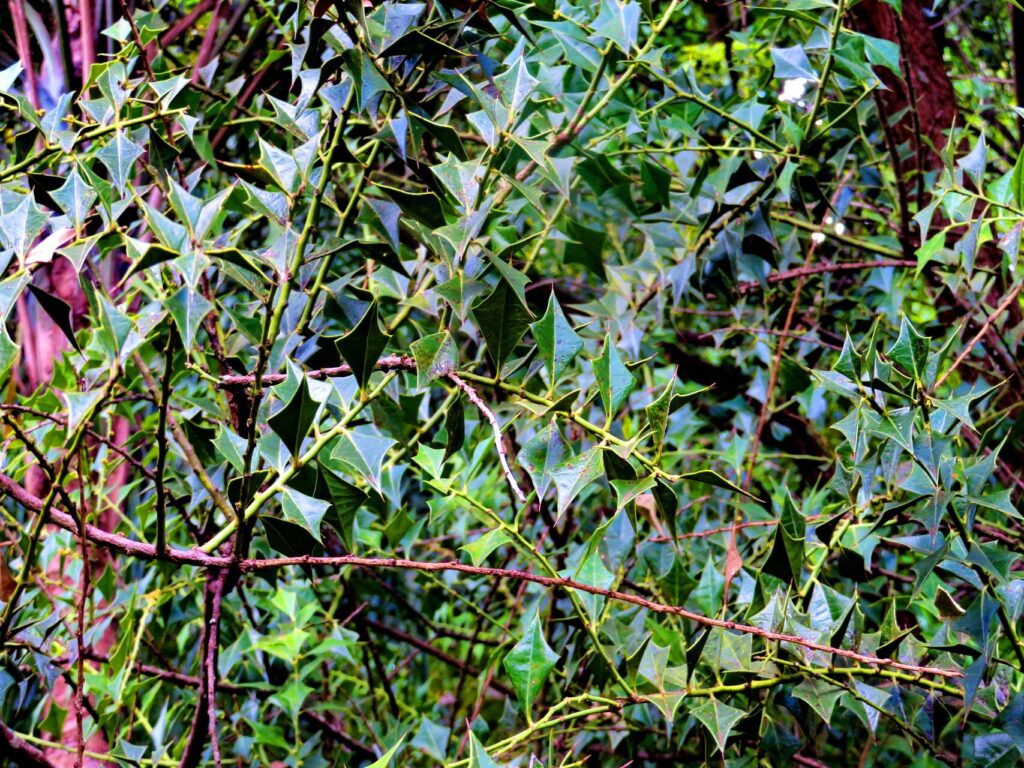
Ever admired the rugged beauty of a Jodina rhombifolia, also known as the “Hopbush,” and wished you could share its charm with your garden? Well, you can! This drought-tolerant, hardy shrub easily lends itself to propagation, allowing you to expand your collection or share the love with fellow plant enthusiasts.
Exploring the Options: A Guide to Jodina rhombifolia Propagation
Jodina rhombifolia offers versatility when it comes to propagation. While several methods are available, two stand out as the most effective and accessible for home gardeners:
1. Seed Propagation: Embracing Nature’s Simplicity
- Collecting Seeds: Gather ripe berries from your mature Jodina rhombifolia. The berries, which turn dark blue to black, contain the seeds. Remove the seeds from the berries and clean them thoroughly, ensuring no fruit pulp remains.
- Sowing the Seeds: Once the seeds have dried, you can sow them directly in a well-drained seed-starting mix. A pot or tray is sufficient, and light is essential for germination. Maintain a warm environment (around 70-75°F) and keep the seed mix consistently moist, not wet.
- Patience is Key: Jodina rhombifolia seeds can be slow to germinate, often taking several weeks or even months! Be patient and keep the seed mix moist, and eventually, you’ll witness the emergence of tiny seedlings.
2. Cuttings: Faster Growth, Easier Establishment
- Timing is Crucial: The best time to take cuttings from your Jodina rhombifolia is during the late spring or early summer when the plant is actively growing.
- The Cutting Process: Select healthy, non-flowering stems, and cut them with a sharp knife or pruning shears, ensuring each cutting is about 6 inches long. Remove the leaves from the bottom 2 inches of the stem.
- Root Hormone Boost: Dip the cut ends in rooting hormone powder to encourage root development.
- Potting and Care: Plant your cuttings in a pot filled with a moist, well-draining potting mix. Cover the pot with a plastic bag to create a humid environment, but be sure to vent it regularly to prevent fungal growth. Place the pot in a bright, indirect light location.
- Patience Pays Off: It may take 6-8 weeks for your cuttings to develop roots. Once established, harden them off gradually by removing the plastic bag and slowly increasing their exposure to outdoor conditions.
Tips for Success: Nurturing Your Jodina rhombifolia Plants
- Water Wisely: Jodina rhombifolia thrives in well-draining soil and prefers a drier environment. Avoid overwatering, as this can lead to root rot.
- Sunlight Delight: Choose a spot with full sun to partial shade for your plants.
- Pruning for Shape: Once established, regular pruning can help maintain the shape and size of your Jodina rhombifolia. Remove any dead or damaged branches and prune after blooming to encourage bushier growth.
From Seed to Shrub: A Rewarding Journey
Propagation is a rewarding journey that deepens your connection with your garden. Whether you choose to sow seeds or take cuttings, growing your own Jodina rhombifolia ensures a flourishing plant filled with your love and care. Enjoy the satisfaction of watching your little seedlings develop into sturdy, drought-tolerant shrubs, enriching your landscape with their unique charm for years to come!