Unlocking the Secrets of the Utah Juniper: A Guide to Propagation
The Utah Juniper (Juniperus osteosperma) is a rugged and captivating conifer, offering a touch of the wild west to any landscape. Its resilience and distinctive blue-green foliage make it a popular choice for gardeners seeking a low-maintenance, drought-tolerant addition. But what if you want to share this beauty with others, or simply expand your own collection? Enter the exciting world of juniper propagation!
Why Propagate Utah Juniper?
Propagating Utah Juniper from seed or cuttings offers several advantages:
- Cost-effective: Buying mature Utah Juniper plants from nurseries can be expensive. Propagation allows you to create new plants for a fraction of the cost.
- Genetic diversity: Propagation allows you to preserve specific traits of your existing plants, particularly those with unique or desirable characteristics.
- Experimentation: It’s a rewarding experience to witness the lifecycle of a plant from propagation to maturity.
Methods of Propagation
You can cultivate new Utah Juniper plants through two primary methods:
1. Seeds:
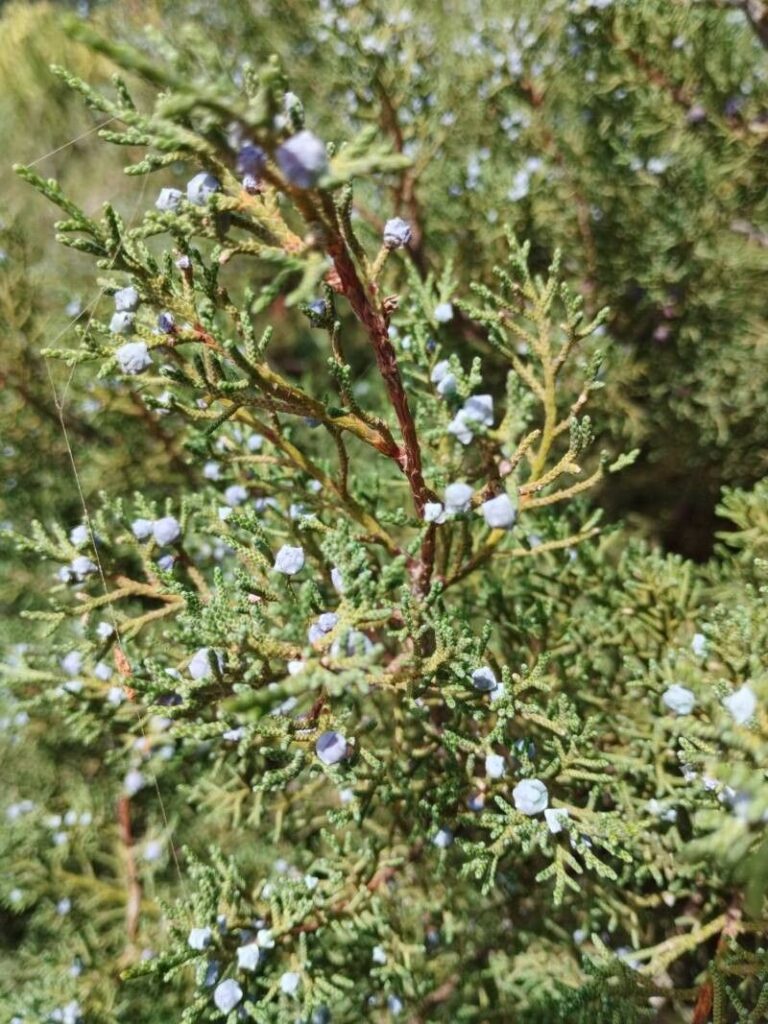
- Collecting seeds: Utah Juniper seeds are typically ripe in late fall. Gather cones from mature trees, ensuring they are a rich brown color and slightly open. Extract the seeds and thoroughly clean them.
- Scarification: Utah Juniper seeds have a tough seed coat that inhibits germination. Scarification helps weaken the coat to promote germination. This can be achieved through mechanical methods like sanding or by soaking seeds in a solution of sulfuric acid.
- Cold stratification: Utah Juniper seeds require a period of cold stratification to break dormancy. This involves mimicking winter conditions by storing seeds in a cool, moist environment (like a refrigerator) for several weeks to months.
- Sowing: After cold stratification, sow the seeds in a well-drained seed-starting mix. Keep the soil moist but not overly saturated. Seedlings typically emerge within a few weeks to months.
2. Cuttings:
- Timing: The best time to take cuttings is in late spring or early summer when the new growth is firm but not fully hardened.
- Preparation: Choose healthy, mature, non-flowering stems for cuttings. Use a sharp, clean knife or pruning shears to make a cut just below a node – the point where leaves or branches emerge.
- Rooting hormones: Dipping the cut end in rooting hormone can significantly increase the success rate.
- Planting: Insert the cuttings into a well-drained rooting medium, such as perlite or a sand-peat mix. Make sure the cuttings are planted deep enough to support the stem.
- Watering and care: Keep the rooting medium consistently moist, but avoid overwatering. High humidity levels also promote rooting.
Tips for Success
- Patience: Juniper propagation, especially from seed, takes time. Young plants may take a few years to reach a reasonable size.
- Location and soil: Utah Juniper thrives in sunny to partially shaded locations with well-drained, sandy soil. Avoid heavy clay soils that retain moisture.
- Watering: Once established, Utah Juniper requires minimal watering, but watering during dry periods is important.
- Fertilization: Fertilize Utah Juniper lightly in spring, using a balanced, slow-release fertilizer.
Embrace the Journey
Propagating Utah Juniper from seed or cuttings is a rewarding experience that allows you to connect with nature and cultivate a unique piece of the desert landscape. Although it requires some time, effort, and patience, watching these hardy plants grow is incredibly satisfying and allows you to share the beauty of the Utah Juniper with others. So, get your hands dirty, experiment with different methods, and unlock the secrets of this remarkable conifer.