
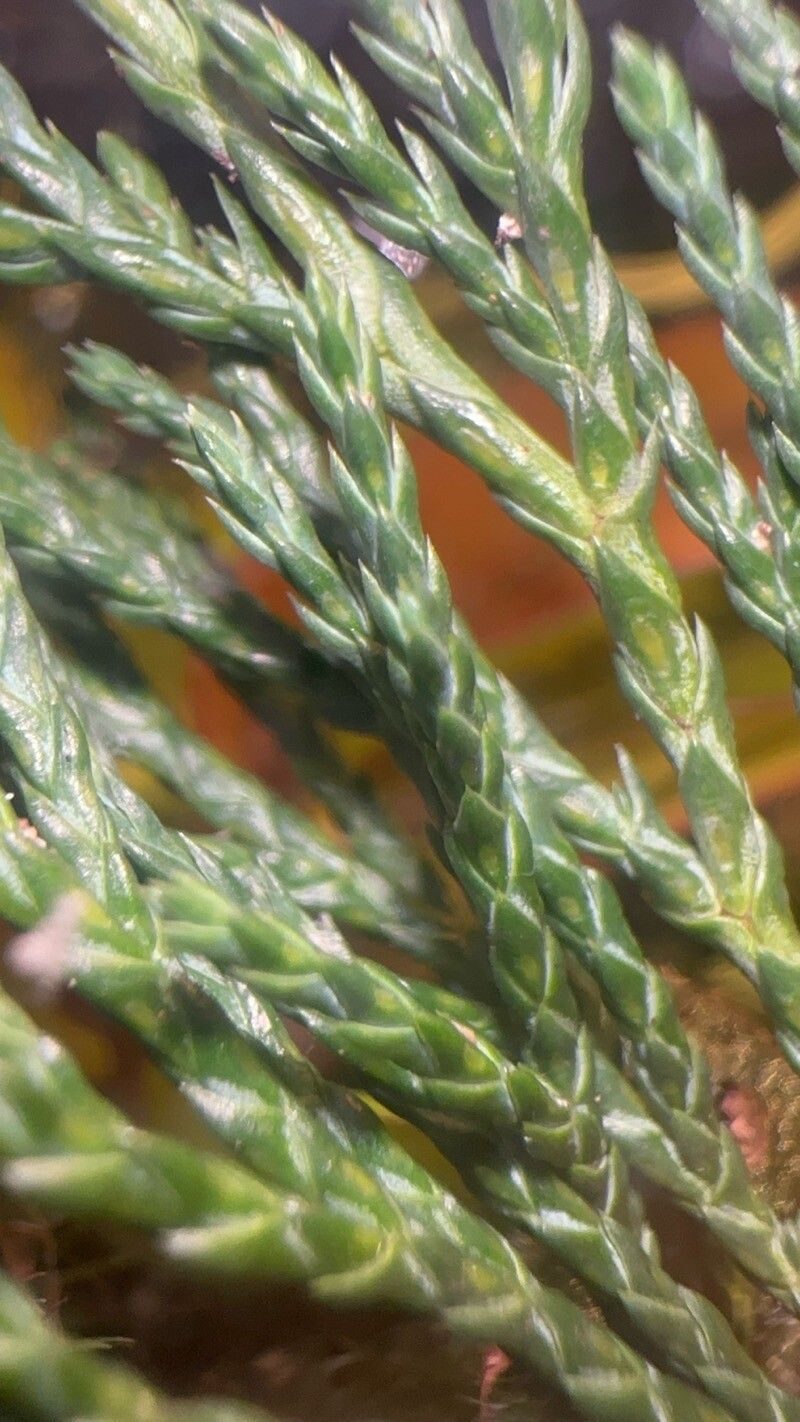
Taming the Dragon: Propagating Juniperus recurva
The Juniperus recurva, also known as the weeping juniper or Himalayan juniper, is a stunning evergreen conifer coveted for its graceful, drooping branches and intensely aromatic foliage. While admiring a mature specimen might tempt you to add this beauty to your own garden, finding Juniperus recurva in nurseries can be a challenge. But don’t despair! This guide will equip you with the knowledge to propagate this unique conifer at home.
Understanding Juniperus recurva
Before delving into propagation techniques, it’s helpful to understand what makes Juniperus recurva tick. Native to the Himalayas, this juniper thrives in cool, well-drained soil and full sun to partial shade. It’s known for its slow growth rate, often taking several years to establish. This inherent characteristic plays a role in the propagation process, demanding patience and meticulous care.
Propagation Methods
While Juniperus recurva can be grown from seed, this method is notoriously unpredictable and can take years to produce a viable plant. Consequently, two methods reign supreme for home propagation:
1. Semi-Hardwood Cuttings:
This method involves taking cuttings from partially matured wood, ideally in late summer or early fall. Here’s how it’s done:
- Select healthy, vigorous shoots: Look for branches with both green and woody sections, approximately 4-6 inches long.
- Prepare the cutting: Using sharp, sterilized pruners, make a clean cut just below a leaf node. Remove the lower leaves, leaving only a few at the top.
- Hormone treatment (optional, but recommended): Dip the cut end in rooting hormone powder to encourage root development.
- Potting mix: Choose a well-draining potting mix specifically designed for conifers.
- Planting: Insert the cutting into the potting mix, burying at least a third of its length. Water thoroughly and cover loosely with a plastic bag or humidity dome to maintain moisture.
- Patience is key: Place the pot in a bright location, out of direct sunlight. Keep the soil consistently moist but not waterlogged. Rooting can take several months.
2. Layering:
Layering utilizes the natural ability of some plants to develop roots from branches in contact with soil. This method is relatively straightforward for Juniperus recurva:
- Choose a flexible, low-growing branch: Ideally, select a branch close to the ground.
- Prepare the branch: Gently wound the underside of the chosen branch by scraping off a small section of bark with a clean, sharp knife.
- Secure the branch: Bend the wounded section down and secure it to the ground using a landscape staple or similar device. Ensure the wounded area is in contact with the soil.
- Maintain moisture: Water the area regularly, keeping the soil consistently moist.
- Separation: After a year or two, check for root development. Once a robust root system forms, carefully sever the layered branch from the parent plant.
Tips for Success:
- Sterilization is key: Use clean tools and pots to prevent the spread of diseases.
- Don’t disturb the cuttings: Resist the urge to tug on the cuttings to check for roots, as this can damage the developing root system.
- Monitor moisture levels: While consistent moisture is crucial, overwatering can lead to root rot.
- Be patient: Propagating Juniperus recurva is a waiting game. Don’t be discouraged if you don’t see results immediately.
Propagating your own Juniperus recurva may require a touch of patience and dedication, but the rewards are well worth the effort. Imagine the satisfaction of cultivating this striking conifer from a simple cutting or layer, eventually transforming it into a graceful focal point in your own garden.