From Seed to Bloom: Unlocking the Secrets of Klasea nudicaulis Propagation
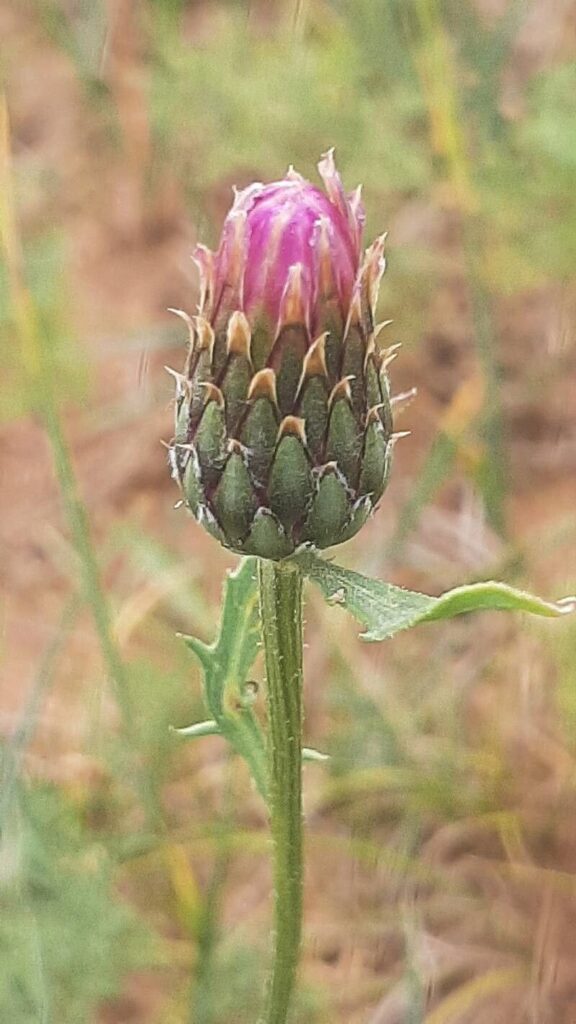
Klasea nudicaulis, with its striking purple blooms and unique silvery foliage, is a captivating addition to any garden. But what if you could share this beauty with others, or even expand your own collection without breaking the bank? The answer lies in propagation, the art of creating new plants from existing ones.
This blog post will dive into the fascinating world of Klasea nudicaulis propagation, exploring both seed and cutting methods for successful plant production. Whether you’re a seasoned gardener or a curious beginner, this guide will equip you with the knowledge to nurture this stunning species from your own backyard.
From Seed to Success: A Journey of New Life
Start your Klasea nudicaulis journey with seeds. These tiny marvels hold the potential for a vibrant new plant. However, patience is key. Klasea nudicaulis seeds require a cold stratification period, a process mimicking winter conditions to trigger germination.
To achieve this:
- Mix Seeds with Medium: Combine your seeds with a moist seed-starting mix or vermiculite, ensuring the mix is evenly moistened but not soggy.
- Refrigeration Period: Place the mixture in a sealed container and refrigerate for 4-6 weeks. This simulates the winter conditions needed for germination.
- Planting Time: After the cold stratification period, sow the seeds in pots filled with well-draining potting mix. Keep the soil consistently moist, and provide good drainage.
- Sunlight & Patience: Place the pots in a bright, indirect location. With patience, the seedlings will emerge in approximately 2-3 weeks.
The Art of Cuttings: A Faster Route to Floral Glory
For those seeking a quicker route to a flourishing Klasea nudicaulis, stem cuttings offer a faster and more reliable method. Here’s how to successfully propagate your Klasea nudicaulis using cuttings:
- Select a Healthy Stem: Choose a healthy, non-flowering stem that’s approximately 4-6 inches long and has 3-4 nodes (bulges where leaves grow).
- Prepare the Cutting: Make a clean cut just below a node, and remove any leaves below the soil line.
- Root Hormone (Optional): Dip the cut end of the stem into rooting hormone powder or gel to promote root development.
- The Planting Process: Place the cutting into a pot filled with a well-draining potting mix, ensuring the bottom node is buried in the soil.
- Moisture & Care: Keep the soil consistently moist but not waterlogged.
- Encouraging Roots: Provide the cutting with a humid environment by covering the pot with a plastic dome, providing indirect sunlight, and avoiding direct sunlight.
- Patience is Key: Roots typically develop within 2-4 weeks, but allow at least 6 weeks before transplanting the new plant outdoors.
From Propagation to Planting: A Garden’s Evolution
Once your Klasea nudicaulis seedlings or cuttings have established themselves, you can proudly transplant them to their forever home in your garden. Choose a well-drained location with full sun to partial shade. Remember to water deeply and regularly, especially during the first few weeks after transplanting.
With these propagation techniques at your disposal, you can bring the captivating beauty of Klasea nudicaulis to life and share it with others. Through the art of propagation, you’ll not only expand your garden but also contribute to the ongoing cycle of plant life, experiencing firsthand the magic of growth and renewal.