Taming the Chilean Bellflower: Propagating Lastarriaea coriacea
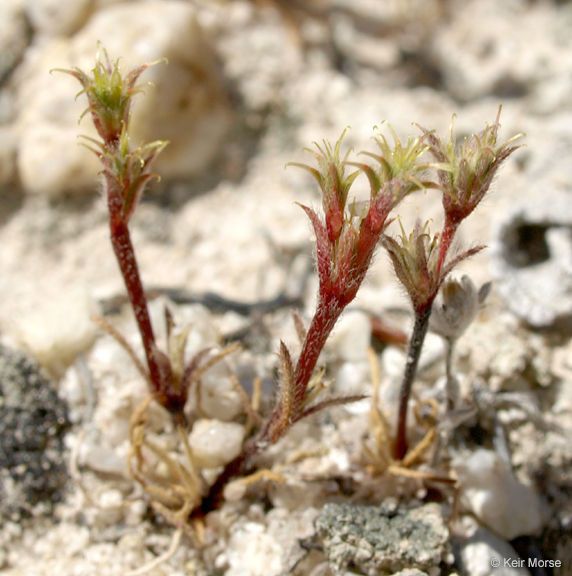
The Chilean Bellflower, or Lastarriaea coriacea, captivates with its sky-blue, bell-shaped flowers that dangle gracefully from slender stems. This charming evergreen shrub, native to the Chilean Andes, adds a touch of exotic beauty to gardens lucky enough to host it. While relatively low-maintenance once established, successfully propagating Lastarriaea coriacea requires a bit of patience and green-thumb finesse. Intrigued? Let’s explore the two most effective methods for inviting this Andean beauty into your outdoor space.
Method 1: The Art of Cuttings
Propagating Lastarriaea coriacea from cuttings offers a rewarding challenge and a higher chance of success compared to seeds. Here’s your step-by-step guide:
-
Timing is Everything: Take semi-ripe cuttings in late spring or early summer, when the plant is actively growing. Look for stems that are firm but not too woody.
-
Tools of the Trade: You’ll need a sharp, clean pair of pruning shears or a knife, a pot filled with a well-draining seed starting mix, and rooting hormone (optional, but recommended).
-
Making the Cut: Select a healthy stem and cut just below a leaf node (where the leaf joins the stem) at a 45-degree angle. The cutting should be about 4-6 inches long.
-
Prepare the Cutting: Remove the lower leaves, leaving 2-3 pairs at the top. Dip the cut end in rooting hormone to encourage faster root development.
-
Potting Up: Create a small hole in the prepared potting mix and gently insert the cutting. Firmly press the soil around the base.
-
Creating a Humid Environment: Moisture is key! Place the pot in a propagator or cover it with a clear plastic bag to maintain high humidity.
-
Patience is a Virtue: Keep the cuttings in a bright location, out of direct sunlight. Water regularly, ensuring the soil remains moist but not waterlogged. Rooting may take several weeks to a couple of months.
- Transplanting Success: Once the cuttings show significant new growth, it’s time to transplant them into individual pots or your garden bed. Choose a well-drained location with partial shade.
Method 2: The Patience of Seeds
Propagating Lastarriaea coriacea from seeds requires even more patience, but it’s equally rewarding if you enjoy the journey of nurturing a plant from its earliest stages.
-
Sourcing Seeds: Purchase seeds from a reputable supplier, as collecting them from existing plants can be challenging.
-
Sowing the Seeds: Start seeds indoors in late winter or early spring. Sow them thinly on the surface of a well-draining seed starting mix.
-
Light and Warmth: Cover the seeds lightly with a fine layer of vermiculite or soil and mist them gently. Place the seed tray in a warm, bright location, out of direct sunlight.
-
Germination Games: Be patient! Germination can take anywhere from a few weeks to several months. Keep the soil consistently moist but not soggy.
-
Growing Strong Seedlings: Once the seedlings have developed a couple of sets of true leaves, thin them out to allow the strongest ones to thrive.
- Hardening Off: Gradually acclimate the seedlings to outdoor conditions by introducing them to increasing amounts of sunlight and wind over a week or two before transplanting them into their permanent location.
The Rewards of Lastarriaea coriacea
Whether you choose the quicker route of cuttings or the more leisurely pace of growing from seed, successfully propagating Lastarriaea coriacea is a rewarding experience. With proper care and patience, you’ll soon be treated to the captivating beauty of its sky-blue blossoms, transforming your garden into a haven of delicate charm.