From Seed to Bloom: Mastering the Art of Propagating Marsh Pea (Lathyrus palustris)
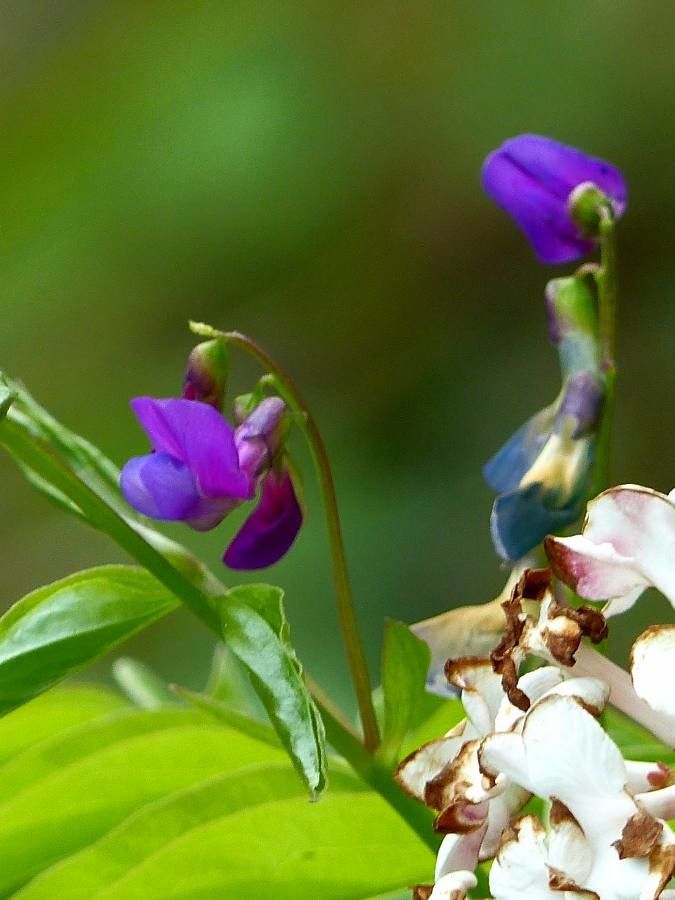
The Marsh Pea (Lathyrus palustris) brings a touch of elegance and charm to any garden with its delicate, vibrant purple blooms. But did you know that this stunning plant is also incredibly easy to propagate, giving you the chance to share its beauty or simply expand your own collection? Join us as we explore the different methods for growing new Marsh Pea plants from both seeds and cuttings, ensuring a garden brimming with these lovely wildflowers.
Starting from Seed: A Journey of New Life
Marsh Pea seeds are best sown in the spring after the last frost. These seeds need a cold stratification period, meaning they require exposure to cold temperatures for germination. To mimic this natural process, you can follow these steps:
- Prepare the Seed: Fill a small pot with a seed-starting mix and moisten it thoroughly. Sow your seeds about ¼ inch deep and cover them lightly with soil.
- Embrace the Cold: Place the pot in a sealed plastic bag and store it in the refrigerator for 4-6 weeks. This chilly period replicates winter conditions and promotes germination.
- Into the Light: After your cold stratification period, remove the pot from the refrigerator and place it in a bright, warm location with indirect sunlight. Keep the soil moist.
- Thinning and Transplanting: Once seedlings emerge, thin them out, leaving the strongest ones to flourish. Once the seedlings have developed a few true leaves, you can transplant them into your garden or larger pots.
Propagation Through Cuttings: A Faster Route
For faster results, consider propagating your Marsh Pea through cuttings. This technique involves taking pieces of existing plants and encouraging them to develop roots. Follow these steps for successful propagation:
- Choose Your Cutting: Take stem cuttings about 4-6 inches long from the tip of a healthy Marsh Pea plant. Make a clean, sharp cut just below a leaf node.
- Remove Lower Leaves: Prune off the leaves from the bottom 2 inches of the cutting. This will minimize surface area and encourage root development.
- Ready for Root Formation: Dip the cut end of the stem into a rooting hormone powder to stimulate root growth. Then, insert the cutting into a pot filled with a rooting mix that is a blend of peat moss and perlite.
- Creating Ideal Conditions: Keep the mix consistently moist and place the pot in a warm area with indirect light. Cover the cuttings with a clear plastic dome or plastic bag to create a humid environment that promotes root growth.
- The Growth Cycle: Within a few weeks, you should see signs of root development. Once the roots are a couple of inches long, you can transplant your new Marsh Pea plants into your garden.
Creating a Marsh Pea Paradise
Whether you opt for starting from seeds or using cuttings, you’ll soon enjoy the beautiful blooms of your Marsh Pea plants. These hardy and adaptable plants thrive in moist, well-drained soil with full sun to partial shade. They are also a fantastic choice for attracting pollinators and adding a touch of natural beauty to your garden. So, give propagation a try and experience the joy of watching these vibrant wildflowers grow and thrive!