Unlocking the Secrets of the Twisted Leaf: Propagating Lepidaploa tortuosa
The Lepidaploa tortuosa, with its captivating twisted leaves and whimsical form, is a plant that begs to be shared. But how can you bring this unique beauty into more spaces? The answer lies in the art of propagation – a process that allows you to create new plants from existing ones.
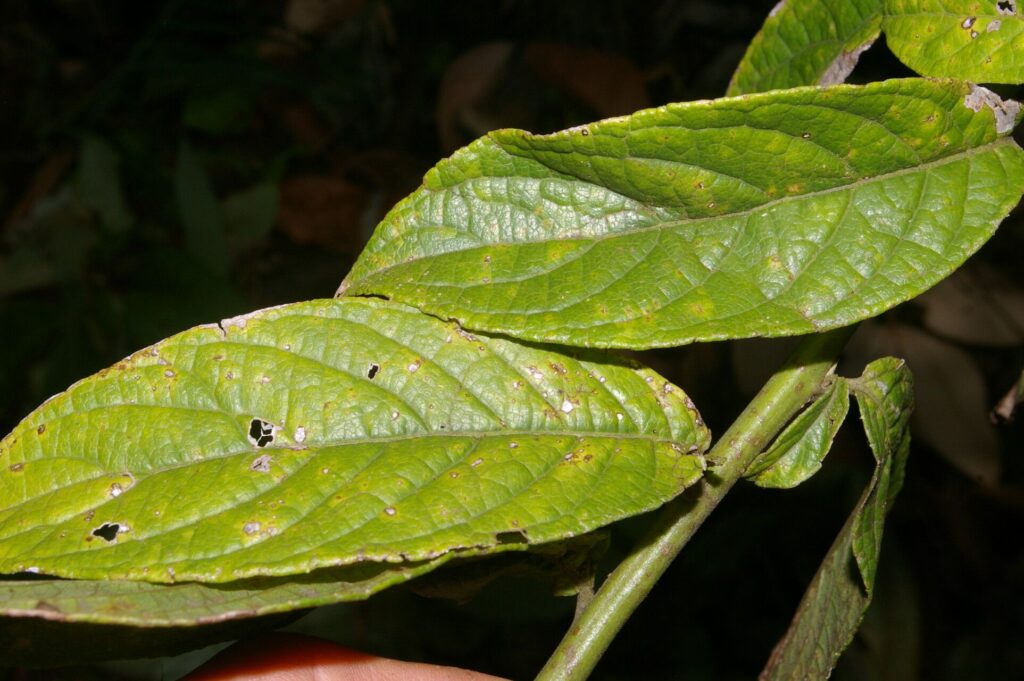
While Lepidaploa tortuosa can be found in specialist nurseries, propagating it yourself can be a rewarding experience, offering the chance to expand your collection and share this fascinating plant with others.
Understanding the Basics of Propagation
Propagation involves creating a new plant from a part of an existing one, bypassing the need for seeds. There are two main methods:
- Cuttings: Taking a piece of stem or leaf and encouraging it to develop roots.
- Division: Separating a mature plant into smaller individual plants.
Propagating Lepidaploa tortuosa: A Step-by-Step Guide
For Lepidaploa tortuosa, cuttings are the most common and successful method of propagation. Here’s a simple guide:
- Choose your cuttings: Select healthy, non-flowering stems from your mature Lepidaploa tortuosa. Aim for 3-4 inches long cuttings with at least 2-3 nodes (the points on the stem where leaves grow).
- Prepare your cuttings: Use sharp, clean scissors or a knife to make a clean cut just below a node. Remove any leaves below the soil line. Dip the cut end in rooting hormone powder, which promotes root development.
- Create your rooting medium: Fill a pot or tray with a well-draining potting mix designed for cuttings. Peat moss, vermiculite, or a mix of both work well. Ensure the medium is damp but not overly wet.
- Plant your cuttings: Insert the cuttings into the potting mix, leaving a few nodes above the soil. Space the cuttings out adequately to prevent overcrowding.
- Provide optimal conditions: Place the pot in a bright location with indirect sunlight. Maintain humidity by covering the pot with a plastic dome or bag to create a greenhouse effect.
- Patience is key: Root development takes time. Regular misting and keeping the medium consistently moist are essential. The cuttings should begin to show signs of new growth within a few weeks.
- Repotting: Once the roots have developed, you can repot the new Lepidaploa tortuosa into a larger pot filled with a well-draining soil mix.
Additional Tips:
- Timing: Propagate Lepidaploa tortuosa in the spring or early summer when growth is more vigorous.
- Water wisely: Overwatering can lead to root rot, so ensure the soil is adequately draining. Allow the top of the soil to dry slightly before watering again.
- Light: Provide indirect sunlight or bright shade. Direct sunlight can scorch the delicate leaves.
- Humidity: Maintain high humidity levels to encourage root development.
Sharing the Joy
Once your cuttings have established roots and grown into healthy plants, you can share them with friends, family, or your local community. This not only helps expand the beauty of Lepidaploa tortuosa but also contributes to its conservation and appreciation.
Beyond Propagation: Caring for Your Lepidaploa tortuosa
Propagated plants require the same care as mature plants. Ensure they have well-draining soil, sufficient light, and a moderate water regime.
Lepidaploa tortuosa is a beautiful and unique plant, and its propagation is a process that rewards patience and care. With a little effort and enthusiasm, you can unlock its secrets and create a flourishing collection of this captivating foliage.