Unleash the Beauty of Manuka: A Guide to Propagating Leptospermum lanigerum
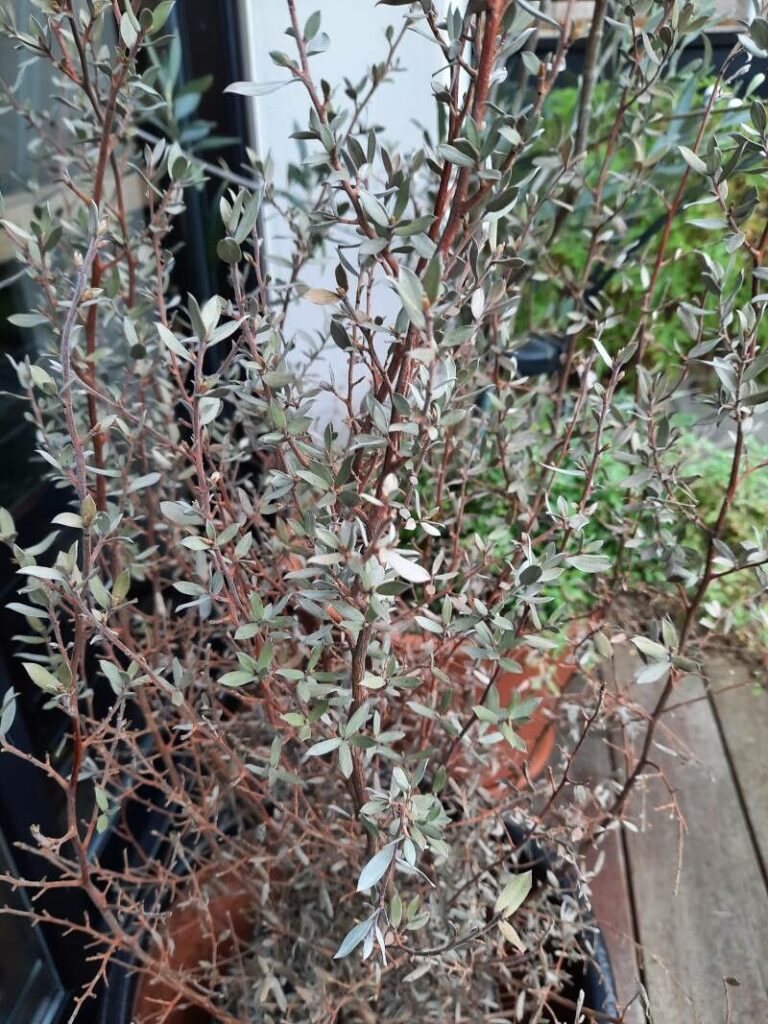
The Manuka tree, scientifically known as Leptospermum lanigerum, is a beautiful and versatile evergreen native to New Zealand. Its fragrant white flowers, silvery-grey foliage, and adaptability to various conditions make it a favorite among gardeners. But what if you could share this beauty with friends and family? The good news is: propagating Manuka is surprisingly simple!
This guide will walk you through the most effective methods of propagating Manuka, empowering you to cultivate your own stunning specimens.
Method 1: The Magic of Cuttings
- Choosing the Right Material: Select healthy, non-flowering stems from the current year’s growth. Aim for sections around 6-8 inches long, ensuring they have a few nodes (bumps where leaves grow).
- Preparing the Cuttings: Using a clean, sharp knife or shears, make a slanted cut just below a node. Remove the leaves from the bottom inch of the cutting.
- Rooted in Success: Dip the cut end of the stem in rooting hormone powder, which helps stimulate root growth. Then, plant the cuttings in a propagation mix (equal parts peat moss and perlite) or a mix of seed-starting mix and vermiculite. Keep the mix moist and maintain high humidity by covering the container with a plastic dome or wrap.
- Patience is Key: Place the cuttings in a bright, indirect light location. Depending on factors like temperature and light, roots typically develop within 6-8 weeks. You can gently tug on the base of a cutting to check for resistance, indicating root development. Once rooted, pot the young Manuka into a well-draining potting mix and enjoy its growth!
Method 2: Seed Propagation for a New Generation
- Collect the Seeds: Gather the seed capsules from mature Manuka plants after they have dried and opened naturally. The seeds are small and black.
- Sowing Time: Sow the seeds in a seed tray filled with a sterile, free-draining seed-starting mix. Lightly press the seeds into the soil and cover them with a thin layer of vermiculite.
- Water and Warmth: Mist the soil with water ensuring it stays slightly moist, but not soggy. Cover the seed tray with a plastic dome or wrap to maintain humidity. Place the tray in a warm, bright location (around 70°F) with indirect sunlight.
- Time for Growth: Germination can take several weeks, so patience is key. Once seedlings appear, remove the dome or wrap and gradually acclimate them to outdoor conditions. Transplant the seedlings into individual pots when they have a few sets of true leaves.
Tips for Success:
- Timing is Everything: Propagation is best undertaken during the spring or early summer when temperatures are warm, mimicking the natural growth cycle.
- Light is Life: Provide adequate light for successful propagation. A south-facing window or a grow light setup simulates the necessary conditions for healthy growth.
- Water Wisely: Maintain consistently moist but not soggy conditions for optimal root development. Avoid overwatering, as this can lead to root rot.
- Patience is Virtue: Propagation takes time, so be patient. Allow the cuttings or seedlings ample opportunity to establish root systems and develop healthy growth.
By following these methods, you can unlock the beauty and versatility of the Manuka. Whether you choose to start from seed or cuttings, the process is rewarding, allowing you to cultivate your own collection of these lovely shrubs.
So, embrace the magic of propagation and share the stunning beauty of the Manuka with those around you. Let your garden flourish with these unique and fragrant treasures.