Spreading the Beauty: How to Propagate Your Leptospermum Squarrosum
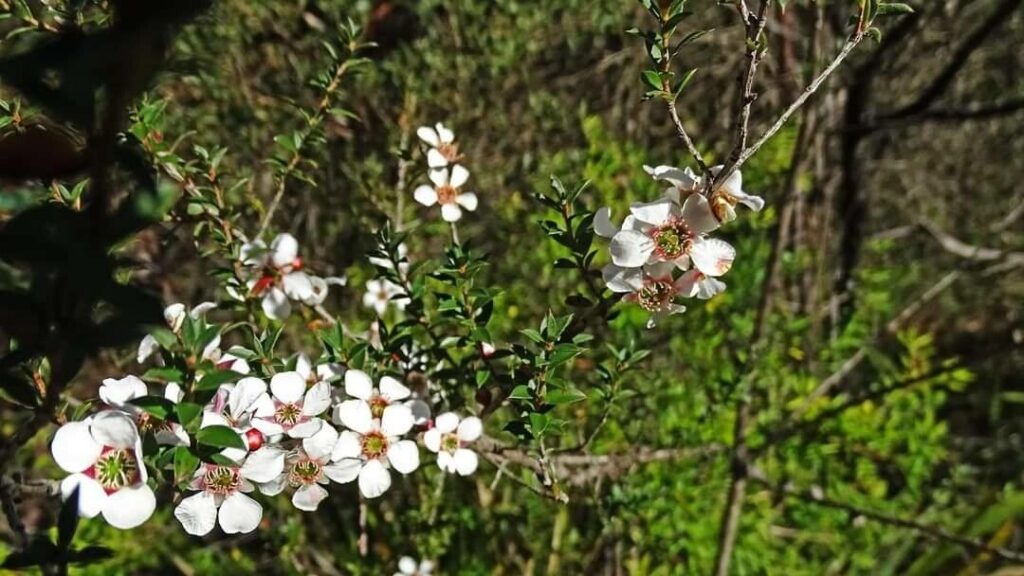
Have you fallen in love with the vibrant pink blooms and feathery foliage of the Leptospermum squarrosum, also known as the “Manuka” or “New Zealand Tea Tree”? These unique plants are a captivating addition to any garden, but acquiring them can be a bit of a challenge. Luckily, propagating your own Manuka is surprisingly easy!
This blog post will walk you through the two most successful methods for multiplying your Manuka: cuttings and seed propagation. We’ll explore the pros and cons of each, and provide you with step-by-step instructions to ensure success.
The Power of Cuttings: A Quick and Easy Route
For those eager to enjoy their Manuka’s beauty sooner rather than later, cuttings offer a swift and straightforward option. Here’s how to do it:
- Select the Right Material: Choose healthy, non-flowering stems with new growth from the current year. The ideal length for cuttings is around 4-6 inches.
- Prepare the Cuttings: Make a clean cut just below a node (where leaves grow) using a sharp knife or pruning shears. Strip the lower leaves from the cutting, leaving the top 2-3 pairs.
- Root Hormone (Optional): To encourage faster rooting, lightly dip the base of the cutting in a rooting hormone powder or gel.
- Potting Mixture: Use a well-draining potting mix, ensuring it’s slightly moist.
- Planting Time: Gently insert the cuttings into the prepared potting mix, leaving the top 2-3 leaves above the soil.
- Indulge in Patience: Place your cuttings in a bright, indirect light location. Keep the potting mix consistently moist, but not soggy. The rooting process can take anywhere from 6 to 12 weeks.
- Time to Transplant: Once your cuttings develop new growth, they’re ready for transplanting into larger pots or directly into your garden.
Seed Propagation: A Journey of Discovery
If you’re up for a bit of a longer wait and a touch of suspense, seed propagation offers a unique way to cultivate your own Manuka.
- Seed Collection: Collect seeds from ripe fruit capsules (similar to small berries) that appear on the plant after flowering. These capsules will turn brown and dry, releasing the seeds.
- Stratification: Manuka seeds require a period of cold stratification to break dormancy. Mix the seeds with slightly moistened vermiculite or peat moss and store them in a sealed plastic bag in the refrigerator for 6-8 weeks.
- Sowing Time: After stratification, sow the seeds on the surface of a moist, seed-starting mix. Cover the container with a clear plastic dome or wrap to create a humid environment.
- Germination: Place the container in a bright, indirect light location. Keep the soil consistently moist. Germination can take anywhere from 2 to 8 weeks.
- Thinning and Transplanting: Once seedlings develop their first true leaves (not the seed leaves), it’s time to thin them, leaving the strongest ones. When they are large enough, transplant them into individual pots or your garden.
Choosing the Right Path: Cuttings or Seeds?
Ultimately, the choice between cuttings and seed propagation depends on your personal preference and timeline. Cuttings are perfect for those wanting to enjoy their Manuka quickly. Seed propagation is better for those who enjoy the journey of nurturing new life and are less impatient.
No matter which method you choose, remember to provide your Manuka with well-draining soil, ample sunlight, and moderate watering. With a little TLC, you’ll be enjoying the beauty of this unique and resilient plant in your own garden for years to come.