Unlocking the Secrets of Lessingia Hololeuca: A Guide to Propagation
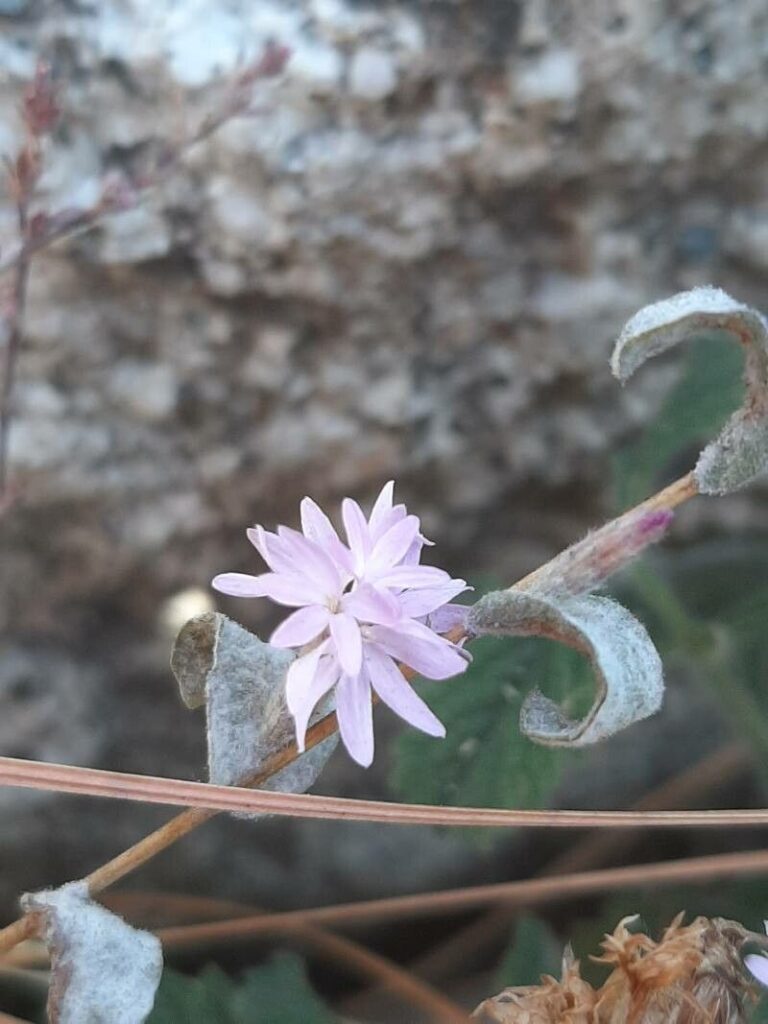
Lessingia hololeuca, also known as the Woolly Lessingia, is a California native wildflower beloved for its delicate beauty and ability to thrive in challenging conditions. Its silvery leaves and charming yellow blooms can add a touch of wild grace to any garden. If you’re hoping to invite this enchanting plant into your life, understanding its propagation is key.
While commercially available Lessingia hololeuca plants are rare, propagating them at home is surprisingly achievable, even for novice gardeners. Let’s explore the two primary methods:
1. Seed Propagation:
This method is ideal for those embracing the full lifecycle of the plant. Lessingia hololeuca seeds are typically available from specialty nurseries or online vendors specializing in native plants.
- Timing is everything: Aim to sow your seeds in late fall or early winter. This mimics the plant’s natural cycle, taking advantage of the cooler temperatures and winter rains.
- Preparing your seedbed: This wildflower thrives in well-drained soil. Use a seed starting mix or create your own by combining equal parts potting soil, perlite, and coarse sand.
- Sowing the seeds: Sprinkle your seeds over the soil surface, pressing them in gently. Lessingia hololeuca seeds need light to germinate, so avoid burying them.
- Water wisely: Keep the soil consistently moist but not soggy. A spray bottle can help achieve this balance.
- Patience is a virtue: Germination typically takes 2-4 weeks. Once your seedlings have developed a few sets of true leaves, thin them to about 6 inches apart.
2. Propagation from Cuttings:
For a quicker route to establishing Lessingia hololeuca, propagation from cuttings is a viable option.
- Timing is crucial: Take cuttings in the spring from healthy, actively growing plants.
- Selecting your cuttings: Choose stem segments that are around 4-6 inches long and have several sets of leaves.
- Preparing your cuttings: Remove the lower leaves from the stem, leaving only the top two or three pairs.
- Encouraging root development: Dip the cut end of your stem in rooting hormone (available at most garden centers) to increase the chances of success.
- Planting your cuttings: Insert the treated ends into a well-draining potting mix.
- Creating a humid environment: Cover the pot with a plastic bag or use a humidity dome to maintain moisture levels and encourage rooting.
- Monitoring progress: After 4-6 weeks, gently tug on the cuttings. Resistance indicates that roots have developed. Once roots are established, you can transplant your new Lessingia hololeuca plants into individual pots or your garden.
Caring for your Lessingia Hololeuca:
Once established, this resilient wildflower requires minimal maintenance. Ensure it receives at least six hours of sunlight daily and water it moderately, allowing the soil to dry out slightly between waterings.
Adding a Touch of the Wild:
Propagating Lessingia hololeuca is a rewarding journey that culminates in the addition of these stunning wildflowers to your garden. By following these simple steps, you can help ensure the continued flourishing of this beautiful California native, bringing a touch of the wild into your outdoor space.