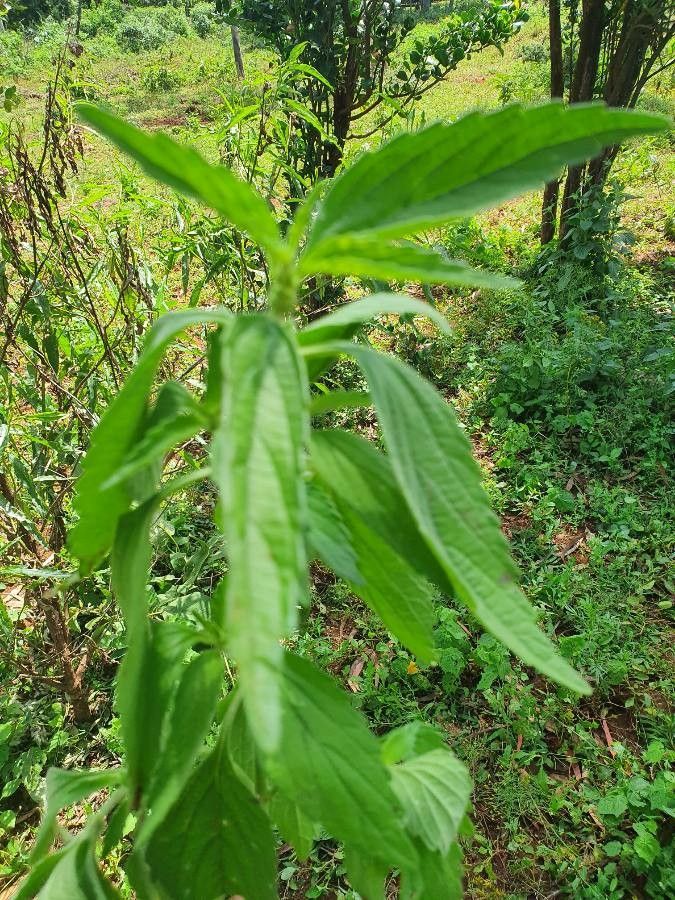
Unleashing the Power of Propagation: Multiply Your Leucas urticifolia with Ease
Leucas urticifolia, with its delicate white flowers and refreshing minty aroma, is a captivating addition to any garden. But did you know that multiplying this charming plant is surprisingly simple? Whether you’re a seasoned gardener or just starting your green journey, propagating Leucas urticifolia is an enjoyable and rewarding experience. Let’s explore the different methods you can use to create an abundance of these lovely plants.
1. The Power of Cuttings:
Stem cuttings are the most popular and effective method for propagating Leucas urticifolia. Here’s a step-by-step guide:
- Timing is Key: Spring or early summer, when the plant is actively growing, is the ideal time for taking cuttings.
- Choose Wisely: Select healthy, non-flowering stems that are about 4-6 inches long.
- Make the Cut: Using sharp, sterilized scissors or pruning shears, make a clean cut just below a leaf node (the point where the leaf joins the stem).
- Prepare the Cutting: Remove the lower leaves from the cutting, leaving only a few at the top.
- Rooting Hormone (Optional): While not essential, dipping the cut end in rooting hormone can encourage faster root development.
- Planting Medium: A well-draining potting mix or a mixture of peat moss and perlite is perfect.
- Planting and Care: Insert the cutting into the prepared medium, ensuring the leaf nodes are buried. Water gently and place the pot in a warm, well-lit location, out of direct sunlight.
- Patience is a Virtue: It usually takes 2-3 weeks for roots to establish. You’ll know your cutting has rooted when you see new growth.
2. Layering: Encouraging Roots While Still Attached
Layering is another easy method for propagating Leucas urticifolia, especially if you’re aiming for a sure-shot method:
- Select a Stem: Choose a healthy, flexible stem close to the ground.
- Wound the Stem: Gently wound the underside of the selected stem by making a small cut or scraping off a bit of the outer layer.
- Bury the Wound: Bend the wounded portion of the stem down and bury it in the soil, securing it with a small rock or landscape pin.
- Keep Moist: Provide regular watering to the buried section.
-
Separation and Planting: After a few weeks, roots should develop at the wounded area. Once the layered section shows new growth, carefully separate it from the parent plant and pot it.
3. Seeds: Starting from Scratch
While Leucas urticifolia readily propagates from cuttings and layering, you can also grow it from seeds. However, finding viable seeds might be challenging. If you do manage to obtain some:
- Sowing the Seeds: Sow the seeds in a seed-starting mix, lightly pressing them onto the surface.
- Warmth and Light: Place the seed tray in a warm location with indirect light.
- Moist but Not Soggy: Keep the soil consistently moist but not waterlogged.
- Transplanting: Once the seedlings have developed a few sets of true leaves, they can be transplanted into individual pots or your garden.
The Joy of Multiplication
Propagating Leucas urticifolia is an easy and fulfilling way to expand your garden’s beauty and share the joy of this captivating plant with others. Whether you choose to take cuttings, layer a stem, or start from seed, remember to provide a little care and patience, and soon enough, you’ll have an abundance of these delightful plants to brighten your days.