Unlocking the Secrets of Pincushion Propagation: How to Grow Your Own Leucospermum Praecox Paradise
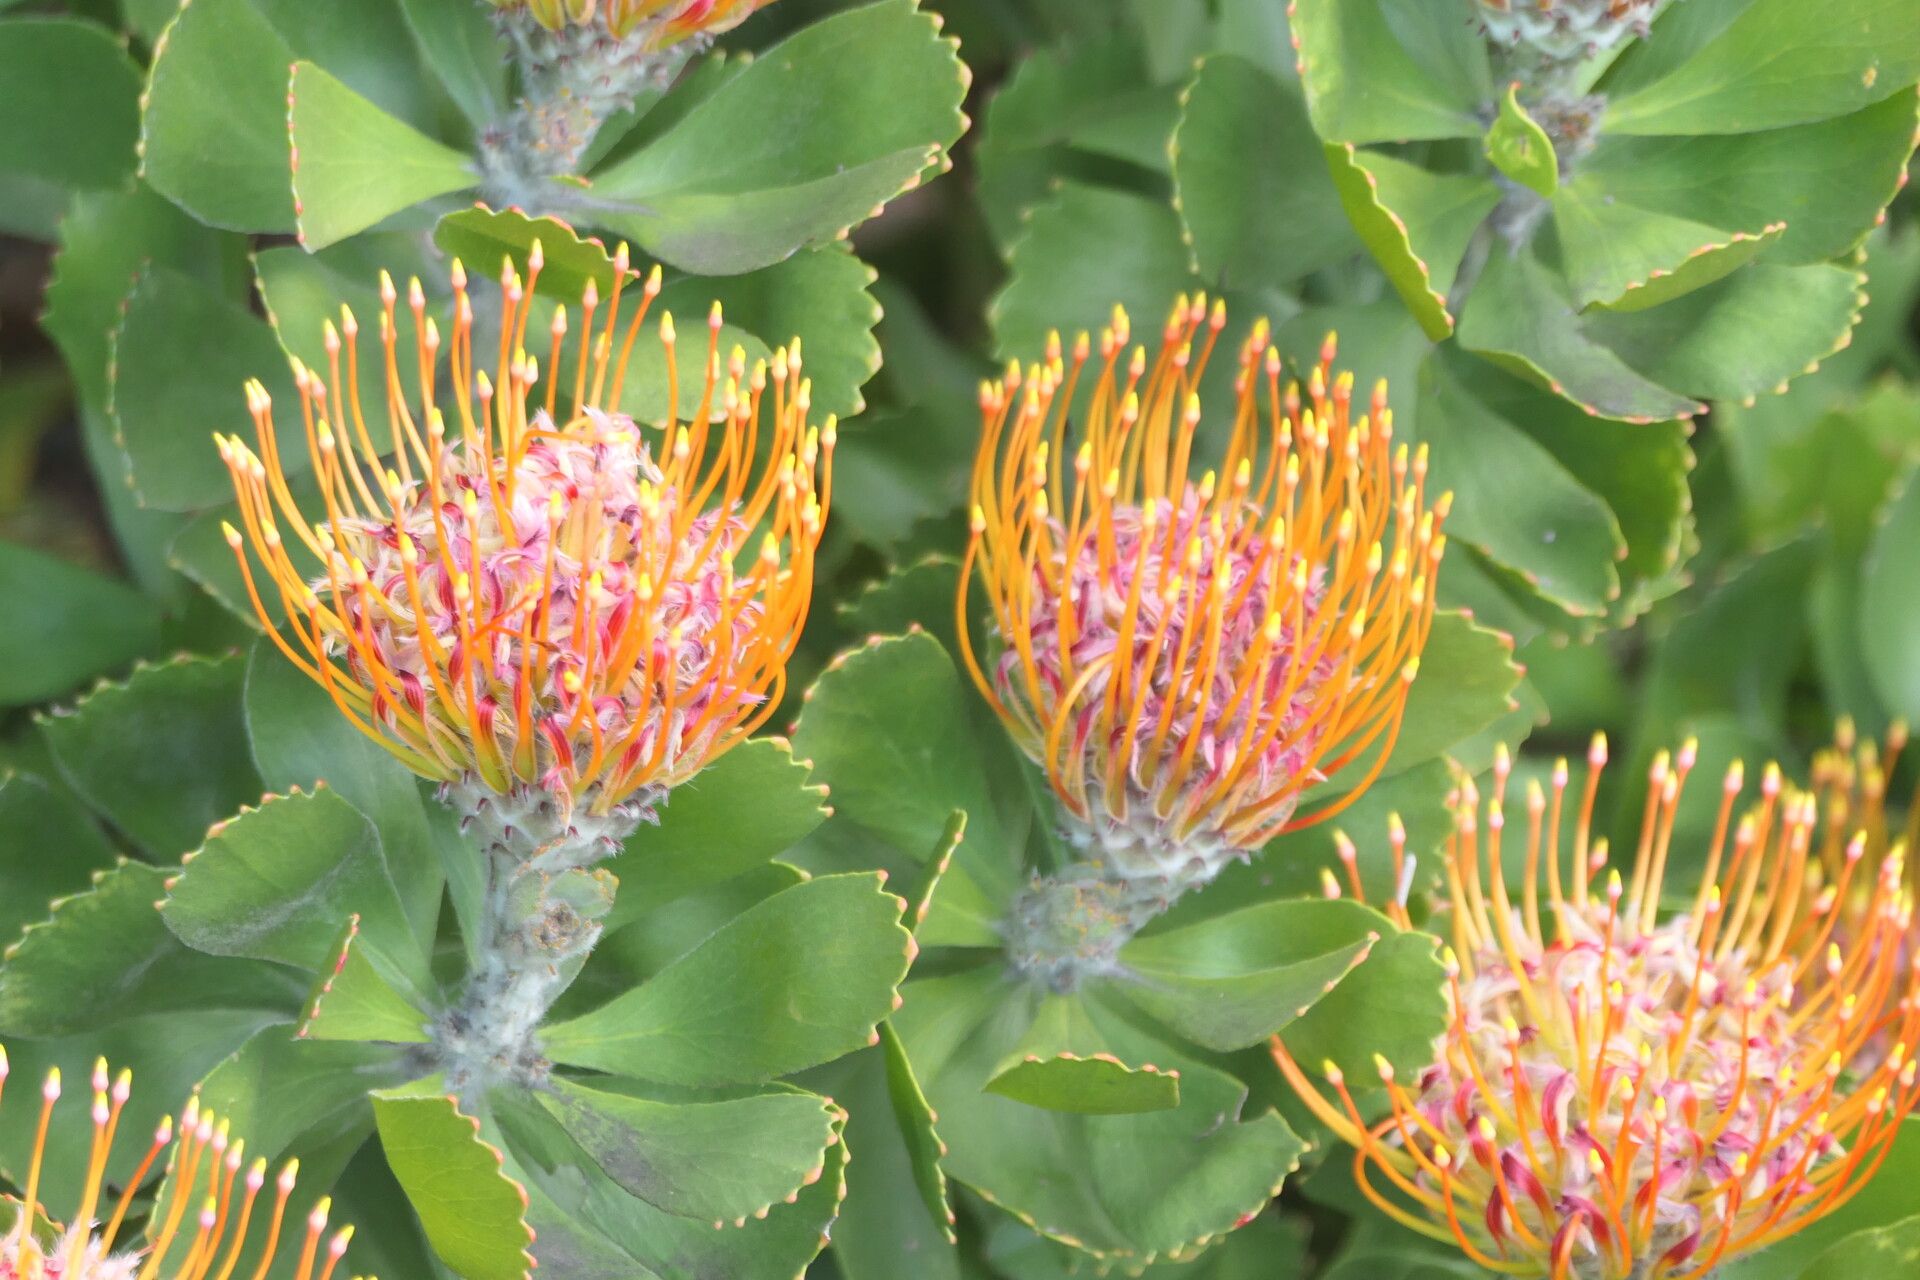
Are you captivated by the vibrant beauty of Leucospermum praecox, also known as the “Pincushion”? This South African native boasts stunning, spiky flower heads in shades of crimson, orange, and yellow, adding a burst of color to any garden. But did you know you can easily propagate your own Pincushion plants from cuttings? It’s easier than you might think!
Why Propagate Pincushions?
Propagation, the process of creating new plants from existing ones, offers numerous advantages:
- Cost-effective: Cuttings are much cheaper than buying mature plants.
- Genetic preservation: You can maintain the specific traits of your favorite Pincushion variety.
- Increased stock: Expand your own collection or share the beauty with friends.
- A rewarding experience: Watching a cutting develop into a magnificent plant is immensely satisfying.
The Art of Pincushion Propagation: A Step-by-Step Guide
1. Timing is Key: For best results, take cuttings in late summer or early autumn when the plant is actively growing.
2. Cuttings Selection: Choose healthy, non-flowering stems with a pencil-thick diameter. The ideal length is 4-6 inches.
3. Making the Cut: Use sharp, sterilized tools to make a clean diagonal cut just below a leaf node. Remove any lower leaves that will be submerged in soil.
4. Rooting Hormone: Apply a rooting hormone powder to the cut end of the stem. This encourages root development.
5. The Perfect Planting Medium: Fill a pot with a well-draining potting mix or a mixture of equal parts peat moss and perlite.
6. Planting the Cutting: Make a small hole in the potting mix and insert the cutting. Firmly press the soil around the base to ensure good contact.
7. Create a Greenhouse Effect: Cover the pot with a clear plastic bag or a humidity dome to trap moisture and create a warm, humid environment.
8. Patience is a Virtue: Place the pot in a bright, indirect light location. With proper care, roots should develop within 4-6 weeks.
9. Transition to Sunlight: Once you see new growth, gradually acclimate the cutting to full sun exposure. Ensure the soil remains moist but not soggy.
10. First Repotting: After a few months, you can transplant your young Pincushion into a larger pot or directly into the garden.
Tips for Success:
- Keep it Moist: Maintain a consistently moist environment, but avoid overwatering.
- Air Circulation: Ensure good airflow by occasionally removing the plastic cover to prevent fungal growth.
- Patience is Key: Pincushion propagation may take longer than other plant species.
- Location Matters: Choose a sunny spot in your garden with well-drained soil.
Enjoy Your Pincushion Paradise
With a little care and attention, you can successfully propagate your own Leucospermum praecox. The vibrant flowers and rewarding experience will make all the effort worthwhile. So put on your gardening gloves, gather your cuttings, and watch as the vibrant color of your Pincushion paradise blossoms.