More Than One Way to Grow an Easter Lily: Propagating Lilium longiflorum
Lilium longiflorum, better known as the Easter Lily, is a beloved flower prized for its elegant trumpets and intoxicating fragrance. While most of us associate these lilies with bouquets and springtime, did you know you can enjoy their beauty year after year with a little propagation magic?
Propagating your own Easter Lilies is easier than you might think, and it’s incredibly rewarding to watch new life bloom from an existing plant. There are a few different methods you can use to create new lily plants, each with its own advantages:
1. Scaling:
This method utilizes the small scales that grow around the bulb’s base. In fall, after the foliage has died back:
- Carefully dig up the lily bulb: Look for healthy, outer scales attached to the main bulb.
- Gently remove the scales: Choose scales that are plump and firm.
- Treat with fungicide (optional): Dusting the scales with a rooting hormone containing a fungicide can help prevent rot.
- Plant the scales: Place them in a tray filled with a mix of peat moss and perlite, burying the base of each scale.
- Keep consistently moist: Cover the tray with a plastic bag to maintain humidity and place it in a cool, dark location.
- Wait and Watch: Tiny bulblets will form at the base of each scale in a few weeks. These can then be potted up individually once they develop roots and shoots.
2. Bulbils:
Bulbils are tiny bulbs that sometimes form in the leaf axils (where the leaf joins the stem) of the lily plant.
- Harvest the bulbils: Carefully remove the bulbils once they’re about the size of a pea.
- Plant immediately: Plant them in a well-draining potting mix, just like you would a mature bulb.
- Patience is Key: It may take a couple of seasons for these little bulbils to grow large enough to produce flowers.
3. Seeds (A Bit More Challenging):
Easter Lilies can also be grown from seed, though this method requires more patience as the resulting plants may take several years to flower.
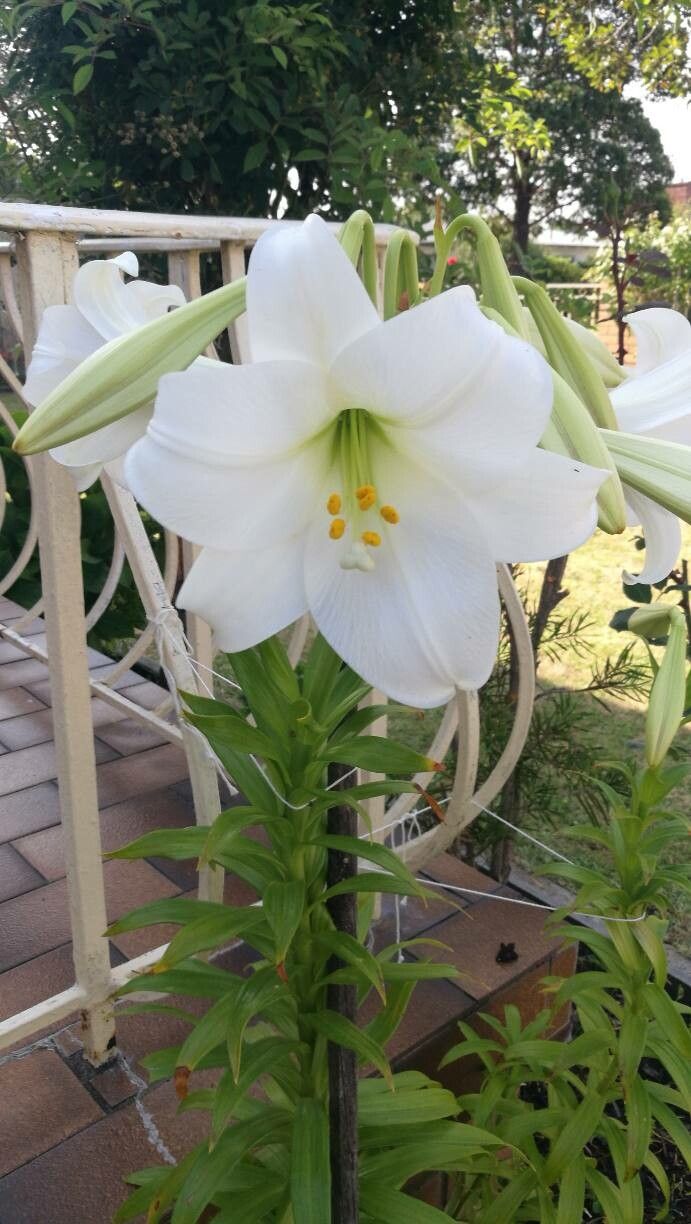
- Pollinate the Flowers: Use a small brush to transfer pollen from the anther (the stalk-like part of the stamen) to the stigma (the sticky tip of the pistil) of another flower.
- Collect the Seed Pods: Once the pods ripen and turn brown, collect and dry them.
- Sow the Seeds: Sow the seeds in a seed-starting mix and keep them moist.
- Transplant: Once the seedlings are large enough to handle, transplant them into individual pots or outdoors.
Tips for Success:
- Timing is Everything: The best time to propagate Easter Lilies is in the fall, after the foliage has died back.
- Well-Draining Soil: Lilies despise soggy feet! Use a well-draining potting mix to prevent bulb rot.
- Bright, Indirect Light: While lilies enjoy plenty of sunlight, direct sunlight can scorch their leaves. Opt for a location with bright, indirect light.
With a little time and effort, you can multiply your Easter Lily collection and enjoy their beauty for years to come. So why not give propagation a try? You might just discover your new favorite gardening activity.