
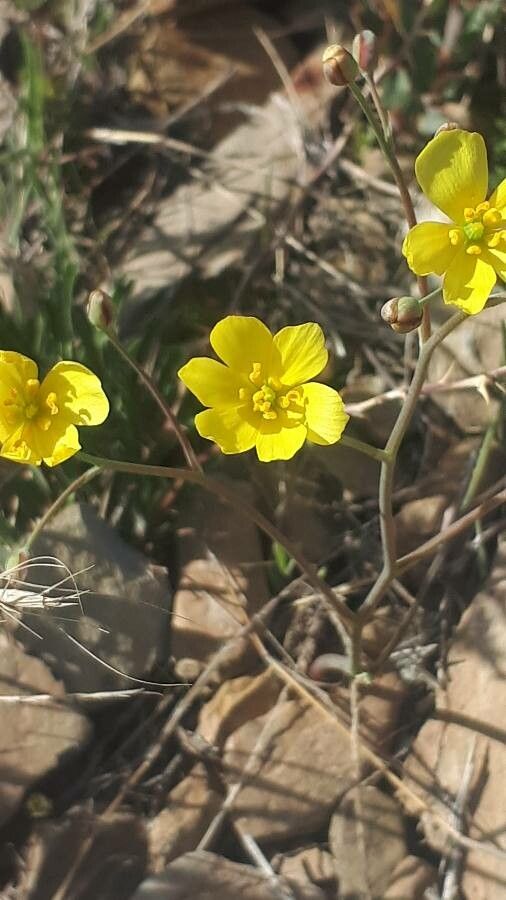
Taming the Wildflower: Propagating the Charming Linum aristatum
The Linum aristatum, with its cheerful yellow blooms dancing atop slender stems, brings a touch of wildflower charm to any garden. While this hardy perennial thrives in its natural habitat, you might find yourself wanting to multiply its beauty throughout your landscape. Fear not, fellow flower enthusiasts! Propagating Linum aristatum isn’t as daunting as you might think. Let’s delve into the world of seeds and cuttings to help you cultivate a thriving colony of these sunny blossoms.
The Seeds of Success: Embracing the Cycle of Life
Propagating Linum aristatum through seeds offers a rewarding journey, mirroring the plant’s natural life cycle. Here’s how you can sow the seeds of success:
- Harvesting Time: As the flowers begin to fade, keep a watchful eye out for the formation of seed capsules. These small, round pods will turn brown when mature, signaling they’re ready to share their bounty.
- Gently Does It: Carefully collect the seed capsules, ensuring they’re completely dry before prying them open to reveal the treasure within – tiny, brown seeds.
- Sowing the Seeds: Linum aristatum seeds prefer a period of cold stratification to break dormancy. You can either sow them directly outdoors in the fall, allowing nature to work its magic, or mimic winter conditions by storing the seeds in moist sand within your refrigerator for 6-8 weeks before planting in spring.
- Patience, Young Padawan: Whether sown directly or after stratification, be patient. Germination can take anywhere from 2 to 4 weeks. Remember to keep the soil consistently moist but not waterlogged.
Taking the Scenic Route: Propagating Through Cuttings
If you’re seeking a quicker path to expanding your Linum aristatum haven, cuttings are your trusty steeds:
- Timing is Key: Early summer, when the plant is actively growing, is the optimal time for taking cuttings.
- Choosing the Right Stem: Select a healthy, non-flowering stem and using a sharp, clean knife or pruners, make a cut about 4-6 inches long just below a leaf node.
- Preparing the Cutting: Remove the lower leaves, leaving only a few at the top. Dip the cut end in a rooting hormone (optional but beneficial).
- Creating the Perfect Nursery: Plant the cutting in a well-draining potting mix. A mix of peat moss and perlite is ideal.
- Creating a Humid Haven: Cover the pot with a plastic bag or create a humidity dome to retain moisture. Place the pot in a warm, bright location but out of direct sunlight.
- Rooting Revelation: Within a few weeks, your cutting should develop roots. Gently tug on the cutting – if it resists, congratulations! Your Linum aristatum cutting has successfully taken root.
Nurturing Your New Arrivals
Once your seedlings or cuttings are established, provide them with well-draining soil, ample sunlight (at least 6 hours daily), and regular watering. Remember, Linum aristatum prefers it on the drier side, so avoid overwatering.
With a bit of care and attention, you’ll soon have a flourishing collection of Linum aristatum, painting your garden with a breathtaking tapestry of sunshine yellow blooms. So why wait? Embark on your propagation journey today and let these charming wildflowers weave their magic in your own backyard.