
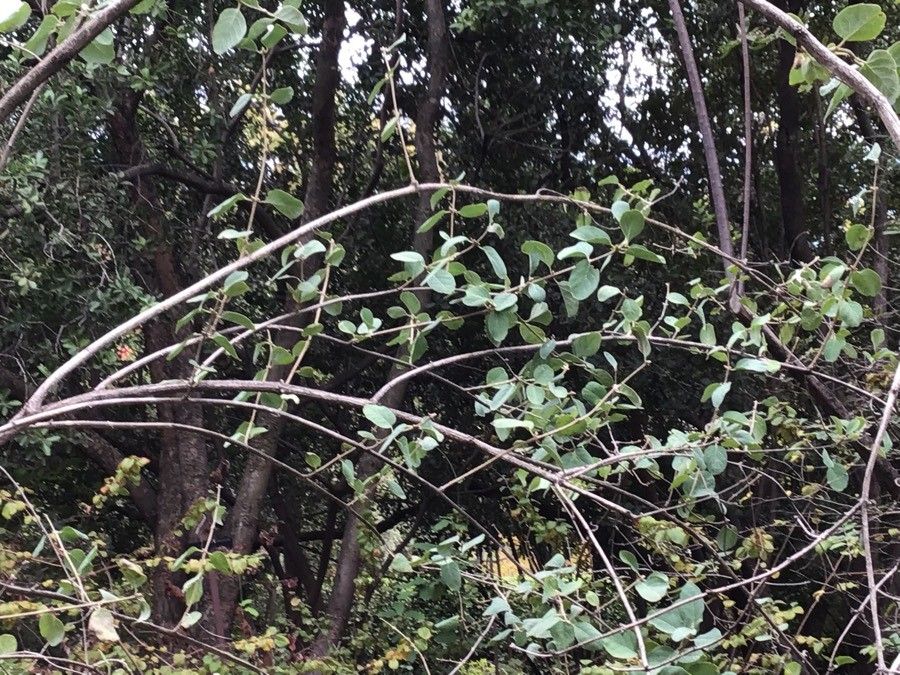
Unlocking the Secrets of Lonicera Nummulariifolia: A Propagation Guide
Lonicera nummulariifolia, also known as the Coin-leaved Honeysuckle, is a charming deciduous shrub that captivates with its elegant foliage and delicate, fragrant blooms. While this lesser-known honeysuckle species can be a delightful addition to any garden, finding them at local nurseries can be a challenge. Fear not, propagating your own Lonicera nummulariifolia is surprisingly achievable and opens up a world of horticultural possibilities!
This guide will walk you through the two most effective propagation methods:
1. Growing Lonicera Nummulariifolia from Seed:
Seed Collection:
- Collect ripe berries in late summer or early fall. The berries should be plump and dark blue or black.
- Gently crush the berries and remove the seeds.
- Clean the seeds by rinsing them in a sieve until free from pulp.
Cold Stratification:
- Lonicera nummulariifolia seeds require a period of cold stratification to break dormancy and enhance germination rates.
- Mix the cleaned seeds with damp vermiculite or sand.
- Place the mixture in a sealed plastic bag or container.
- Store in the refrigerator (around 40°F or 4°C) for 6-8 weeks.
Sowing the Seeds:
- Use a well-draining seed-starting mix.
- Sow the seeds about ¼-inch deep in seed trays or small pots.
- Lightly cover with soil and mist gently.
- Provide consistent moisture and place the trays in a bright location, out of direct sunlight.
Germination:
- Germination can take anywhere from 2 to 8 weeks, sometimes longer.
- Once the seedlings have developed a couple of sets of true leaves, you can transplant them into individual pots.
2. Propagating Lonicera Nummulariifolia from Cuttings:
Taking Cuttings:
- The ideal time to take cuttings is in late spring or early summer from healthy, new growth.
- Choose stems that are about 4-6 inches long and haven’t flowered yet.
- Use a sharp, clean knife or pruning shears to make a cut just below a leaf node.
Preparing the Cuttings:
- Remove the leaves from the bottom third of the cutting.
- Dip the cut end in rooting hormone powder (this is optional but recommended for faster rooting).
Planting the Cuttings:
- Fill small pots or a seed tray with a well-draining potting mix.
- Create a hole in the center of each pot using a pencil or your finger.
- Insert the cutting into the hole, ensuring the bottom node is buried.
- Gently firm the soil around the cutting.
Creating a Humid Environment:
- To promote successful rooting, cover the cuttings loosely with a plastic bag or humidity dome.
- This helps to maintain a consistently moist environment.
Care and Rooting:
- Place the cuttings in a bright location, out of direct sunlight.
- Keep the soil consistently moist but not waterlogged.
- Check for root development after about 4-6 weeks. Gently tug on the cutting – resistance indicates root formation.
Transplanting:
- Once the cuttings have developed a strong root system (usually after 8-12 weeks), you can transplant them into larger pots or directly into your garden.
Additional Tips:
- Choose a location in your garden that receives partial shade or filtered sunlight, as Lonicera nummulariifolia thrives in these conditions.
- Ensure the soil is well-draining and slightly acidic to neutral.
- Water regularly, especially during dry spells.
Propagating your own Lonicera nummulariifolia is a genuinely rewarding experience for both novice and seasoned gardeners. With patience, care, and the right techniques, you can cultivate these enchanting shrubs and enjoy their elegant beauty for years to come.