
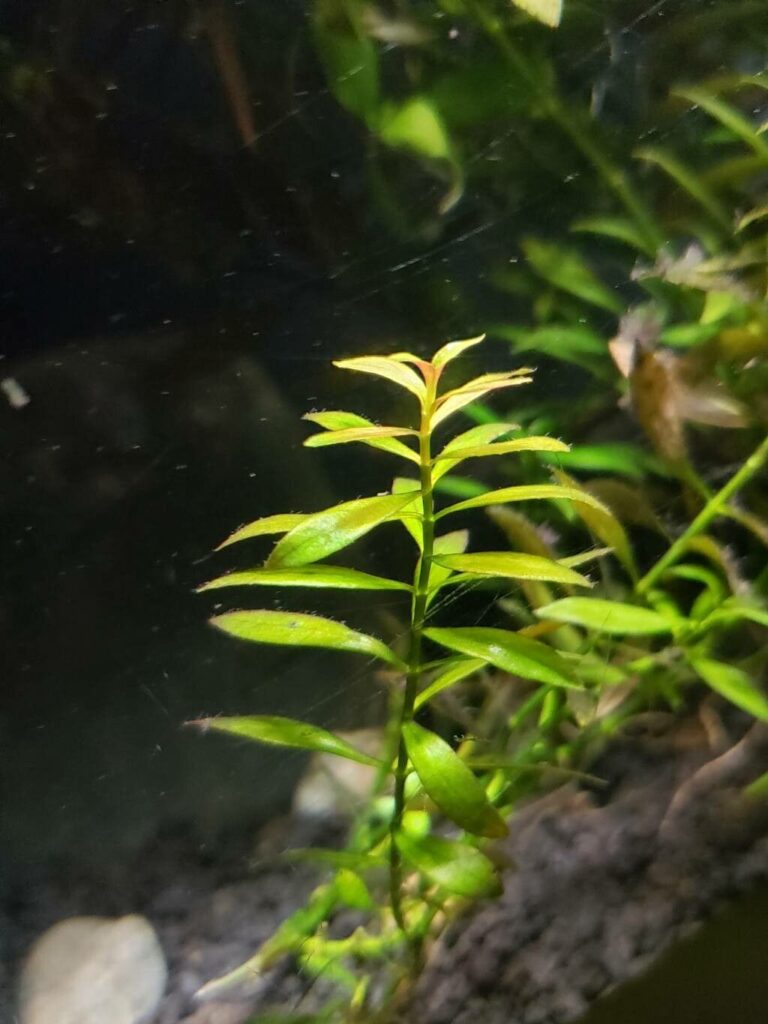
Multiplying Magic: Unlocking the Secrets of Ludwigia arcuata Propagation
Ludwigia arcuata, with its vibrant hues of red, orange, and green, can bring a breathtaking spectacle to any aquarium. But did you know that replicating this beauty is easier than you think? Propagating Ludwigia arcuata is a rewarding experience, allowing you to expand your aquatic garden without breaking the bank.
Understanding the Basics
Ludwigia arcuata, sometimes called “Red Ludwigia,” propagates through cuttings. This means creating a new plant from a piece of the parent stem. Sounds like magic? Let’s break down the process:
1. Gathering Your Tools:
You don’t need a sophisticated setup for this propagation journey. Here’s what you’ll need:
- Sharp, clean scissors or shears: Clean tools prevent the spread of diseases to your precious cuttings.
- Clean container: A small glass or bowl to hold the cuttings while you work.
- Aquarium water: Using water from your established aquarium ensures the cuttings have a familiar environment.
2. Selecting the Right Cuttings:
- Healthy Parent Plant: Choose a thriving Ludwigia arcuata stem, free from any damage or disease.
- Ideal Stem Length: Select a healthy stem segment that’s at least 3-4 inches long.
- Cut Below the Node: Use your sharp scissors to make a clean cut just below a node. Nodes are the small bumps on the stem where leaves grow.
3. Preparing the Cuttings:
- Remove Lower Leaves: Gently pluck off the leaves from the bottom inch of the cutting. This section will be planted and needs room for root development.
- Optional: Dip in Rooting Hormone (Not Essential): While not strictly necessary, dipping the cut end in a rooting hormone can encourage faster and healthier root growth.
4. Planting Your Cuttings:
- Substrate or No Substrate?: Ludwigia arcuata can be grown either rooted in a substrate like aquarium soil or left to float freely in the water. Both methods work well.
- Rooting in Substrate: Gently insert the bottom inch of the cutting into your chosen substrate. Ensure the node where you removed the lower leaves is buried.
- Floating: Simply let the cuttings float freely in your aquarium. They will naturally develop roots and can be planted later if desired.
5. Providing the Right Environment
- Lighting: Ludwigia arcuata flourishes under moderate to high lighting. Ensure sufficient light reaches your cuttings, whether planted or floating.
- Nutrients: Like all plants, this species needs nutrients. If planting in a substrate, consider using nutrient-rich aquarium soil. For floating plants, a liquid fertilizer can supplement their needs.
- CO2 (Optional): While not mandatory, adding supplemental CO2 to your aquarium can significantly boost growth rates and enhance the vibrancy of your Ludwigia arcuata.
Patience is Key!
Within a week or two, you should notice tiny roots emerging from the nodes of your cuttings. Over the following weeks, your new Ludwigia arcuata plants will start to grow and flourish, adding even more vibrant beauty to your underwater world.
Propagating Ludwigia arcuata is a simple yet fulfilling process. So why not give it a try? With just a few easy steps, you can multiply the magic of this stunning plant and create a lush, captivating aquascape.