Unleash a Cascade of Color: Propagating Your Very Own Lupinus gredensis
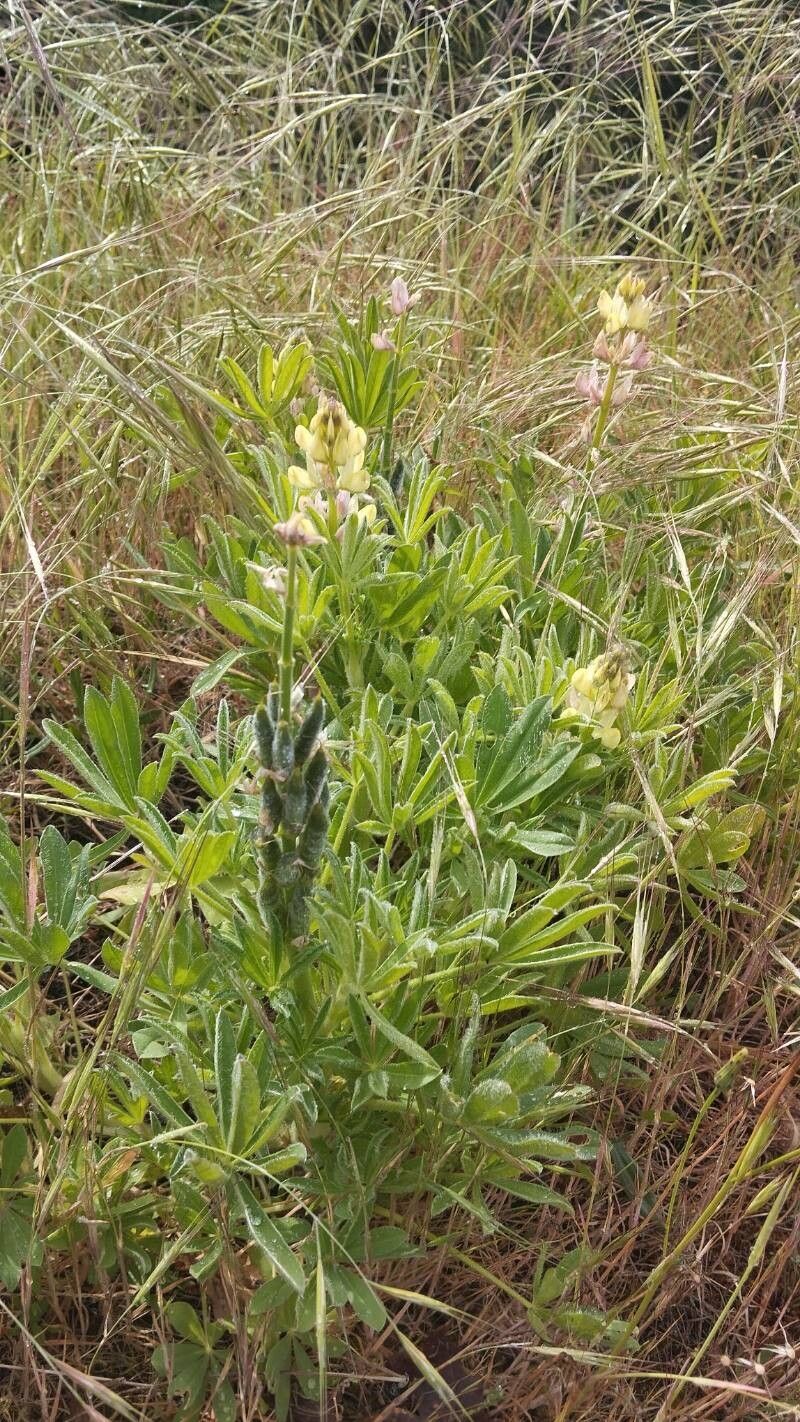
The Lupinus gredensis, also known as the “Sierra Nevada lupine,” is a sight to behold. This enchanting perennial boasts tall, majestic spires of vibrant blue, purple, and pink blossoms that effortlessly draw the eye and whisper of wildflower meadows bathed in sunshine. But what if you could bring a touch of this captivating beauty into your own garden? Good news – propagating Lupinus gredensis, while requiring a bit of patience, is entirely achievable, even for the novice gardener.
Two Paths to Prosperity: Seed vs. Cuttings
There are two primary methods of propagating Lupinus gredensis:
1. Seeds: Embracing the Element of Surprise
- The Appeal: Propagating from seed offers an element of surprise as you eagerly anticipate the unique color combinations your Lupinus will reveal.
- The Process:
- Collect: Harvest mature seed pods from an existing plant in late summer, allowing them to dry completely before cracking them open.
- Scarify (Optional): Gently nick the seed coat with a nail file to enhance germination rates.
- Cold Stratification: Place the seeds in a damp paper towel within a sealed bag and refrigerate for 4-6 weeks to mimic natural winter conditions.
- Sow: Sow seeds in seed trays filled with well-draining compost in early spring.
- Patience is Key: Germination can take 2-4 weeks.
- Transplant: Once seedlings are large enough to handle, transplant them into individual pots or directly into your garden after the last frost.
2. Basal Cuttings: Ensuring True Copies
- The Appeal: If you adore a specific Lupinus gredensis and desire an exact replica, basal cuttings are the way to go.
- The Process:
- Timing is Everything: Take cuttings in early spring when new growth is emerging.
- Choose Wisely: Select healthy, non-flowering shoots from the base of the plant.
- Cut & Prepare: Using a sharp, sterilized knife or pruners, take a 3-4 inch cutting below a leaf node. Remove the lower leaves.
- Hormone Boost (Optional): Dip the cut end in rooting hormone to encourage faster root development.
- Plant: Insert the cuttings into a well-draining potting mix.
- Provide a Humid Environment: Cover the cuttings with a propagator lid or plastic bag to maintain humidity.
- Root Development: Expect rooting within 4-6 weeks. Gradually acclimate the rooted cuttings to outdoor conditions before planting them out.
Nurturing Your Lupine Legacy
Regardless of your chosen propagation method, here are essential care tips to ensure your Lupinus gredensis thrives:
- Sunshine is Key: Select a location in your garden that receives at least 6 hours of direct sunlight daily.
- Well-Drained Soil is a Must: Lupines despise soggy roots. Ensure their soil is loose and well-draining to prevent root rot.
- Water Wisely: Water deeply but infrequently, allowing the soil to dry out slightly between waterings.
- Stake for Support: Taller varieties may benefit from staking to prevent them from flopping over, especially in windy conditions.
By following these steps, you’ll be well on your way to cultivating your very own Lupinus gredensis, adding a touch of wildflower magic and captivating color to your garden for years to come. So, embrace the journey of propagation and witness firsthand the remarkable transformation from tiny seed or cutting to a magnificent floral display.