Taming the Wild Beauty: A Guide to Propagating Miniature Lupine (Lupinus lepidus)
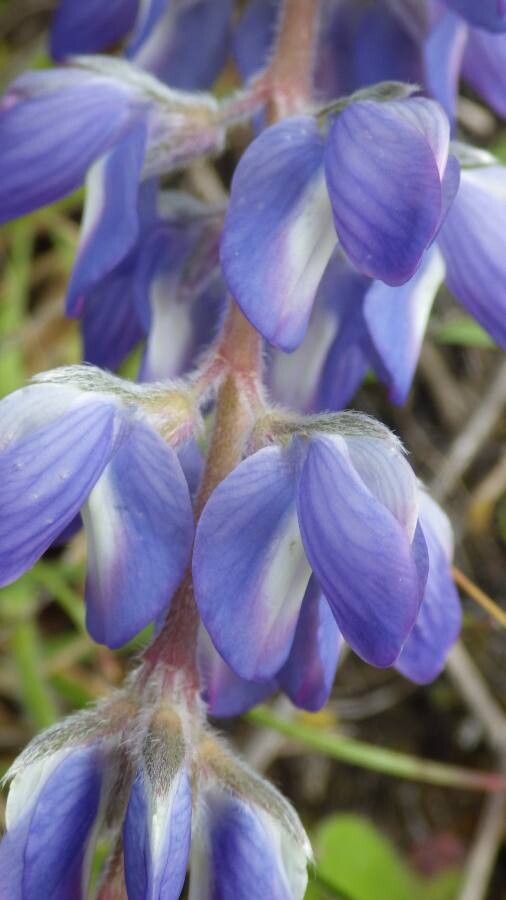
The miniature lupine (Lupinus lepidus), with its bursts of vibrant blue to purple blossoms, is a captivating sight in its native western North American habitats. Bringing a touch of this wild beauty to your own garden is a rewarding endeavor, and thankfully, propagating this charming plant isn’t as daunting as you might think.
Whether you’re an experienced gardener or just starting out, this guide will take you through the most effective methods of propagating Lupinus lepidus, helping you grow a flourishing patch of these enchanting wildflowers.
Method 1: Seed Starting (For the Adventurous Gardener)
Propagating Lupinus lepidus from seed offers a fulfilling challenge and allows you to witness the entire lifecycle of this remarkable plant.
Here’s what you need to do:
- Seed Collection: Collect seeds from mature seed pods in late summer or early fall. Look for pods that have turned brown and brittle.
- Scarification (The Secret to Success): Lupinus lepidus seeds have a hard outer coat that requires scarification to enhance germination rates. Lightly nick or sand the seed coat to break dormancy.
- Cold Stratification (Mimicking Nature’s Touch): Mix the scarified seeds with moist vermiculite or sand and store them in a sealed plastic bag in the refrigerator (around 40°F) for 4-6 weeks.
- Sowing Time: In early spring, sow the stratified seeds in seed trays filled with a well-draining seed starting mix. Sow seeds about ¼ inch deep and mist them with water.
- Patience is Key: Germination can be slow and sporadic, taking 2-4 weeks or even longer. Be patient and keep the soil consistently moist but not waterlogged.
- Transplanting Time: Once the seedlings have developed a few true leaves, transplant them into individual pots or directly into your garden after the last frost.
Method 2: Basal Cuttings (For a Higher Success Rate)
If you’re looking for a quicker and more reliable propagation method, basal cuttings are the way to go. Here’s how to do it:
- Timing is Everything: Take basal cuttings in the spring when new growth is actively emerging.
- Choose Wisely: Select healthy, non-flowering stems from the base of the plant. Cuttings should be about 3-4 inches long.
- Prepare the Cuttings: Remove the lower leaves from the cutting, leaving 2-3 leaves at the top. Dip the cut end in rooting hormone (optional but recommended).
- Planting and Care: Plant the cuttings in a pot filled with a well-draining potting mix. Keep the soil consistently moist.
- Rooting Magic: Within a few weeks, the cuttings should develop roots. Once rooted, you can transplant them into larger pots or your garden.
Tips for Success:
- Well-Drained Soil is Crucial: Lupinus lepidus prefers well-drained soil to prevent root rot. Amend clay soil with organic matter for better drainage.
- Sunlight is Your Ally: Choose a location that receives at least 6 hours of sunlight per day.
- Water Wisely: Water deeply but infrequently, allowing the soil to dry out slightly between waterings.
- Divide and Conquer: Divide established clumps in the spring or fall to propagate more plants and maintain their vigor.
Propagating Lupinus lepidus might require a bit of patience and care, but the rewards are well worth the effort. By following these tips, you’ll be well on your way to enjoying the breathtaking beauty of these miniature wildflowers in your own garden year after year.