From Sprig to Shrub: Unlocking the Secrets of Lycium cestroides Propagation
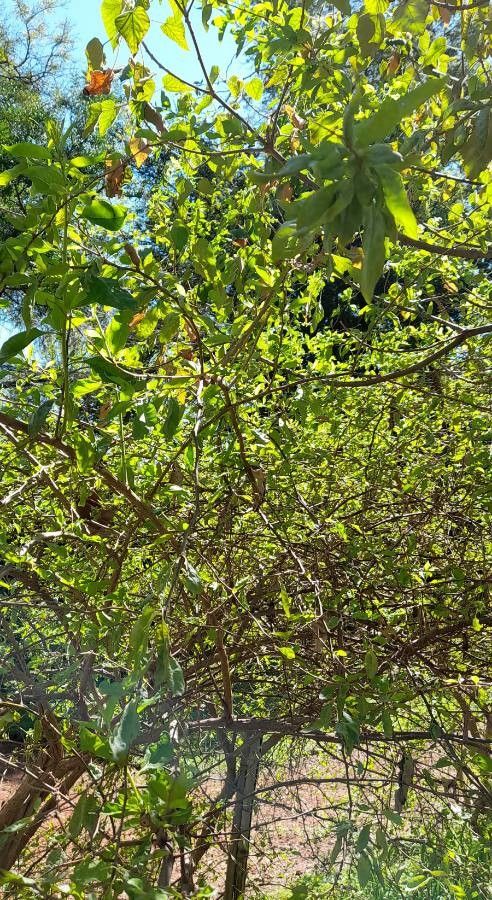
The Lycium cestroides, also known as the “Spiny Boxthorn” or “Desert Thorn,” is a captivating plant that adds a touch of rugged beauty to any landscape. But how do you grow more of these enchanting shrubs? Enter the world of propagation!
This blog post will guide you through the fascinating and rewarding process of multiplying your Lycium cestroides, whether from seed, cuttings, or even layering.
Seeds: A Journey from Tiny to Mighty
Lycium cestroides starts its life as a tiny seed, holding the potential for a large, sprawling shrub. Propagation from seed is a rewarding journey that allows you to witness the plant’s growth from its earliest stages.
Here’s how to sow your seeds:
- Collecting Seeds: Gather mature, red berries from your existing Lycium cestroides plant. These berries contain the seeds.
- Preparation: Remove the seeds from the berries and gently rinse them to remove any pulp. Allow them to dry completely before planting.
- Sowing: Choose a seed tray filled with a well-draining potting mix. Sprinkle the seeds thinly over the surface and lightly cover them with soil. Keep the soil consistently moist but not soggy.
- Germination: Seeds typically germinate in 1-2 weeks, though it can sometimes take longer. Provide them with plenty of sunlight and warmth.
- Transplanting: Once seedlings develop true leaves, you can transplant them into individual pots or directly into the garden.
Cuttings: A Shortcut to Success
If you’re eager to get new plants quickly, propagation from cuttings is a fantastic method. This technique utilizes stems from your mature Lycium cestroides.
Follow these steps:
- Collecting Cuttings: In late spring or early summer, take semi-hardwood cuttings from the current year’s growth. Cuttings should be 4-6 inches long.
- Preparation: Remove leaves from the bottom inch of the cutting and dip the base in rooting hormone to encourage root development.
- Planting: Place cuttings in a pot filled with a well-draining potting mix, ensuring the bottom inch of the cutting is buried. Keep the soil consistently moist.
- Root Development: Cover the pot and cuttings with a plastic dome or transparent bag to maintain humidity. Place the pot in a bright location with indirect sunlight.
- Transplanting: Once cuttings develop roots, usually in 4-6 weeks, you can transplant them into larger pots or the garden.
Layering: A Simple Approach
For those who prefer a low-maintenance propagation method, layering is a great option. This technique involves encouraging a new plant to grow from a stem of the parent plant.
Here’s how to layer your Lycium cestroides:
- Choice of Stem: Select a pliable branch from your plant.
- Scoring: Gently score the stem with a sharp knife, exposing the cambium layer underneath.
- Buried Stem: Bend the branch down to the ground and bury the scored portion in the soil. Secure it with a bent wire or rock.
- Moist Soil: Maintain consistent moisture of the buried portion.
- New Growth: A new plant should develop along the buried part of the stem. Once it has established roots, you can cut it off from the parent plant.
Tips for Success
Regardless of the propagation method you choose, here are some general tips to ensure success:
- Use clean tools: Sterilize your tools with rubbing alcohol to prevent the spread of disease.
- Fresh cuttings and seeds: Use fresh cuttings and seeds for the best results.
- Proper soil: Use a well-draining potting mix to prevent root rot.
- Consistent moisture: Keep the soil moist, but avoid overwatering.
- Ideal temperature: Maintain a temperature of 70-75 degrees Fahrenheit for optimal root development.
By understanding the basics of propagation, you can create a veritable Lycium cestroides haven from a single plant. Experiment with the methods discussed above and discover the joy of expanding your collection of these unique shrubs. Enjoy watching your new plants thrive, bringing a touch of rustic beauty to your landscape!