Unveiling the Secrets of Magnolia conifera: A Guide to Propagation
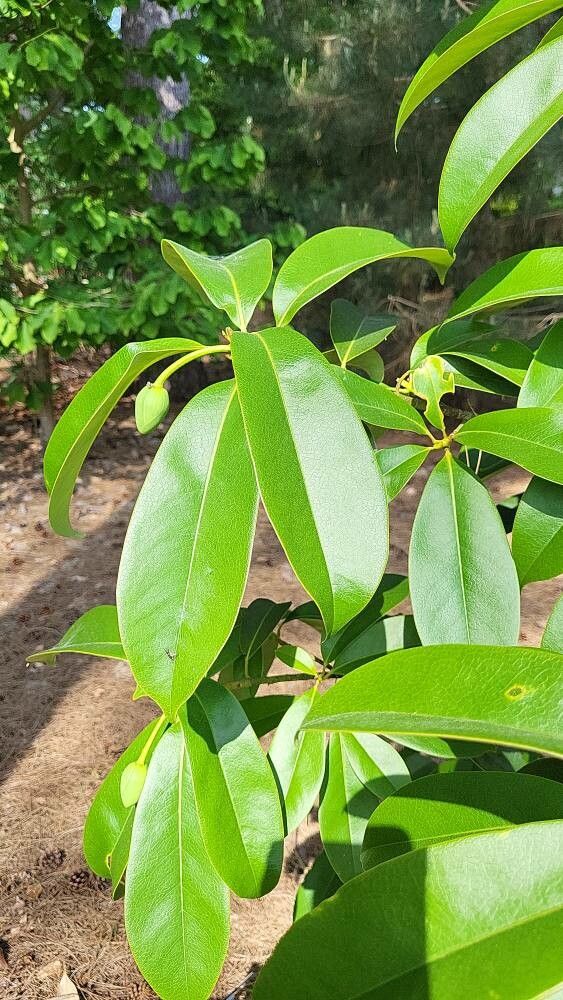
The Magnolia conifera, a lesser-known gem within the magnolia family, is coveted for its unique, cone-like fruit and stunning foliage. While readily available in its native East Asia, getting your hands on this beauty elsewhere can be challenging. This is where the magic of propagation comes in! Whether you’re a seasoned gardener or just starting, this guide will equip you with the knowledge to propagate Magnolia conifera and welcome this stunning species into your own green haven.
Understanding the Basics:
Magnolia conifera, like many magnolias, can be propagated through various methods, each with its own advantages and challenges. While these methods might seem daunting at first, with a little patience and the right knowledge, you can achieve success.
1. Seed Propagation: A Test of Time and Patience
Propagating Magnolia conifera from seed is a rewarding, albeit lengthy process.
- Seed Collection: Harvest mature, healthy fruits in autumn and extract the seeds. Remember, magnolia seeds have a tough outer coating that needs to be removed (stratified) before sowing.
- Stratification: Mimic natural winter conditions by placing the seeds in a moist mix of peat moss and sand at around 4°C (39°F) for 3-4 months.
- Sowing: In spring, sow the stratified seeds in a well-draining seed-starting mix, covering them lightly. Maintain moisture and warmth (around 21°C/70°F).
- Patience is Key: Germination can take several weeks to months. Once seedlings are established, gradually acclimatize them to outdoor conditions before planting in their permanent location.
2. Semi-Hardwood Cuttings: A Quicker Route to Success
Taking cuttings is a faster method, especially suitable for replicating specific characteristics of a parent plant.
- Timing is Crucial: The ideal time is late summer when new growth starts to harden.
- Choose Wisely: Select healthy, non-flowering stems. Cuttings should be about 10-15cm (4-6 inches) long, taken just below a leaf node.
- Prepare the Cutting: Remove leaves from the lower half and wound the base slightly to encourage root development. Dip the cut end in rooting hormone.
- Potting and Care: Plant the cuttings in a well-draining mix of peat moss and perlite. Keep them consistently moist and covered with a plastic bag to retain humidity.
- Signs of Success: In about 6-8 weeks, you should see new growth, indicating successful rooting. Gradually harden off the cuttings before transplanting.
3. Layering: Encouraging Natural Root Development
Layering is a simple yet effective propagation method for Magnolia conifera.
- Choose a Branch: Select a low-growing, flexible branch in spring.
- Wound and Bury: Make a small wound on the underside of the branch and bury this portion in a shallow trench filled with moist potting mix.
- Secure and Care: Secure the buried section with a weight or U-shaped pin to hold it in place. Keep the soil consistently moist.
- Separating the Layer: After a year, check for root development. If sufficient roots have formed, carefully separate the new plant from the parent and pot it individually.
Tips for Success:
- Use well-draining soil to prevent root rot.
- Choose a location with partial shade, especially for young plants.
- Be patient! Propagation takes time and dedication.
Propagating Magnolia conifera might require a bit more effort than common garden varieties, but the rewards are well worth it. With patience and the right techniques, you can cultivate this botanical gem and enjoy its unique beauty for years to come. Remember, every successful propagation is a testament to the remarkable resilience and perpetuation of nature’s wonders.