Taming the Wild One: Propagating the Aboriginal Mallow (Malacothamnus aboriginum)
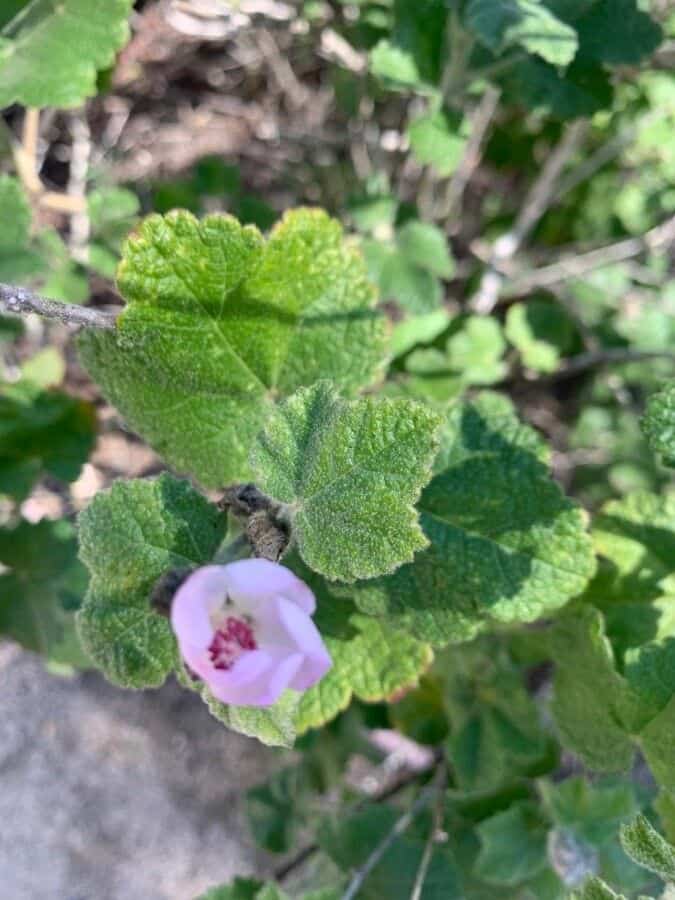
The Aboriginal Mallow (Malacothamnus aboriginum), with its delicate blossoms and unique charm, is a California native yearning for a comeback. Once gracing coastal sage scrub and chaparral landscapes, this striking shrub, also known as the Indian Mallow, is now listed as endangered in some areas. But fear not, plant enthusiasts! You can play a role in its conservation through the rewarding process of propagation.
While this wild beauty can be a bit challenging to cultivate, success is achievable with dedication and the right approach. Here’s how you can propagate Malacothamnus aboriginum and welcome its delicate beauty into your garden:
Seed Starting: Embracing the Challenge
Propagating Aboriginal Mallow from seed requires patience and a touch of finesse. Here’s how to increase your chances of success:
-
Seed Collection and Preparation: Gather mature seed pods directly from a healthy Malacothamnus aboriginum plant in late summer or fall. Allow the pods to dry thoroughly, then gently break them open to extract the seeds.
-
Breaking Dormancy (Stratification): These seeds like a bit of a chill before they’ll sprout. Mimic their natural environment by storing them in moist sand or vermiculite within your refrigerator for 30-60 days.
-
Sowing the Seeds: Use a well-draining seed starting mix. Lightly sprinkle the seeds on the surface and cover them with a thin layer of mix – just enough to keep them cozy.
- Patience, Young Padawan: Seed germination can be erratic, with some seeds sprouting in a few weeks while others take their sweet time. Keep the soil consistently moist but not waterlogged, and provide bright, indirect light.
Taking Cuttings: A Faster Path to Blooming
Propagating from cuttings provides quicker results and can be a more reliable method:
-
Timing is Everything: Take cuttings from healthy, non-flowering stems in late spring or early summer when the plant is actively growing.
-
Cut and Prepare: Using clean, sharp pruning shears, take 4-6 inch cuttings just below a leaf node (where the leaf meets the stem). Remove the lower leaves, leaving only a few at the top.
-
Encourage Rooting: Dip the cut end in rooting hormone (optional but helpful) and then plant the cutting in a well-draining potting mix.
-
Creating a Humid Haven: Cover the cutting and pot with a plastic bag or humidity dome to maintain moisture. Provide bright, indirect light and ensure the soil remains consistently moist.
- Signs of Success: In a few weeks, you should see new growth, indicating that roots have developed. Once the cutting is well-rooted, transplant it into a larger pot or your garden.
Essential Tips for Thriving Mallows
Whether you’re starting from seed or cuttings, these tips will help your Aboriginal Mallow thrive:
- Well-Draining Soil is Key: Malacothamnus aboriginum is susceptible to root rot in soggy conditions. Use a well-draining soil mix and choose a planting location with good drainage.
- Sun Lovers: These plants adore sunshine. Select a spot in your garden that receives at least 6 hours of direct sunlight daily.
- Water Wisely: While drought-tolerant once established, regular watering is essential during the first year. Allow the soil to dry slightly between waterings.
- Pruning for Beauty: Deadhead spent flowers to encourage more blooms and maintain a tidy appearance. Prune lightly after flowering to shape the plant.
Propagating the Aboriginal Mallow is a labor of love, but the reward of seeing these delicate blossoms grace your garden is well worth the effort. By cultivating this beautiful and vulnerable species, you’re contributing to its conservation and ensuring its legacy lives on for future generations.