Untangling the Secrets of Mandevilla Funiformis Propagation: A Step-by-Step Guide
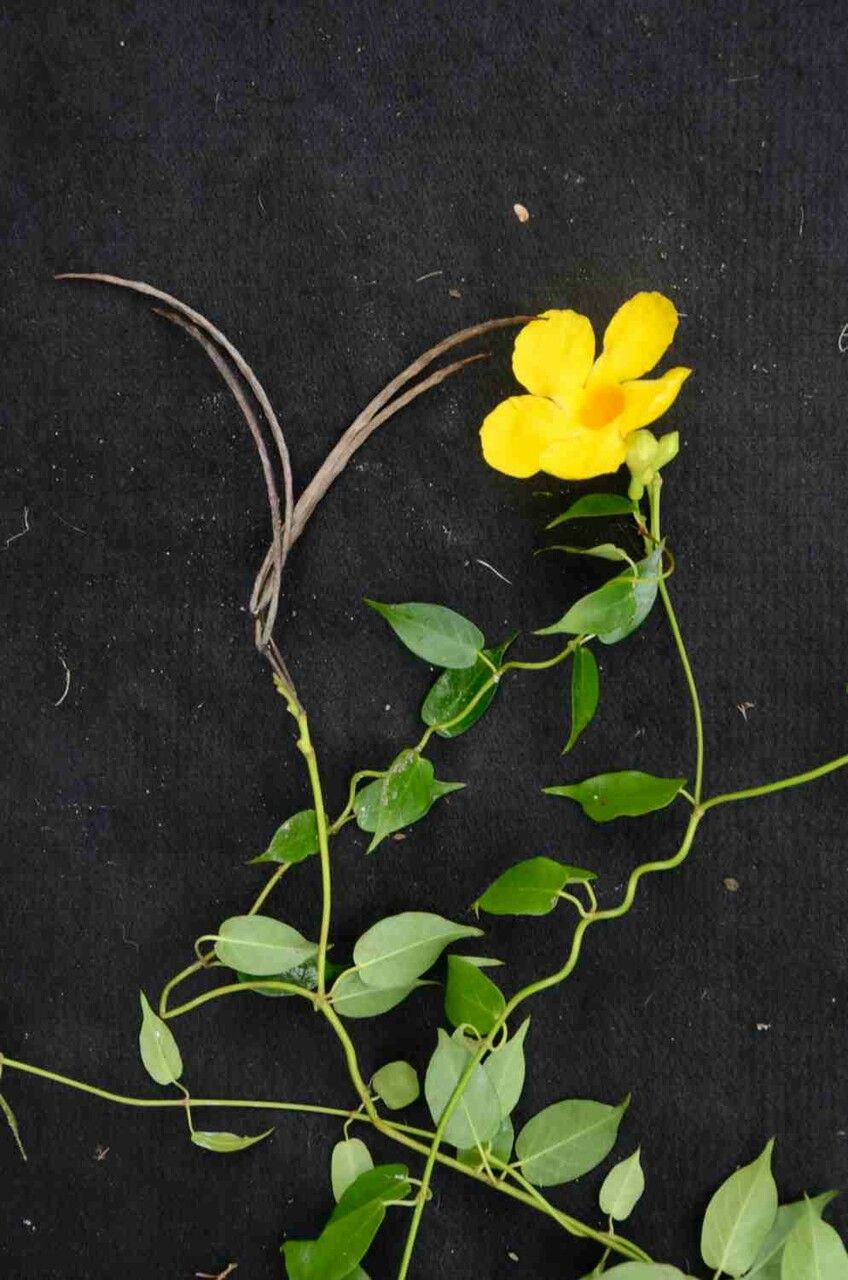
Mandevilla funiformis, with its vibrant trumpet-shaped blooms and glossy foliage, is a showstopper in any garden. But did you know that propagating this Brazilian beauty is easier than you might think? Whether you want to expand your collection or share the joy with a friend, mastering the art of mandevilla funiformis propagation is a rewarding endeavor.
This comprehensive guide will equip you with all the knowledge you need to propagate your Mandevilla funiformis successfully.
Understanding the Basics
Before we dive into the “how-to,” it’s helpful to understand the two main propagation methods for Mandevilla funiformis:
- Stem Cuttings: This popular method involves taking cuttings from a healthy plant and encouraging them to develop roots.
- Layering: A slightly less common technique, layering encourages root development on a stem while it’s still attached to the parent plant.
Method 1: Propagating Mandevilla Funiformis from Stem Cuttings
This technique is best undertaken in spring or early summer when the plant is actively growing. Here’s a breakdown of the process:
Gather your tools: You’ll need:
- Sharp, sterilized pruning shears or a knife
- Small pots (around 3-4 inches in diameter)
- Well-draining potting mix suited for cuttings
- Rooting hormone (powder or gel form, optional but recommended)
- A clean, sharp pencil or chopstick
- Water
Take your cuttings: Select healthy, non-flowering stems that are about 4-6 inches long. Cut just below a leaf node (the point where a leaf attaches to the stem) at a slight angle. Remove the lower leaves from the cutting, leaving 2-3 leaves at the top.
Prepare the cuttings: Dip the cut end in rooting hormone (this encourages root development). Using your pencil or chopstick, create a small hole in the center of your pre-moistened potting mix.
Plant the cuttings: Gently insert the cutting into the hole, ensuring the bottom node is submerged in the mix. Lightly firm the soil around the cutting to secure it.
Create a humid environment: Cover the pot with a clear plastic bag or a propagation dome. This helps retain moisture and encourages rooting. Place the pot in a warm, brightly lit location, out of direct sunlight.
Monitor and care: Check the soil moisture regularly and mist lightly if needed. It can take 4-8 weeks for roots to develop. Once you see new growth, you can gradually acclimate the cutting to normal humidity by poking holes in the plastic or lifting the dome for increasingly longer periods.
- Transplanting: Once the cutting is established and actively growing, you can transplant it into a larger pot or outdoors in well-drained soil.
Method 2: Propagating Mandevilla Funiformis by Layering
This method is ideal if you have a mature Mandevilla funiformis and want to create a new plant without taking a cutting.
Choose a stem: Select a healthy, flexible stem close to the ground.
Wound the stem: Carefully make a small, upward-facing cut about 6-12 inches from the tip of the stem. You can use a sharp knife or make a small scrape with sandpaper.
Apply rooting hormone (optional): You can apply rooting hormone to the wounded area to encourage root development.
Bury the wounded section: Bend the wounded portion of the stem down to the soil and bury it about 2-3 inches deep, securing it with a landscape pin or rock. Make sure the tip of the stem remains above the soil.
Water regularly: Keep the soil consistently moist but not waterlogged.
Check for roots: After about 4-6 weeks, gently tug on the layered stem. If you feel resistance, it indicates that roots have formed.
- Separate and transplant: Once roots are established, carefully sever the layered stem from the parent plant and transplant it into a well-drained pot or outdoor location.
Final Thoughts
Propagating your Mandevilla funiformis is a fulfilling way to multiply your plant family and share the beauty of this tropical climber. Whether you choose stem cuttings or layering, remember to be patient and provide the right conditions for success. With a little care and attention, you’ll be rewarded with stunning new plants to adorn your garden or home!