Unlocking the Secrets of Masdevallia attenuata Propagation: A Guide to Multiplying Your Miniature Marvel
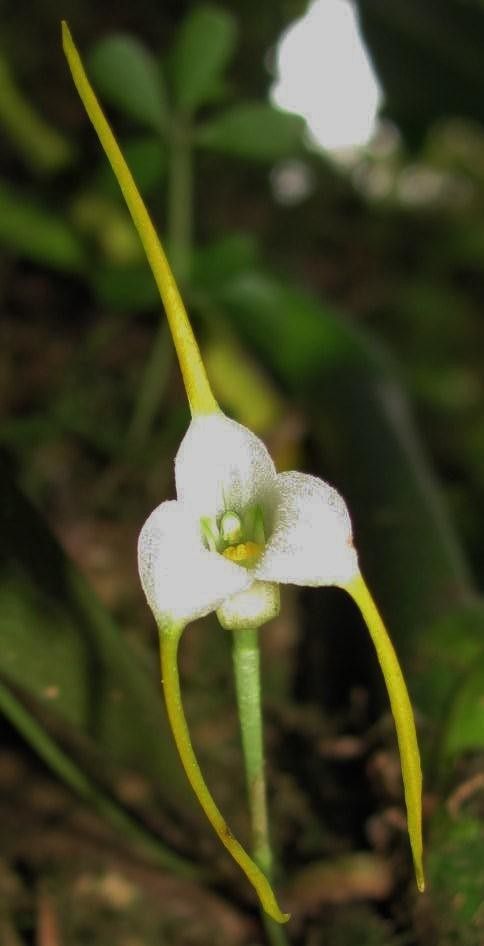
The Masdevallia attenuata, with its vibrant orange blooms and fascinating, almost alien-like structure, is a prized possession for any orchid enthusiast. But the joy of owning this miniature marvel multiplies exponentially when you can successfully propagate it, creating new plants to share or simply expand your own collection. While it might seem daunting, unraveling the secrets to successful Masdevallia attenuata propagation is an achievable feat for both beginners and seasoned growers alike.
This guide will delve into the two primary methods of propagating this stunning species:
1. Division:
Division is the most common and often the easiest method for propagating Masdevallia attenuata. This orchid naturally forms clumps over time, producing multiple growths connected by rhizomes. Here’s how to divide your plant:
- Timing is Key: The best time for division is during spring or early summer, as the plant begins its active growth phase.
- Healthy Divisions: Choose a mature plant with at least 6 healthy growths. Each division should have at least 3-4 growths to ensure its viability.
- Sterile Tools: Use a sterilized, sharp knife or shears to minimize the risk of infection. Carefully cut through the rhizome, ensuring each division has a healthy portion of roots attached.
- Potting Up: Plant each division in a well-draining orchid mix, burying the rhizome just below the surface. Water sparingly until new growth emerges.
2. Back Bulbs:
Masdevallia attenuata produces back bulbs, which are older, leafless growths that can be stimulated to produce new plants. While this method requires slightly more patience, it’s a rewarding way to propagate from a smaller or weaker plant. Here’s the process:
- Identify Back Bulbs: Look for plump, healthy back bulbs on your Masdevallia. Remove them carefully from the main plant.
- Creating the Ideal Environment: Place the back bulbs on a bed of slightly damp sphagnum moss in a shallow tray. Ensure the tray has drainage holes.
- Humidity is Key: Cover the tray with a clear lid or plastic wrap to create a humid environment. Place the tray in a warm, bright location, out of direct sunlight.
- Patience is a Virtue: It can take several weeks or even months for new growth to appear. Keep the moss consistently moist but not soggy.
- Potting Up New Growth: Once the new growths develop roots and leaves, you can carefully separate them from the back bulb and pot them individually in an orchid mix.
Essential Tips for Success:
No matter which propagation method you choose, consider these additional tips for maximizing your chances of success:
- Optimum Growing Conditions: Masdevallia attenuata thrives in cool, humid environments with bright, indirect light. Replicate these conditions as closely as possible for your new propagations.
- Consistent Moisture: Water your divisions or back bulbs regularly but avoid overwatering, as this can lead to root rot. Allow the potting mix to dry slightly between waterings.
- Fertilize Regularly: Use a balanced, diluted orchid fertilizer every other week during the growing season to promote healthy root development and growth.
Propagating your Masdevallia attenuata is a rewarding experience that allows you to expand your collection and appreciate the wonders of plant reproduction. By following these techniques and providing proper care, you can unlock the secrets to successfully multiplying your miniature marvel and share the joy of this captivating orchid with others.