Unveiling the Secrets: How to Propagate the Exquisite Matelea Picturata
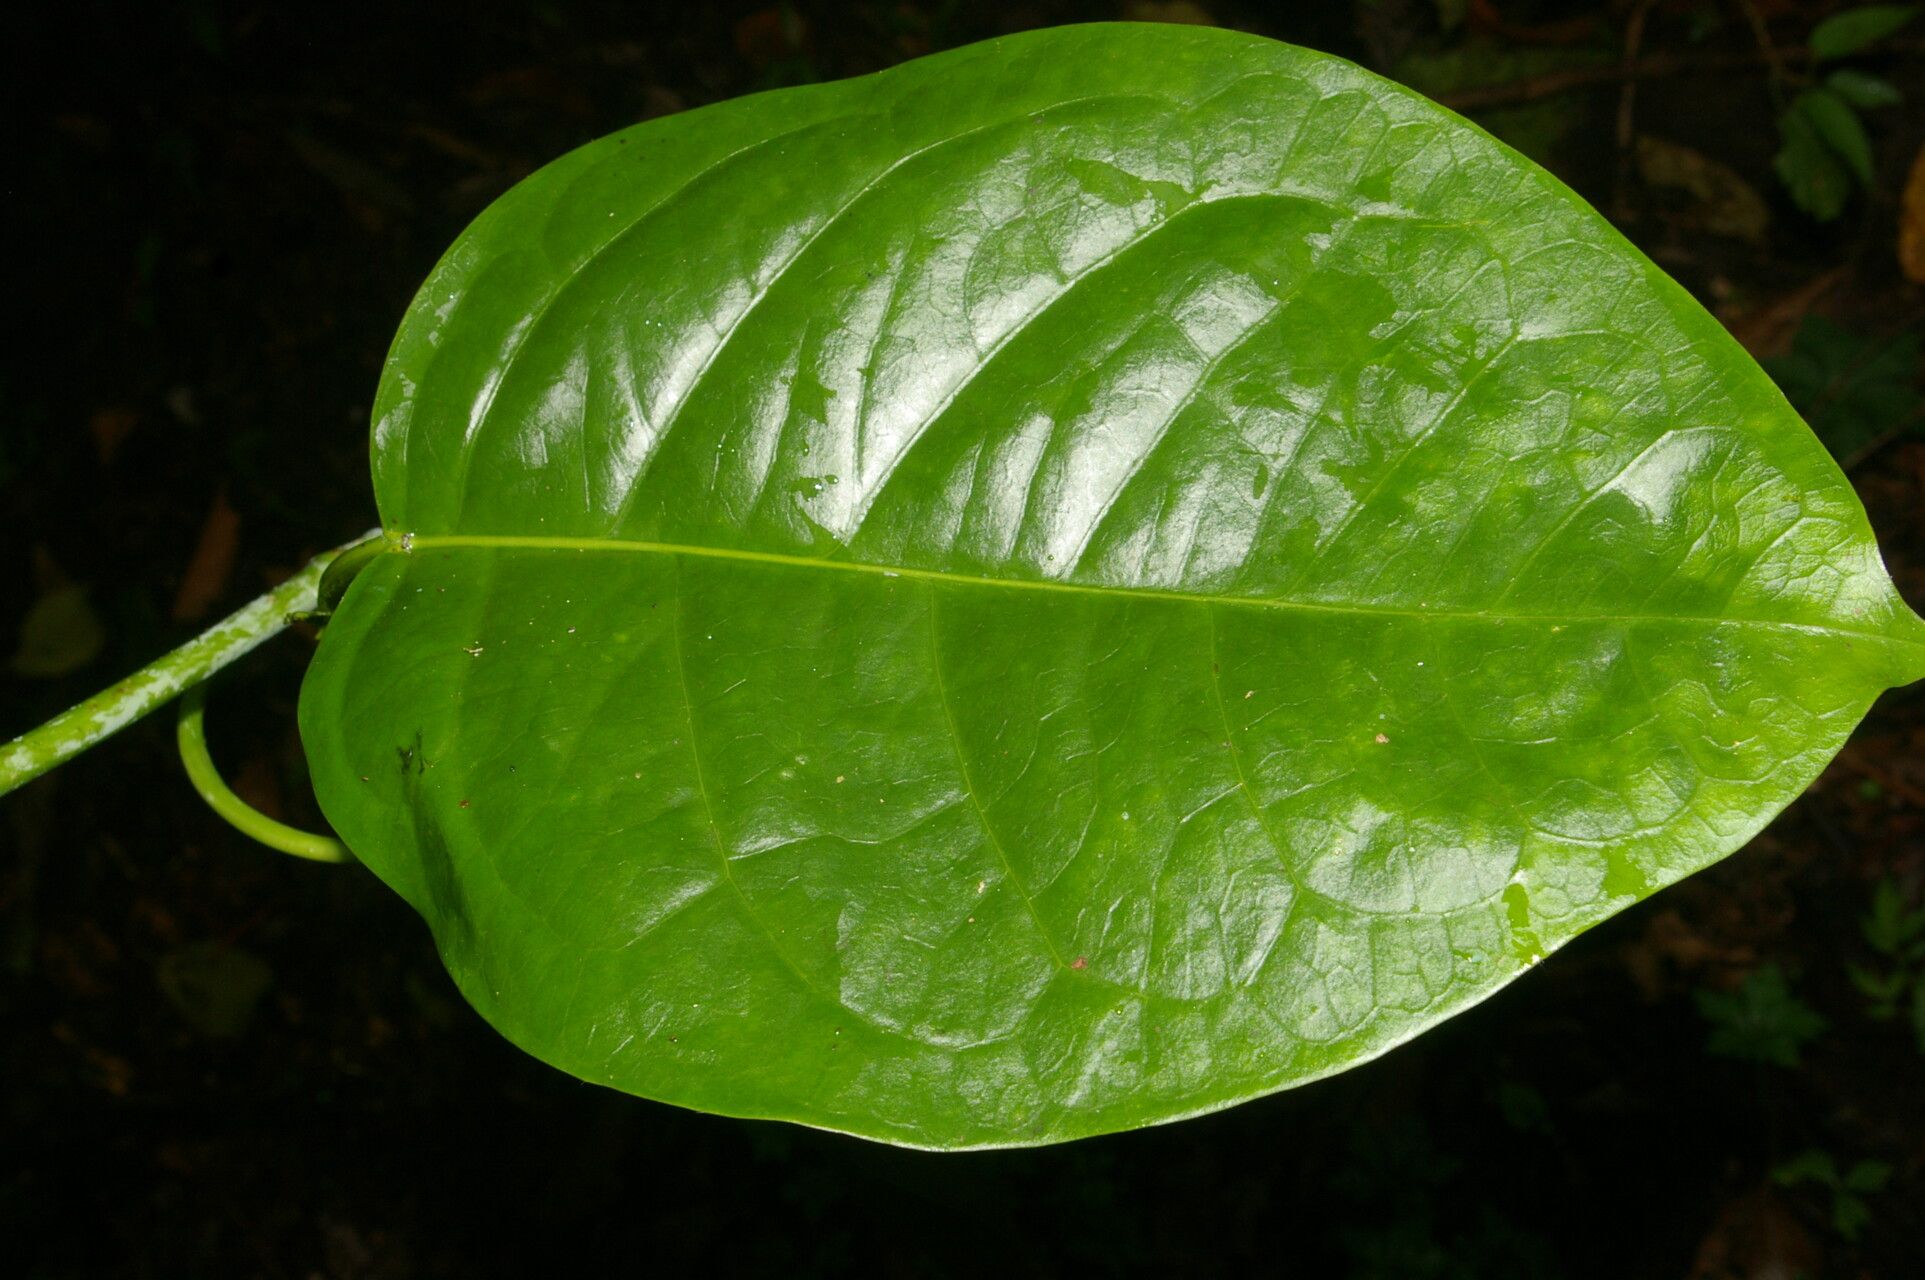
The Matelea picturata, with its intricate, star-shaped blooms and fascinating, lantern-like seed pods, is a coveted treasure among plant enthusiasts. This stunning climber, native to Mexico, enchants with its beauty and captivates with its unique life cycle. While readily available in its mature glory, the journey of propagating Matelea picturata can feel like venturing into uncharted territory. Fear not, fellow plant lovers, for we’re here to demystify the process and equip you with the knowledge to nurture this botanical wonder from its early stages.
Two Paths to Propagation:
Matelea picturata can be propagated through two primary methods: seeds and cuttings. Each approach has its own set of pros and cons, catering to different preferences and skill levels:
1. The Art of Seed Starting:
- Pros: Inexpensive, widely available, and offers the satisfaction of witnessing the plant’s full life cycle.
- Cons: Requires patience, as germination can be slow and unpredictable.
Steps:
- Source Fresh Seeds: Opt for reputable suppliers or harvest your own from ripe seed pods, ensuring they are dry and free from damage.
- Prepare the Seedbed: Use a well-draining seed starting mix and sow seeds shallowly, about ¼ inch deep.
- Provide Warmth and Moisture: Maintain a consistently warm temperature (around 70-75°F) and keep the soil moist but not waterlogged.
- Embrace the Wait: Germination can take anywhere from a few weeks to a couple of months. Be patient and don’t lose hope!
- Transplanting Time: Once seedlings develop a few sets of true leaves, carefully transplant them into individual pots with well-draining soil.
2. The Craft of Cuttings:
- Pros: Offers faster results compared to seeds and ensures the preservation of the parent plant’s characteristics.
- Cons: Requires a healthy, established plant to take cuttings from.
Steps:
- Choose the Right Cutting: Select a healthy stem with at least two nodes. Ideally, take cuttings in spring or early summer when the plant is actively growing.
- Prepare the Cutting: Remove the leaves from the lower node and dip the cut end in rooting hormone (optional but recommended).
- Potting Medium is Key: Plant the cutting in a well-draining mix specifically designed for cuttings or a mix of perlite and peat moss.
- Humidity is Crucial: Cover the pot with a plastic bag or humidity dome to create a warm, humid environment.
- Patience is Still Key: It can take several weeks for roots to develop. Once new growth appears, you’ll know your cutting has successfully rooted.
Nurturing Your New Matelea Picturata:
Regardless of the propagation method you choose, providing the right environment is essential for your Matelea picturata to thrive:
- Light: Place your plant in bright, indirect light. Avoid direct sunlight, which can scorch the delicate leaves.
- Water: Allow the soil to dry out slightly between waterings. Overwatering can lead to root rot, a common problem for Matelea picturata.
- Support: These climbing beauties need a trellis or other support structure to showcase their stunning blooms.
Propagating Matelea picturata is a rewarding experience that brings you closer to the captivating allure of this extraordinary plant. While it demands patience and dedication, the moment your efforts blossom into a thriving vine adorned with enchanting blooms will make the journey truly worthwhile. So, don your gardening gloves and embark on this exciting adventure of propagation!