From One to Many: The Secrets to Propagating Medinilla Venosa
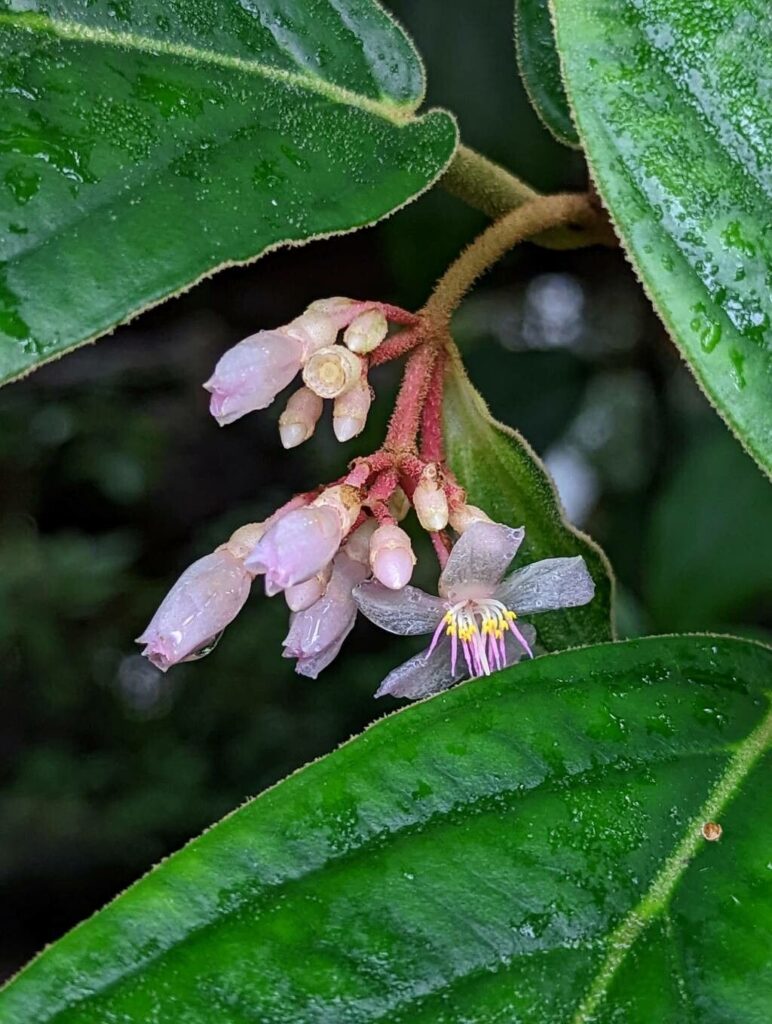
The Medinilla venosa, with its stunning, cascading pink blooms and leathery, textured leaves, is a true showstopper. But what if you could multiply that beauty and create a whole collection of these stunning plants? The good news is: you can! This article will guide you through the secrets of propagating Medinilla venosa, allowing you to share the joy of its vibrant presence with others or simply expand your own plant family.
The Mystery of Medinilla Propagation
While propagating Medinilla venosa isn’t rocket science, it does require some careful attention and specific techniques. Unlike some plants that readily root from cuttings, Medinilla venosa can be a bit more finicky. However, with the right approach, success is within your reach.
The Best Methods for Propagation
There are two main methods for successfully propagating your Medinilla venosa:
-
Stem Cuttings: This is the most common method. Choose a healthy stem with at least two nodes (the points where leaves grow) and use a sharp, clean knife or pruning shears to make a cut just below a node.
- Essential Preparation: Remove the leaves below the cut and dip the cut end in a rooting hormone solution.
- Ideal Conditions: Plant the cutting in a well-draining potting mix suitable for tropical plants and keep it in a warm, humid environment with indirect sunlight. Mist regularly to maintain moisture.
- Patience is Key: It can take several weeks to a few months to see roots develop, so be patient and maintain consistent care.
- Air Layering: This method involves encouraging the growth of roots directly on the stem while it’s still attached to the parent plant.
- Strategic Steps: Select a healthy, mature stem and make a shallow cut, about halfway through, on the stem just below a node.
- Encouraging Roots: Apply a rooting hormone powder or gel to the cut and wrap the section in moist sphagnum moss. Secure the moss with plastic wrap to retain moisture.
- Unveiling the Roots: After several weeks, roots should begin to form within the moss. Once the roots are well developed, you can carefully cut the stem below the air layer and plant it in a pot.
Tips for Success
- Timing Matters: Propagation is best undertaken during the active growth season, generally in spring or summer.
- High Humidity is Key: Medinilla venosa thrives in high humidity, so misting regularly will help encourage root development. Alternatively, you can create a mini-greenhouse by covering a pot with a plastic bag.
- Patience is Essential: It can take time for roots to develop, but stay diligent with your care and you’ll be rewarded with thriving new plants.
Sharing the Love
Propagating your Medinilla venosa allows you to share its captivating beauty with others. It’s a wonderful way to expand your garden or give a cherished gift to a fellow plant enthusiast. With some patience and the right techniques, you can witness the amazing transformation from a single stem to a whole collection of these stunning plants. So, embrace the challenge, enjoy the process, and let your Medinilla venosa family grow!