Unlocking the Secrets of Megalastrum longipilosum Propagation: A Fern Fanatic’s Guide
Megalastrum longipilosum, also known as the Shiny Woodfern, is a vision of verdant elegance. With its arching fronds and vibrant green hues, this tropical fern can transform any space into a lush oasis. But have you ever wondered how to welcome more of these botanical beauties into your life? Today, we’re diving deep into the rewarding world of Megalastrum longipilosum propagation.
Unlike many plants that readily grow from seeds or cuttings, ferns like our star species reproduce through spores. Think of these spores as microscopic packages of genetic material, each with the potential to develop into a new fern. While this might sound intimidating, fear not! With a little patience and the right techniques, you can successfully propagate your very own Megalastrum longipilosum.
Here’s a step-by-step guide to get you started:
1. Spore Collection:
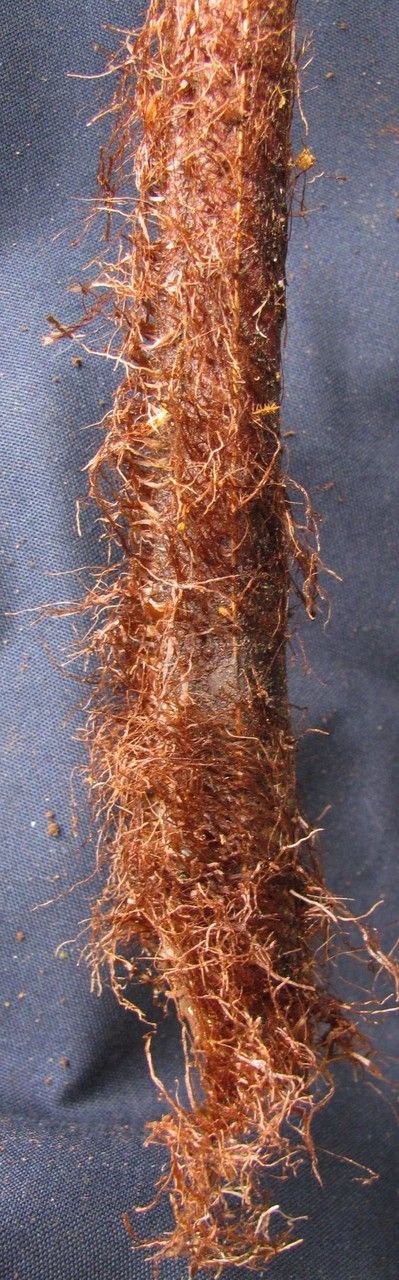
Mature Megalastrum longipilosum fronds will develop small, brown structures called sori on the underside. These sori house the spores. To collect them, carefully snip off a frond with mature sori and place it inside a paper bag, spore-side down. Keep the bag in a warm, dry place for a few days to allow the spores to release.
2. Preparing the Spore Medium:
Creating the right environment for your fern spores is crucial. A popular choice is a sterile, well-draining mixture of peat moss and perlite. Moisten the mixture and fill small pots or seed trays, leaving about half an inch of space from the top.
3. Sowing the Spores:
Now comes the delicate part! Gently tap the paper bag to loosen the collected spores. Lightly dust them over the surface of the prepared medium, taking care not to overcrowd. Remember, each tiny spore has the potential to become a fern, so a light touch is key.
4. Creating the Ideal Environment:
Fern spores thrive in warm, humid conditions. To replicate this environment, mist the surface of the medium with distilled water and cover the pots with clear plastic wrap or a humidity dome. Place the pots in a brightly lit area, but out of direct sunlight, as this can scorch the developing ferns.
5. Patience is Key:
Germination typically takes anywhere from a few weeks to a couple of months. During this time, ensure the medium stays consistently moist by misting regularly. Once the spores germinate, they’ll resemble a thin layer of green moss.
6. Transplanting the Fernlets:
As the young ferns grow larger and develop distinct fronds, they are ready to be transplanted. Carefully separate the small fernlets and pot them individually in small containers filled with the same well-draining medium.
7. Nurturing Your New Ferns:
Continue providing your young Megalastrum longipilosum with bright, indirect light, consistent moisture, and warmth. With proper care, they will flourish and eventually mature into stunning specimens, rewarding you for your patience and dedication.
Propagating Megalastrum longipilosum may seem like a journey into the miniature world of spores, but the rewards are anything but small. There’s an unmatched satisfaction in watching these captivating ferns grow from microscopic spores into lush, thriving plants, a testament to the magic of nature unfolding right before your eyes. So, why not embark on this rewarding endeavor and create your own collection of these beautiful ferns?